How to Use a Teleprompter For Video Production

What are TelePrompTers

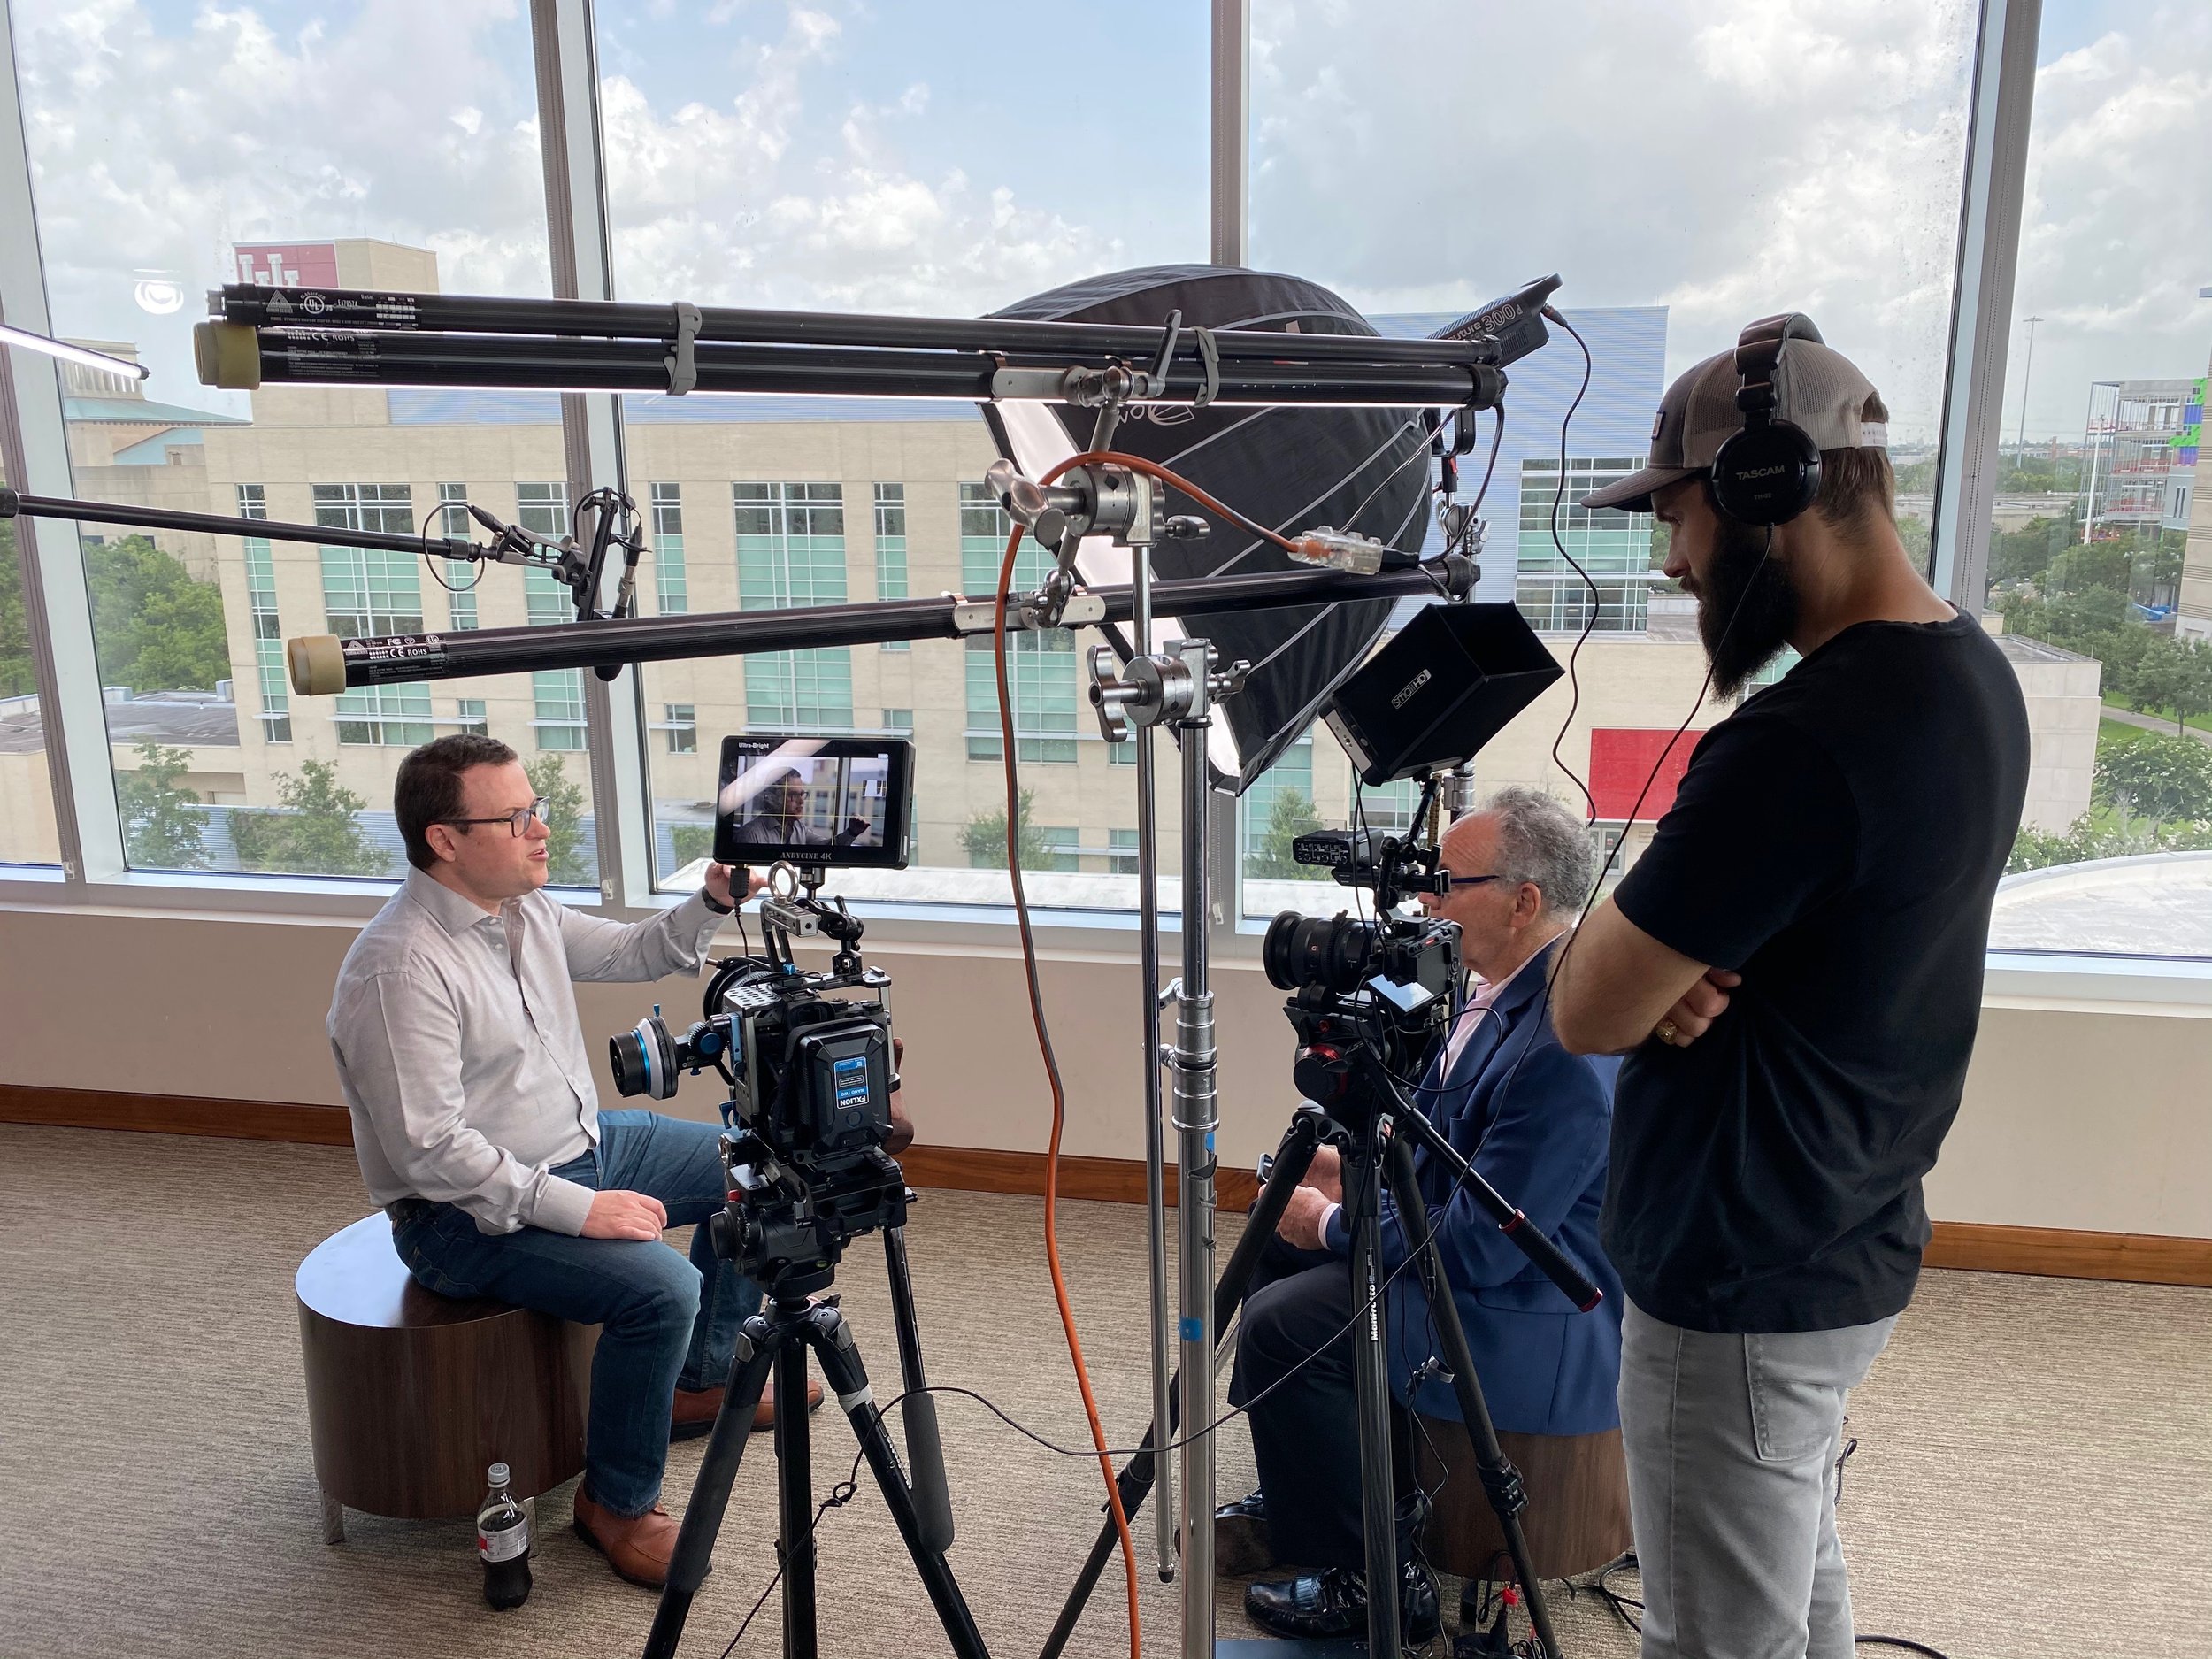
A teleprompter allows someone the ability to read text that is delayed right in front of a camera lens. This gives the appearance of the presenter having memorized all of their lines while speaking directly into the camera. It is physically made up of a piece of glass with a special reflective coating that allows the camera to see through it while reflecting any words underneath it towards its subject.

Houston Video Production

When to use a TelePrompTer

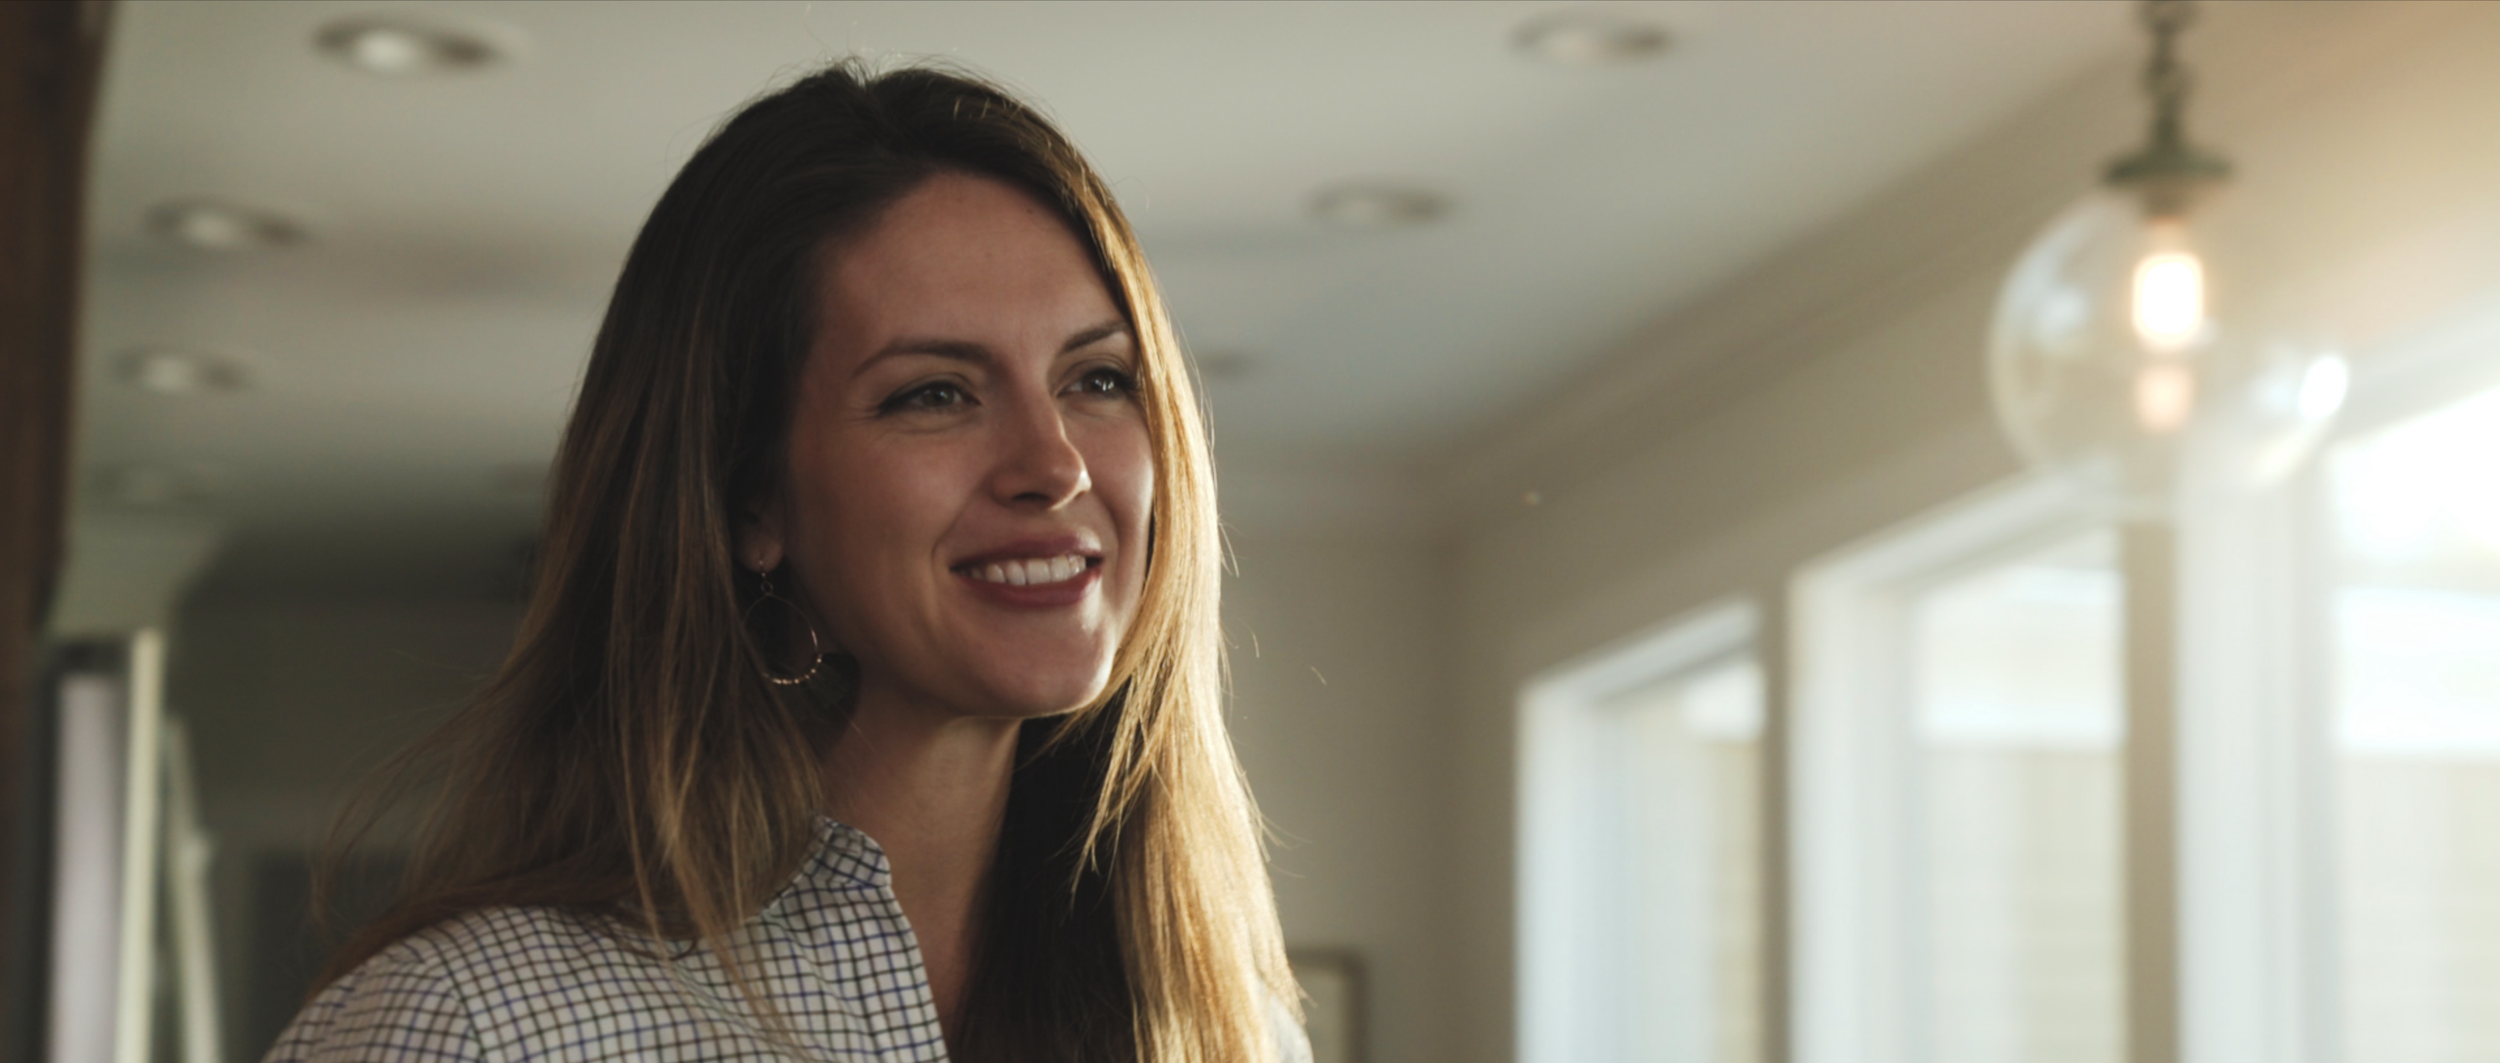
A teleprompter allows the presenter to deliver lines from a script without the need to memorize them. It is a good idea to use one when the presenter is not a good speaker, has no on-camera experience, and needs to memorize a script or lines of content. It can also be beneficial for those who don’t have time to memorize an entire script or when you need to clearly deliver technical information. We have a longer blog post you can read here that goes into much more detail about this.

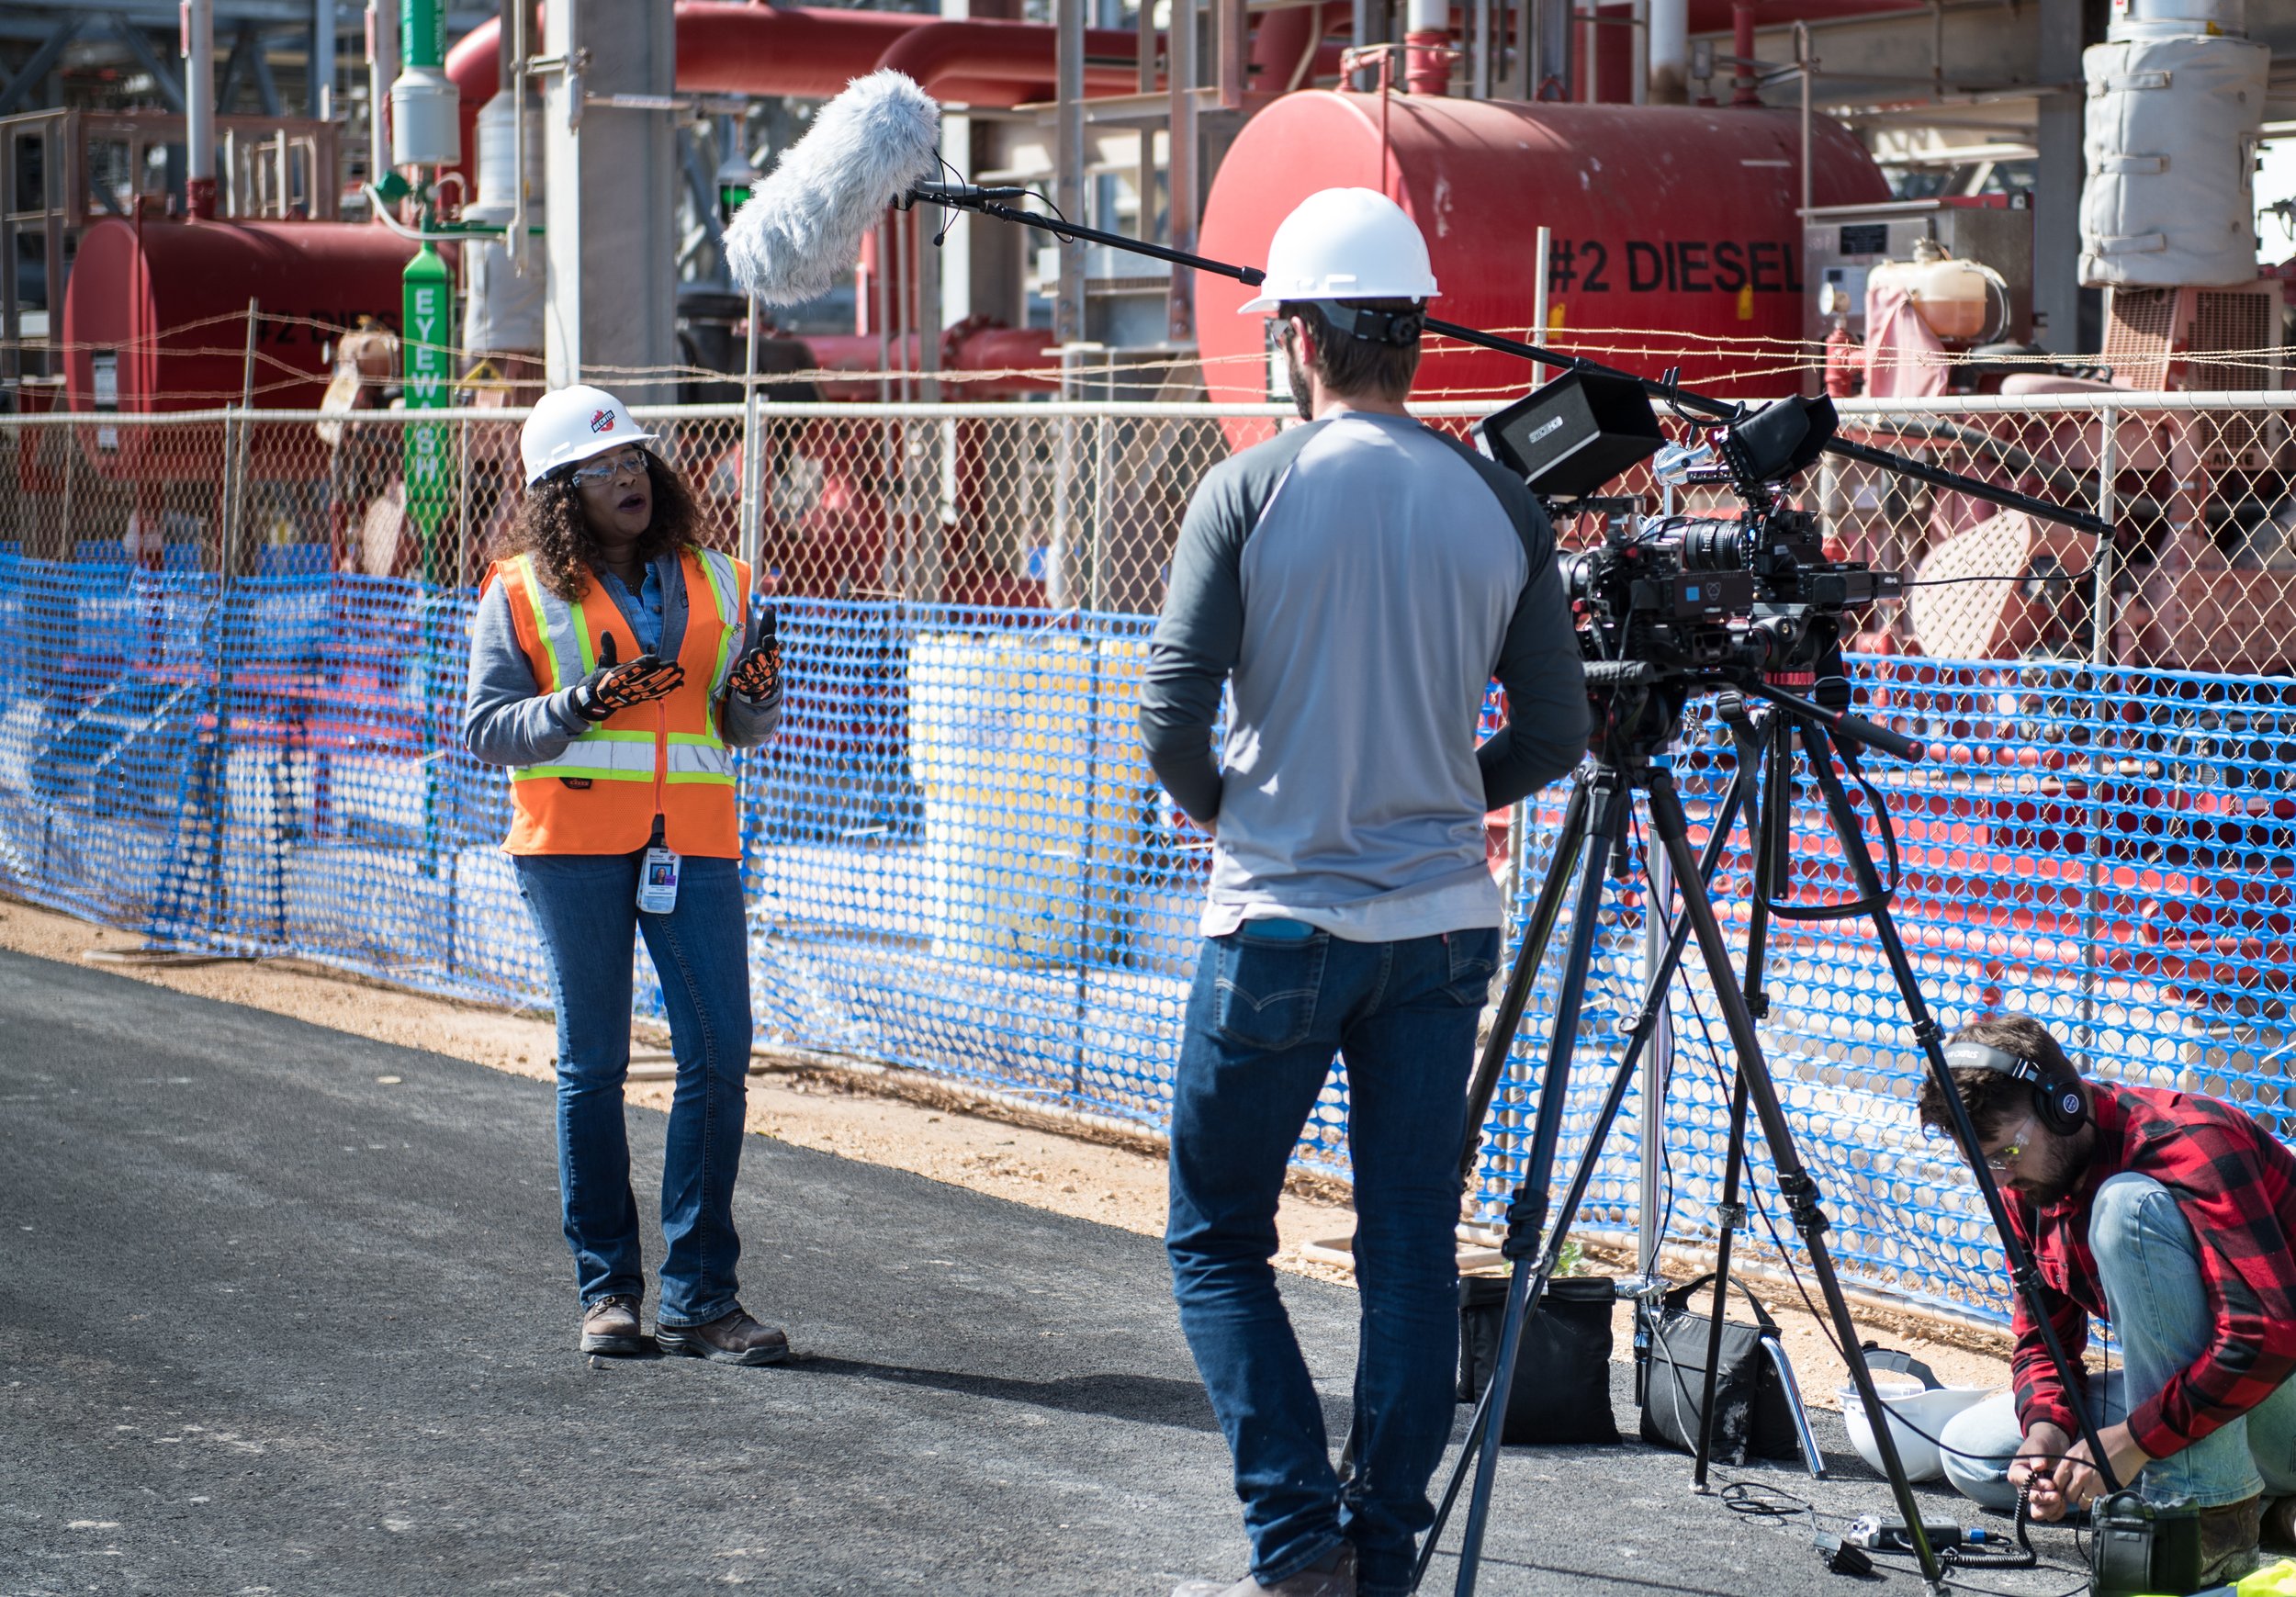
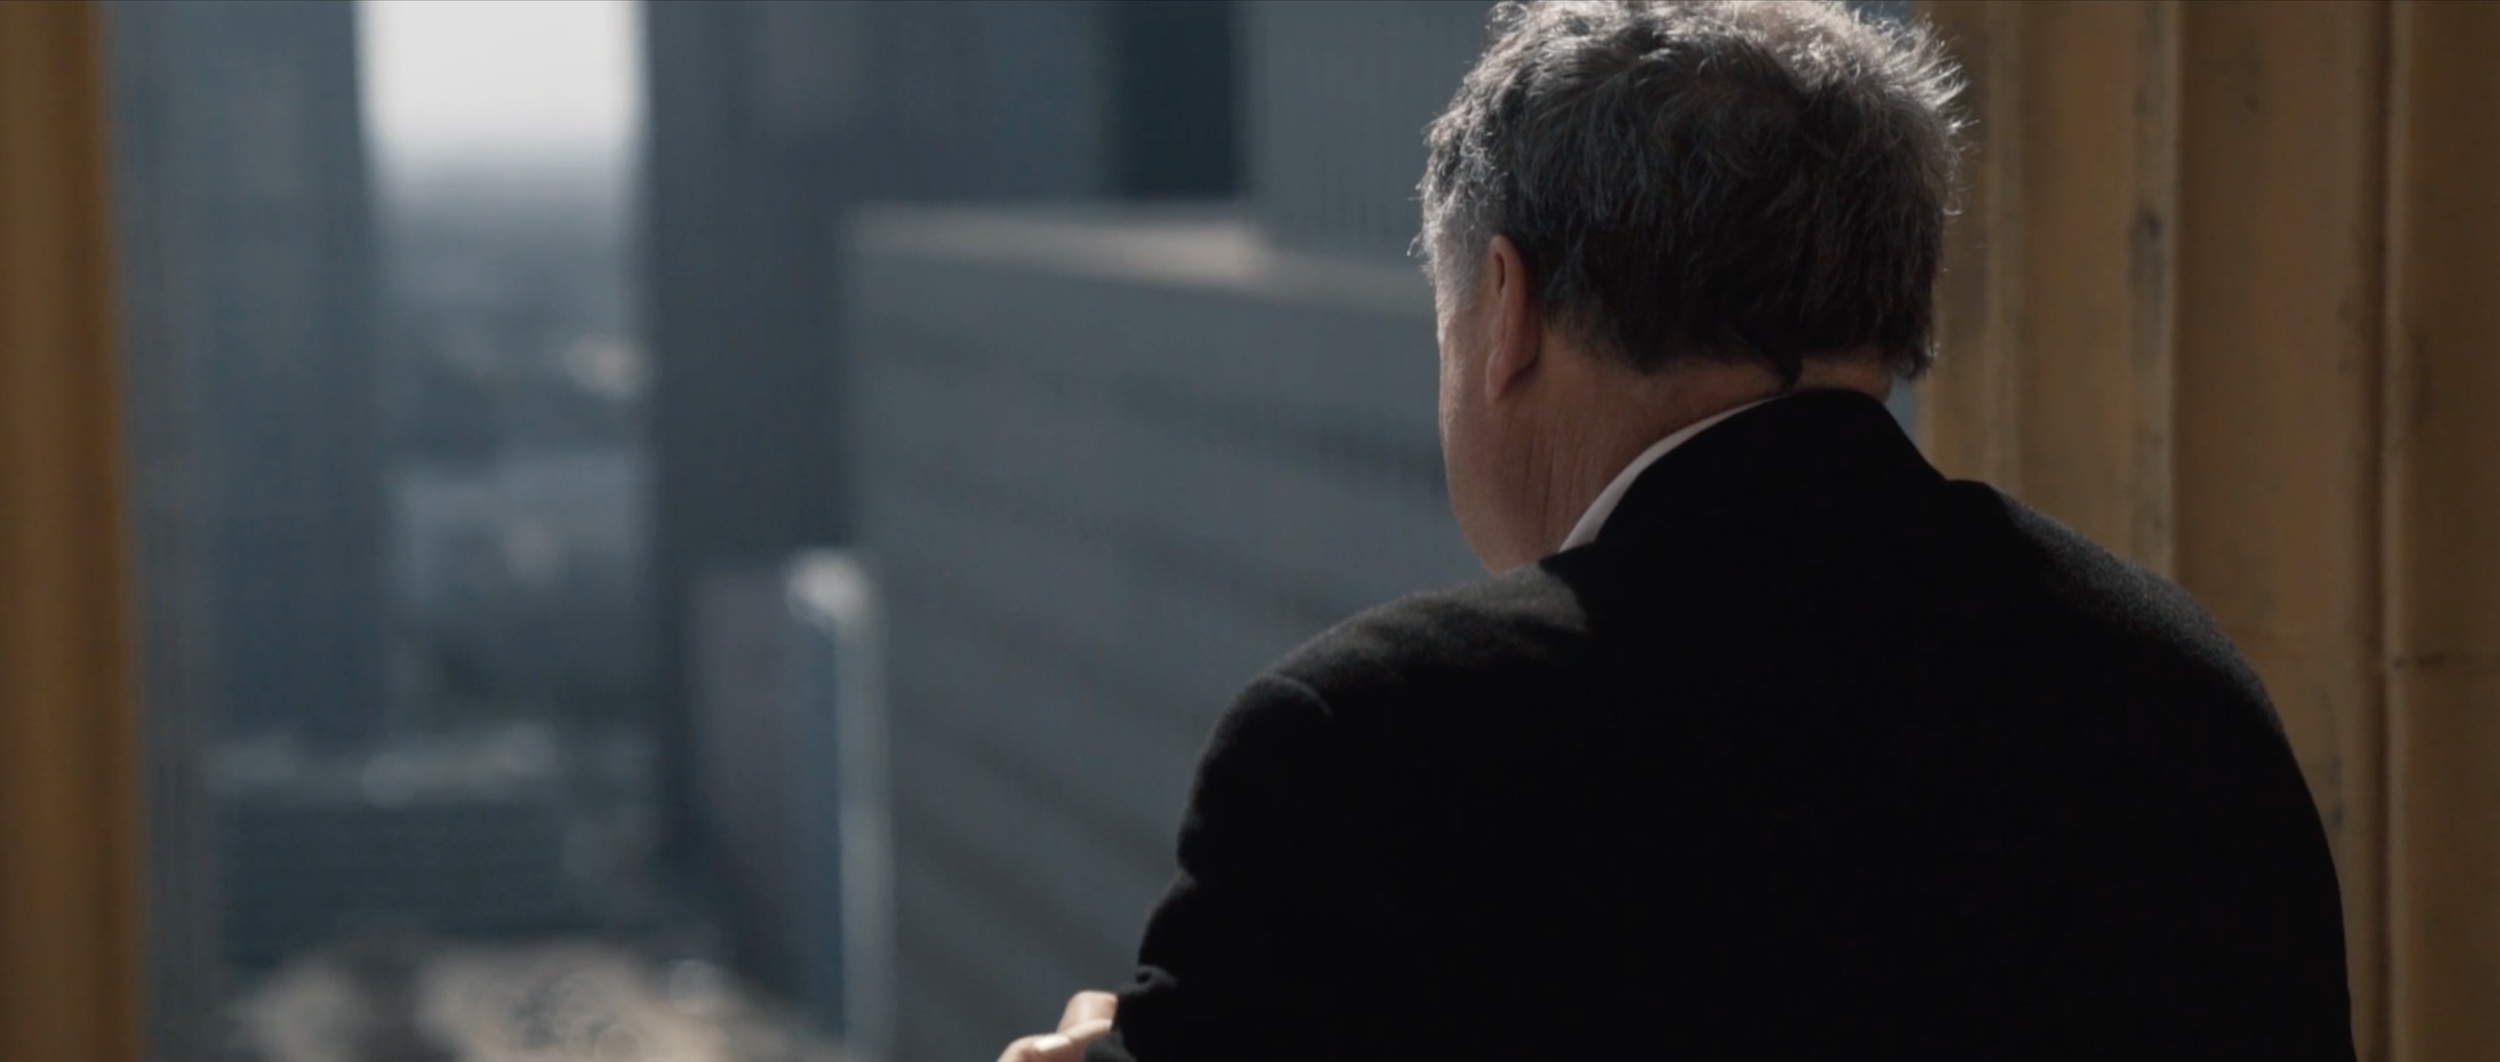
Using a teleprompter while the presenter looks off camera.

Ok so you know when to use it but how do you use it?

Practice Makes Perfect

Just because you are going to be reading your script off of a telepromter does not alleviate you of any pressure to practice practice practice! We have had to spend hours redoing take after take because a client was having difficulty reading the script they wrote. This was because they did not listen to us when we told them they would need to practice reading their script aloud until it came off naturally.

When you practice reading your script and have achieved sounding natural then you are done!

Typically the presenter does not write the script so the wording may be odd to them. When practicing the script this a good time to make any changes that will make if feel more natural to you.

Body Language is Key

Your body language conveys almost as much meaning as your words do. You will need to be able to focus on smiling, inflection, hand movement, and overall body language during filming all while being surrounded by lights, cameras, crew and anyone from your staff that is on set. This will be impossible for some if they are not familiar and comfortable with their script. But practicing before we film will make this easy and you can do it!
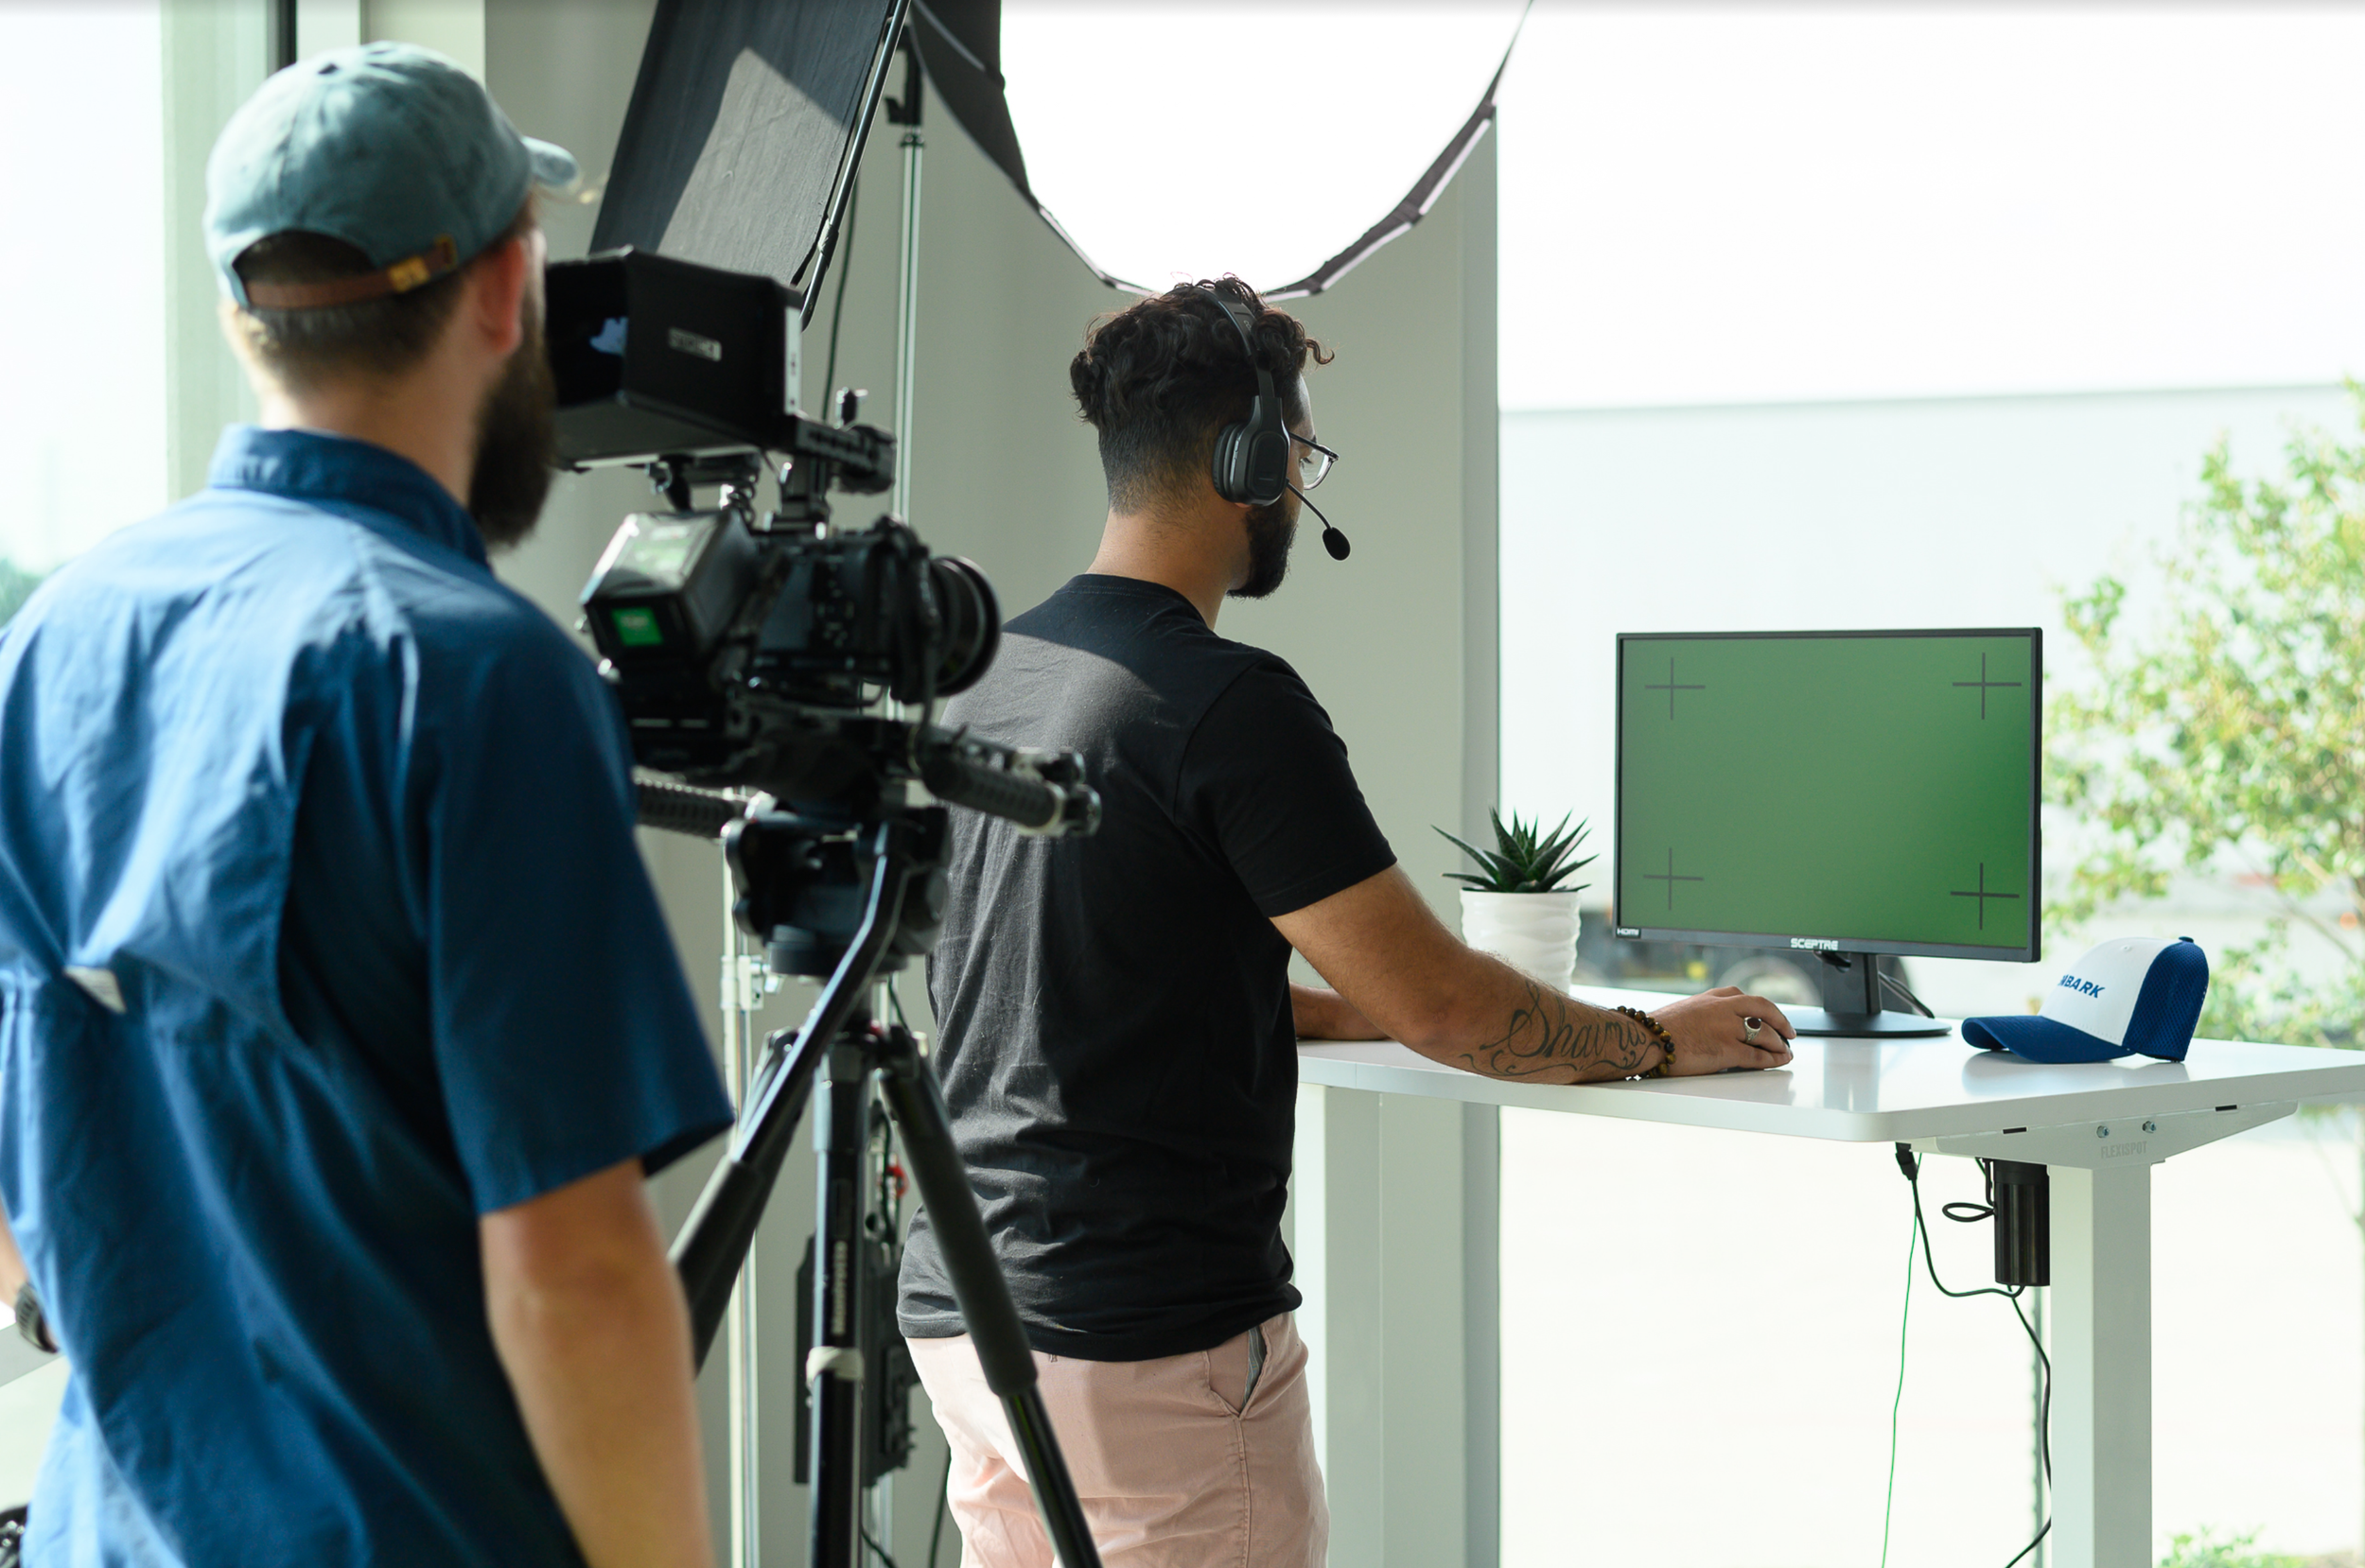
The Telepromter

We will be able to adjust teleprompter scroll speed to match your speaking and change the font to be a comfortable size.

Dont stress!

At the end of the day we just want you to feel comfortable on set and that will happen best if you prepare. On average we do around 3-5 read throughs of any script. No one is perfect and you will mess-up which is expected.

If you have any questions or need help planning your corporate or non-profit video production give us a call!


Houston Car Mounted Camera System - The Movmax N2 Pro Mini

The Vaxis Movmax N2 Mini Pro car mounted camera system.

Lets go ahead and jump right in and show you the high speed footage that was captured at 55-75 mph on a freeway.

Overall it did great at those high speeds and I think where it suffered in image quality was actually from the Ronin RS2 lack of built in GPS stabilization and motor strength. The GPS module and adapter are something you can purchase separately.

First impressions

It is a well built and sturdy system. We never had any of the suction cups come loose while filming. We were reaching speeds of 80 mph. While the suction cups held, the footage at that extremely high speeds was unusable. We might have needed the larger silicon inserts but didn’t have those. Read the fine print for the pro system. It does not come with the larger silicon inserts. Footage for us was usable up to about 55-65 mph. The biggest downside was the lack of instructions on how to fine tune it for different situations but that is expected when ordering a product from overseas. We also did not have much time on the shoot to do this. I’ll go into motor settings later on.

Balancing the System

Here is a detailed list of how I balanced the system with the weight of what we were using. Since we use pounds in the states I have converted the Movmax charts for quick reference. I also broke down the weights for our different setups.

Gimbal Settings
After calibrating the gimbal increase stiffness about 20% and strength down to the lowest setting.


Power and Cable Management

Having mutileple D-Tap plugs available is a really nice feature for this rig. We ran power to the gimbal, FX6, and Teradek system and barely went through half a 98 wh battery for about two hours of filming.

Safety

Your first thought should not be of how to keep your camera safe but how to keep other vehicles on the road safe in the case of a worst case scenario happens where your rig or camera falls off of the car. So how do we achieve this? The rig comes with one ratchet strap and I recommend a minimum of one more. We ended up using a total of 3 ratchet straps and 3 safety cables. One rachtet strap as an anchor for if the rig came loose it would still be held onto the roof. The second one was used to attach the bottom suction cups to the back of the car. The third one was just for the camera and gimbal. The rig Movmax should have one or two safety cables and the gimbal and cameras should have another one.

If you have never done this before you should watch some videos about how to safely install a suction cup mounted car rig. There are also some tips on how to avoid damaging your paint with the suction cups.

Gimbal and Camera Control

We had a ps4 controller and the Tilta Remote Control Handle but ended up using the ps4 remote since it gave us more control over the roll axis which shifted on sharp turns.

We had a 10’ lanc cable that connected the FX6 side control handle to the camera so we had complete control over the camera settings and autofocus . We set the autofocus to spot and moved the spot in real time to where we wanted the focus.

Final Thoughts

I still need to do some testing to see if we can achieve good results over 55-65 mph but anything under that speed and we were able to achieve some great results that won’t need much if any stabilization in post. I also need to do some testing with the camera mounted on the side and front of the car. We had tried mounting it on the side but the gimbal began to significantly shake at around 40- 50 mph. I have yet to mount it on the front of the car but expect similar reactions to the side mount from the gimbal.

Please leave your experiences below in the comments section!


The Production Day

All of us on the VWP team would like to thank you again for agreeing to be a part of this video production. Our hope is that through your story someone's life will be impacted for the better. Here is an example of one of our videos. Later in this blog we will show what a setup for a production like this would look like.

This One Goal Video was a three day production at four different locations.

What to Expect on the Production Day

The crew only consist of one to three people and filming can take anywhere from 5 to 10 hours with lots of breaks for you between filming. If a location scout has not been done prior to us arriving the first thing we do is scout a location to film the interview which takes roughly 10-15 minutes.

We then set up for the interview which takes anywhere from 45 minutes to an hour and a half depending on the location. The interview usually runs for about an hour and then we take down the interview set up. Taking down the interview set up takes around 30 minutes.

Example Schedule for a 10 hour production day.

7:30 AM - 9:30 AM: Arrive and set up equipment. (capture sunrise drone shot and exterior b-roll)

9:30 AM - 10:00 AM: Film 1st interview.

10:00 AM - 10:30 AM: Film 2nd interview.

10:30 AM - 11:00 AM: Film 3rd interview.

11:00 AM - 11:30 PM: Film 4th interview.

11:30 PM - 12:00 PM: Consolidate gear and prepare to film B-roll.

12:00 PM - 1:00 PM: Lunch Break off site.

1:00 PM - 2:00 PM: Film b-roll for 1st & 2nd interviewees.

2:00 PM - 3:00 PM: Film b-roll for 3rd and 4th interviewees.

3:00 PM- 4:00 PM: Film general b-roll of staff and building.

4:00 PM- 5:00 PM: Tear down gear and load out.

5:30: Wrap

Sound is key

We ask that the business or house be as quiet as possible during the filming of the interview. This would mean that loud machinery, talking, pets or children would need to be not present or quiet during the filming. Other things to consider would be loud construction near by or lawn services mowing your lawn on the day of production. After the interview we will not be capturing anymore sound so noise will not be an issue.

B-Roll

After the interview we then film b-roll for the rest of the day which is the non interview footage that is overlaid throughout the film. Most of the b-roll is typically filmed at the interview location but sometimes it requires driving to a different location. In the slideshow above you can see examples of b-roll.

What to Wear

DO NOT WEAR clothing with small patterns like checkered or striped shirts (See the photo below). As a general rule, solid and rich colors look best on video and film. Try to avoid wearing bright white clothing which can dominate the screen. Try and choose colors that compliment your skin tone and wear colors that make you feel comfortable and confident. Unless you are trying to promote another brand, avoid wearing clothing that has a logo written all over it. Your brand matters so consider wearing something that brings out your personality.

Moire Effect with digital cameras

Preparing for Your Interview

  1. Review your talking points thoroughly so there are no surprises on the production day. However, you should not try to memorize lines. We want the interviews to come across as conversational and as natural as possible. You are the expert and know your content which is why we are interviewing you, so don’t stress about it!

  2. Relax and be yourself! Everything you say will be edited and refined so there is no pressure to be perfect. You can mess up as much as you need to, pause during a line, go back and repeat the lines. We have two cameras and b-roll that allow us to cover up any mistakes.

  3. Remember that we will not see or hear the interviewer in the final video. Please repeat any questions we ask in your answer to give context for the audience. So if we ask "What is your name?" you would respond with "My name is..."

Our Post Production Process

I have a standard three revision process that is followed for every project. This includes a Narrative Draft, Revision 1, and Revision 2 and then Final Delivery. I have never had to charge extra for going beyond this three revision process so believe me when I say it works!

The first draft will be a Narrative Draft which will help us all agree on the layout of the story of the film or the messaging before we dive into the more creative items like adding b-roll and music. I usually place b-roll and add music to the Narrative Draft but it typically isn’t synced with the video since we haven’t agreed on the layout for the narrative yet.

Real quick, you might be asking what is B-roll. B-roll is secondary footage, often used as cutaway footage, to provide context and visual interest to help tell your story. Below are a few examples of b-roll from a testimonial project for 2nd MD.

Then we move to Revision 1 which addresses any other narrative issues and this is where I start placing b-roll and music more accurately.

Revision 2 typically does not include any changes to the narrative and this is where we start to finalize the video with color grading, audio leveling and finalizing any motion graphics (logo animations, lower thirds). If there are any other very minor changes after this then point I typically can do them for no additional charge. The only time I charge extra for an additional revision is if a narrative change is made after Revision 2.

One thing to note is that if we have done our proper preproduction then we should be able to nail the narrative of the video very quickly and not need Revision 2 to keep editing the narrative.

Final Delivery is when your video is delivered to you via Vimeo or Google Drive. I typically allow for very minor edits at this time if there is something in the video I missed but editing is typically completed at this point. I do allow for revisions beyond final delivery at an hourly rate.

We generally only allow 48 business hours and at most one week to receive feedback per revision before we consider it approved and signed off by the client. We then move on to the next edit. This is to keep the final delivery date on schedule as well as keep a project from spanning months, which in the end will have negative outcomes for both parties. We are flexible and if more time is required we must receive written notice of this. We consider a project closed out and approved by the client if 3 months span without communication.

We use Vimeo to host all of the videos and use their review page. Please add all of the comments to the Vimeo Review page that I will send you a link to. This allows for everyone involved in the revision process from your team to see the comments and for you to place comments directly on the video at the timecode where the change needs to be made. (see examples above and below)

After final approval of the videos we deliver them through Vimeo and Google Drive where they can be dowloaded.

RAW footage is never delivered unless specially scoped in a project. Please ask us more about this if you are wanting the RAW files at the end of the project.


Meet Our Drones: The Inspire 2 and Mavic Pro 2

Meet Our Drones: The Inspire 2 and Mavic Pro 2

Affordable high end Houston Drone Photography and Video Production

The DJI Inspire 2

A few months ago we purchased the DJI Inspire 2 Drone with the DNG RAW and Proress License for our video production company. It has blown away our expectations with image quality. We have been filming for BakerRipley in Houston and shooting in 6K RAW. The image is outstanding.

Screen Shot 2020-02-13 at 8.55.49 AM.png

Quasar Science LED Tube Lights

Quasar Science LED Tube Lights

Lighting for fast pace non profit videos.

My favorite LUTS for the Sony A7sii Cine4 Picture Profile

My favorite LUTS for the Sony A7sii Cine4 Picture Profile

This Cine4 picture profile has pretty much the same dynamic range as SLOG 3 without the exposure headaches and noise a lot of people run into.  I can't remember how I found these LUTS but after some searching I came across James Miller's DELUTS. I love these LUTS and he gives you a bunch for the CINE4 profile that I really like. I have attached his preview video of the LUTS below. 

Animating Characters in After Effects

GIGL TV was a fun project I had the privilege of working on this past year. During the project we needed to create a 3D animation but we were limited on time. We had to be able to create the animation in about 3 days and we weren't sure on what style to use. After some research I came across multiple animation styles but the only one that was going to work was the flat vector based 3D look. 

A great way to create vector based animations is by using the puppet tool in Adobe After Effects. I did this for the first time on this project where we told the story of King David in the Bible. It was a simple way to make this story come alive in a way that really grabbed the kids attentions.  

Illustrator allows you to create a really simple yet cool flat 3D look in After Effects. You create a parallax motion by staggering your illustrator files in 3D space which gives realism to the world and adds the feeling of depth. I followed this tutorial to make the animation.