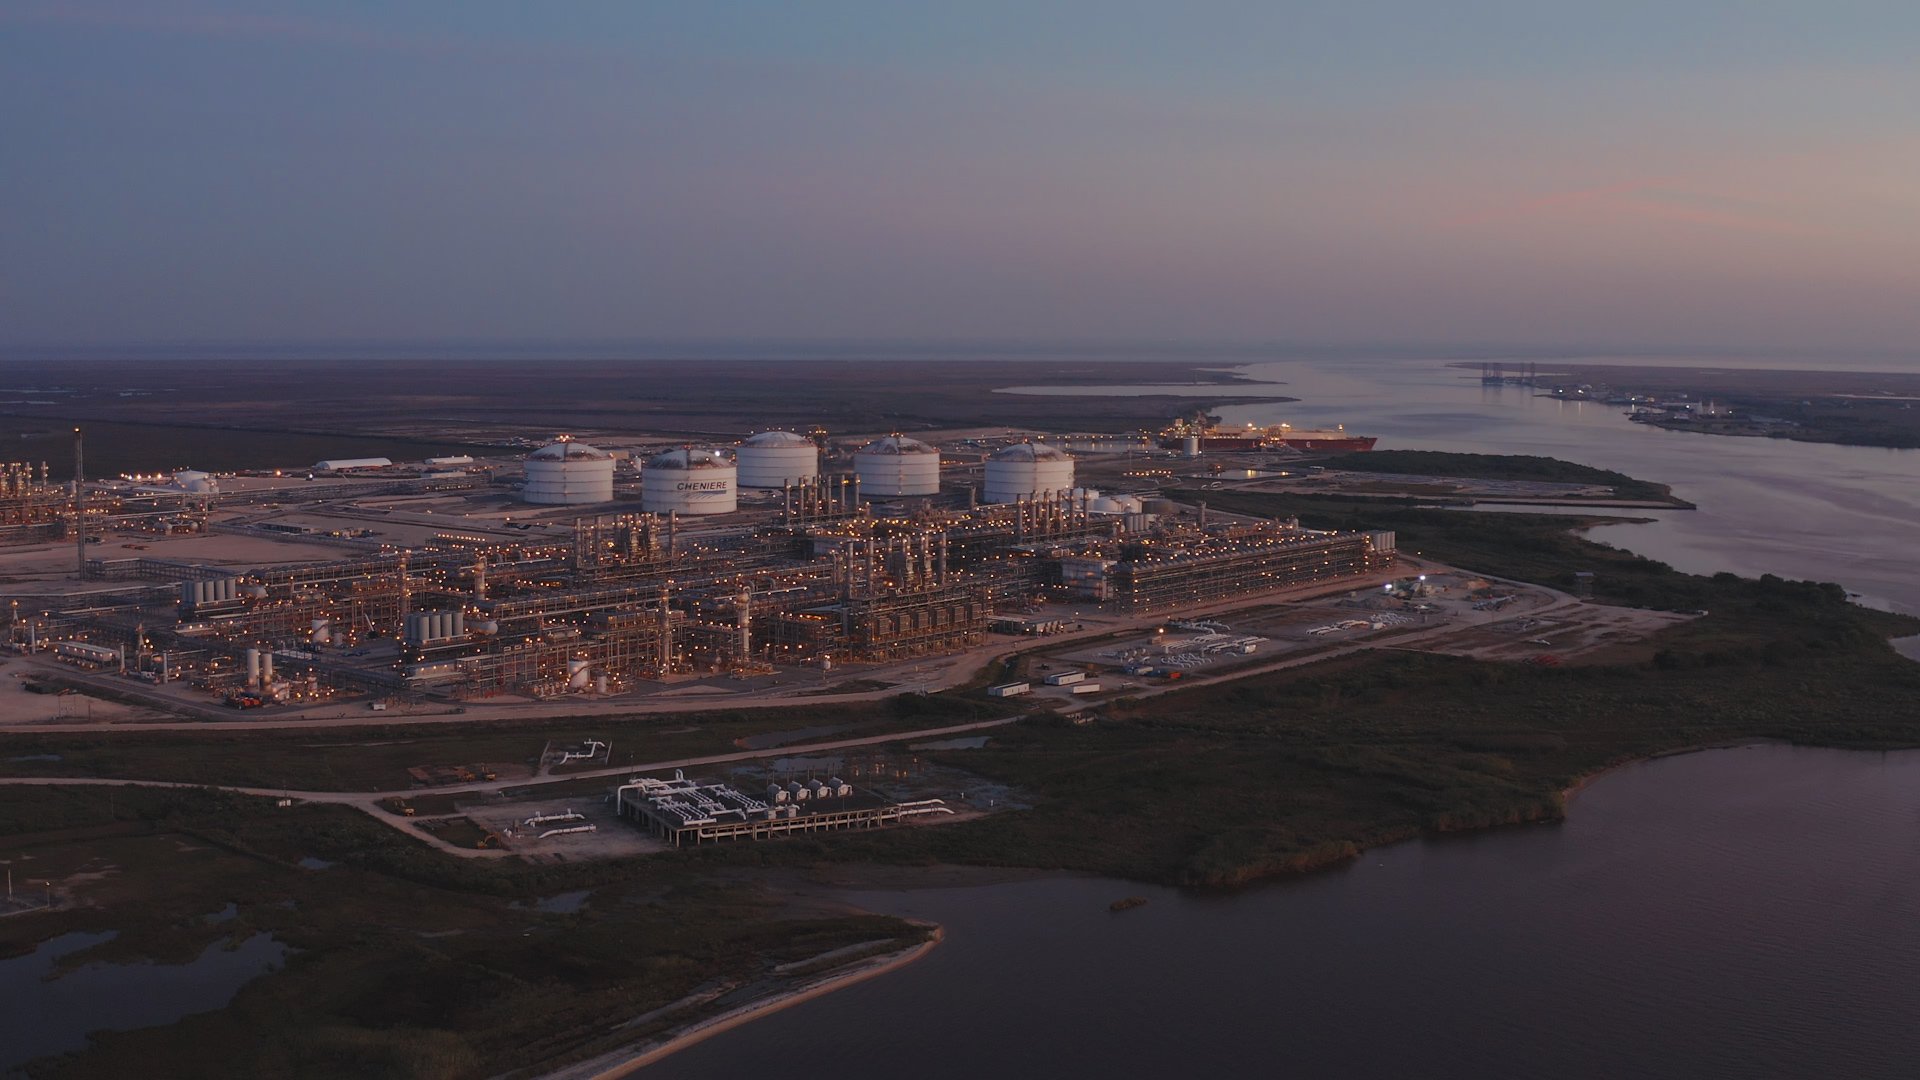
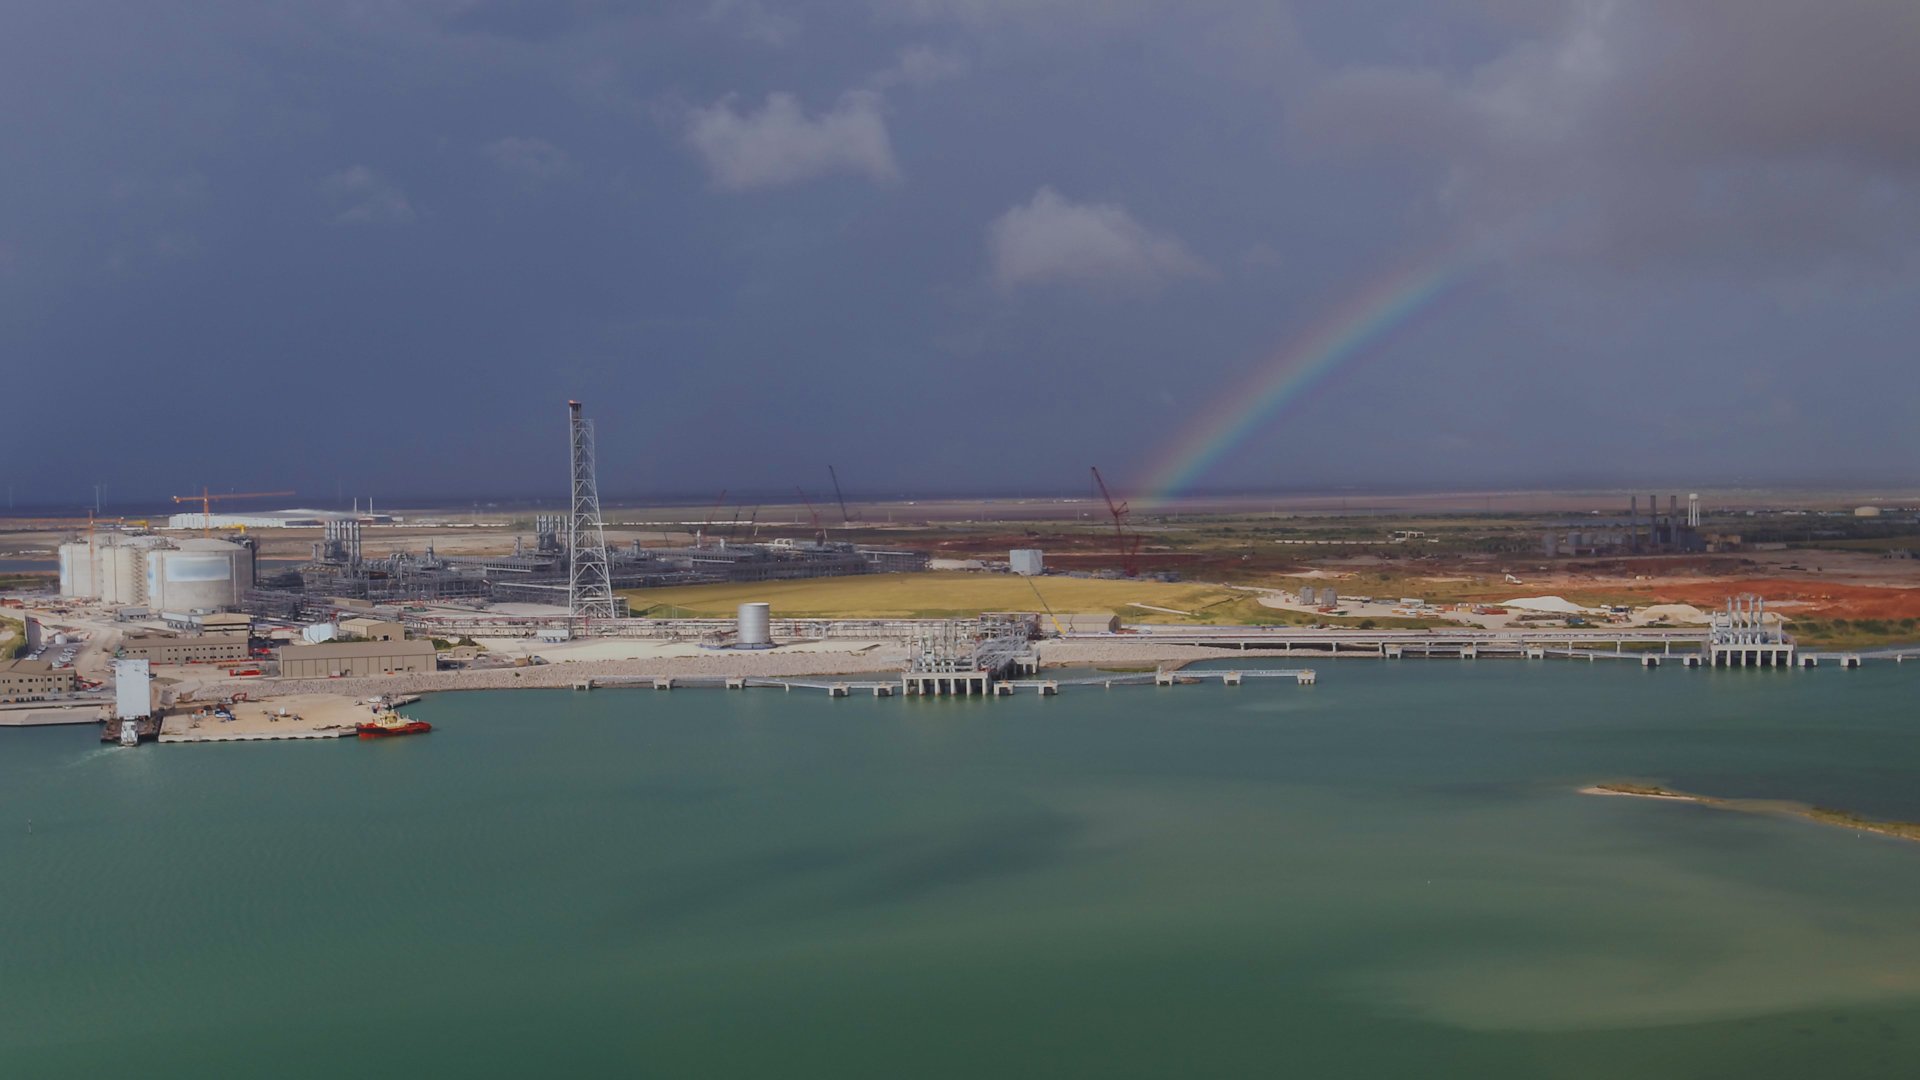
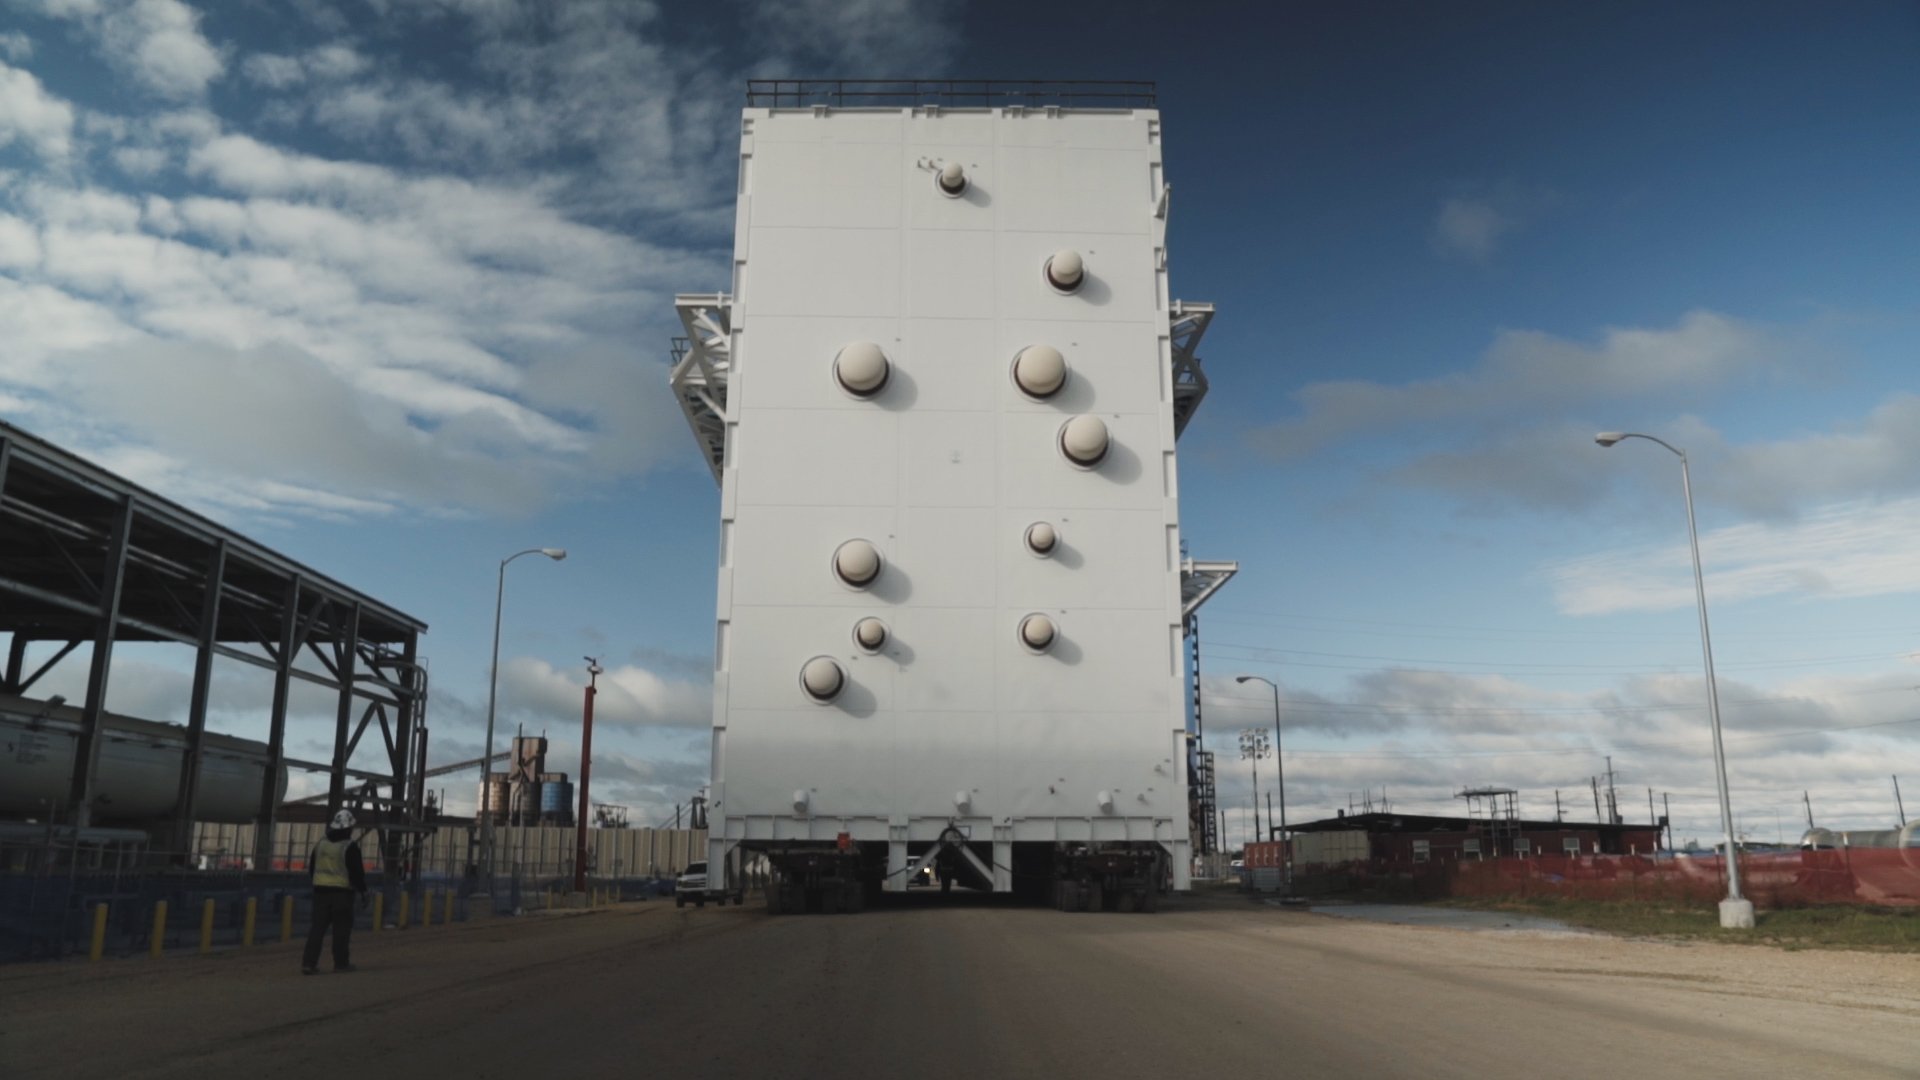
Houston drone video production for NASA
The Production Day
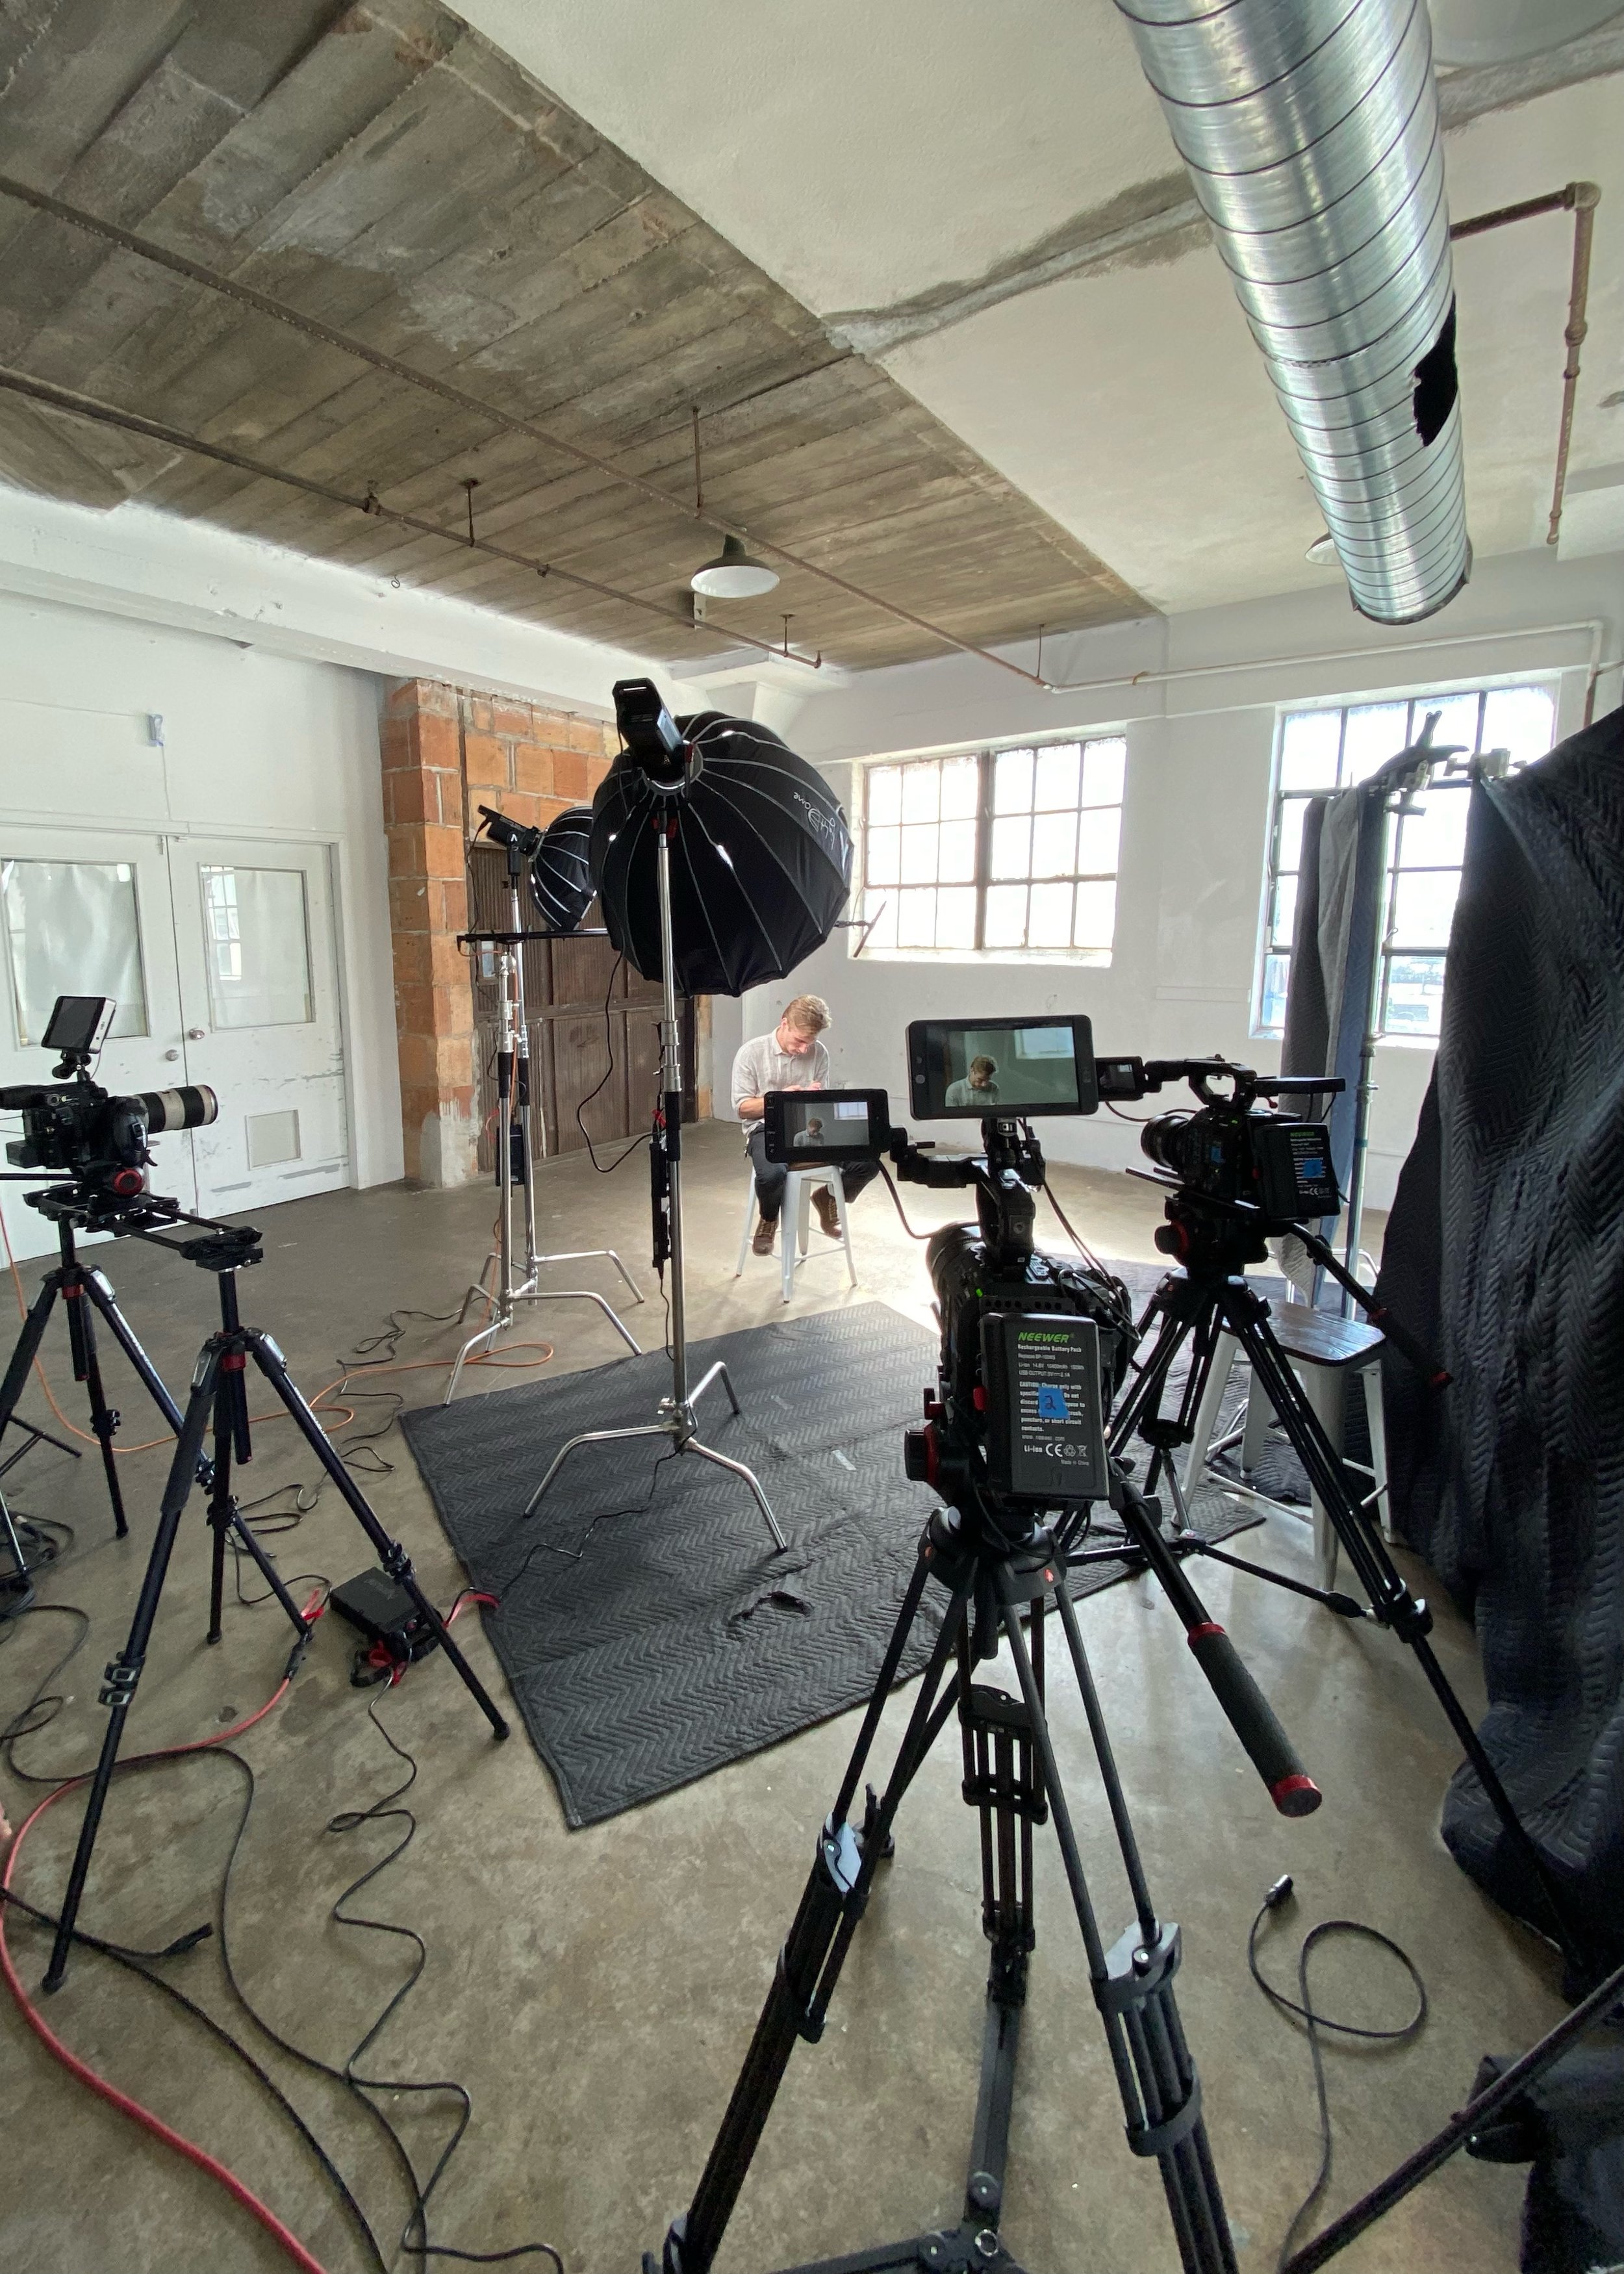
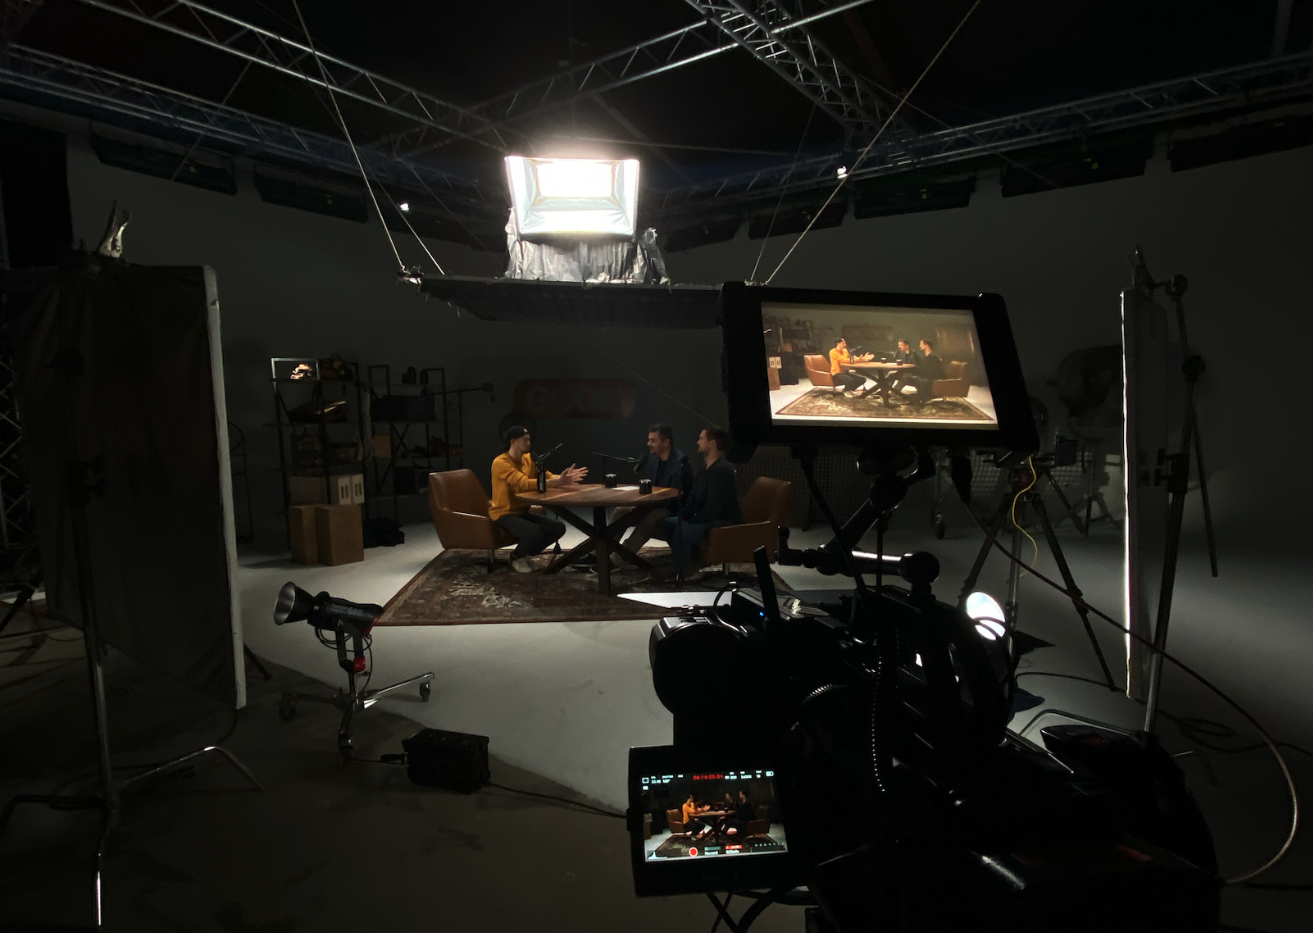
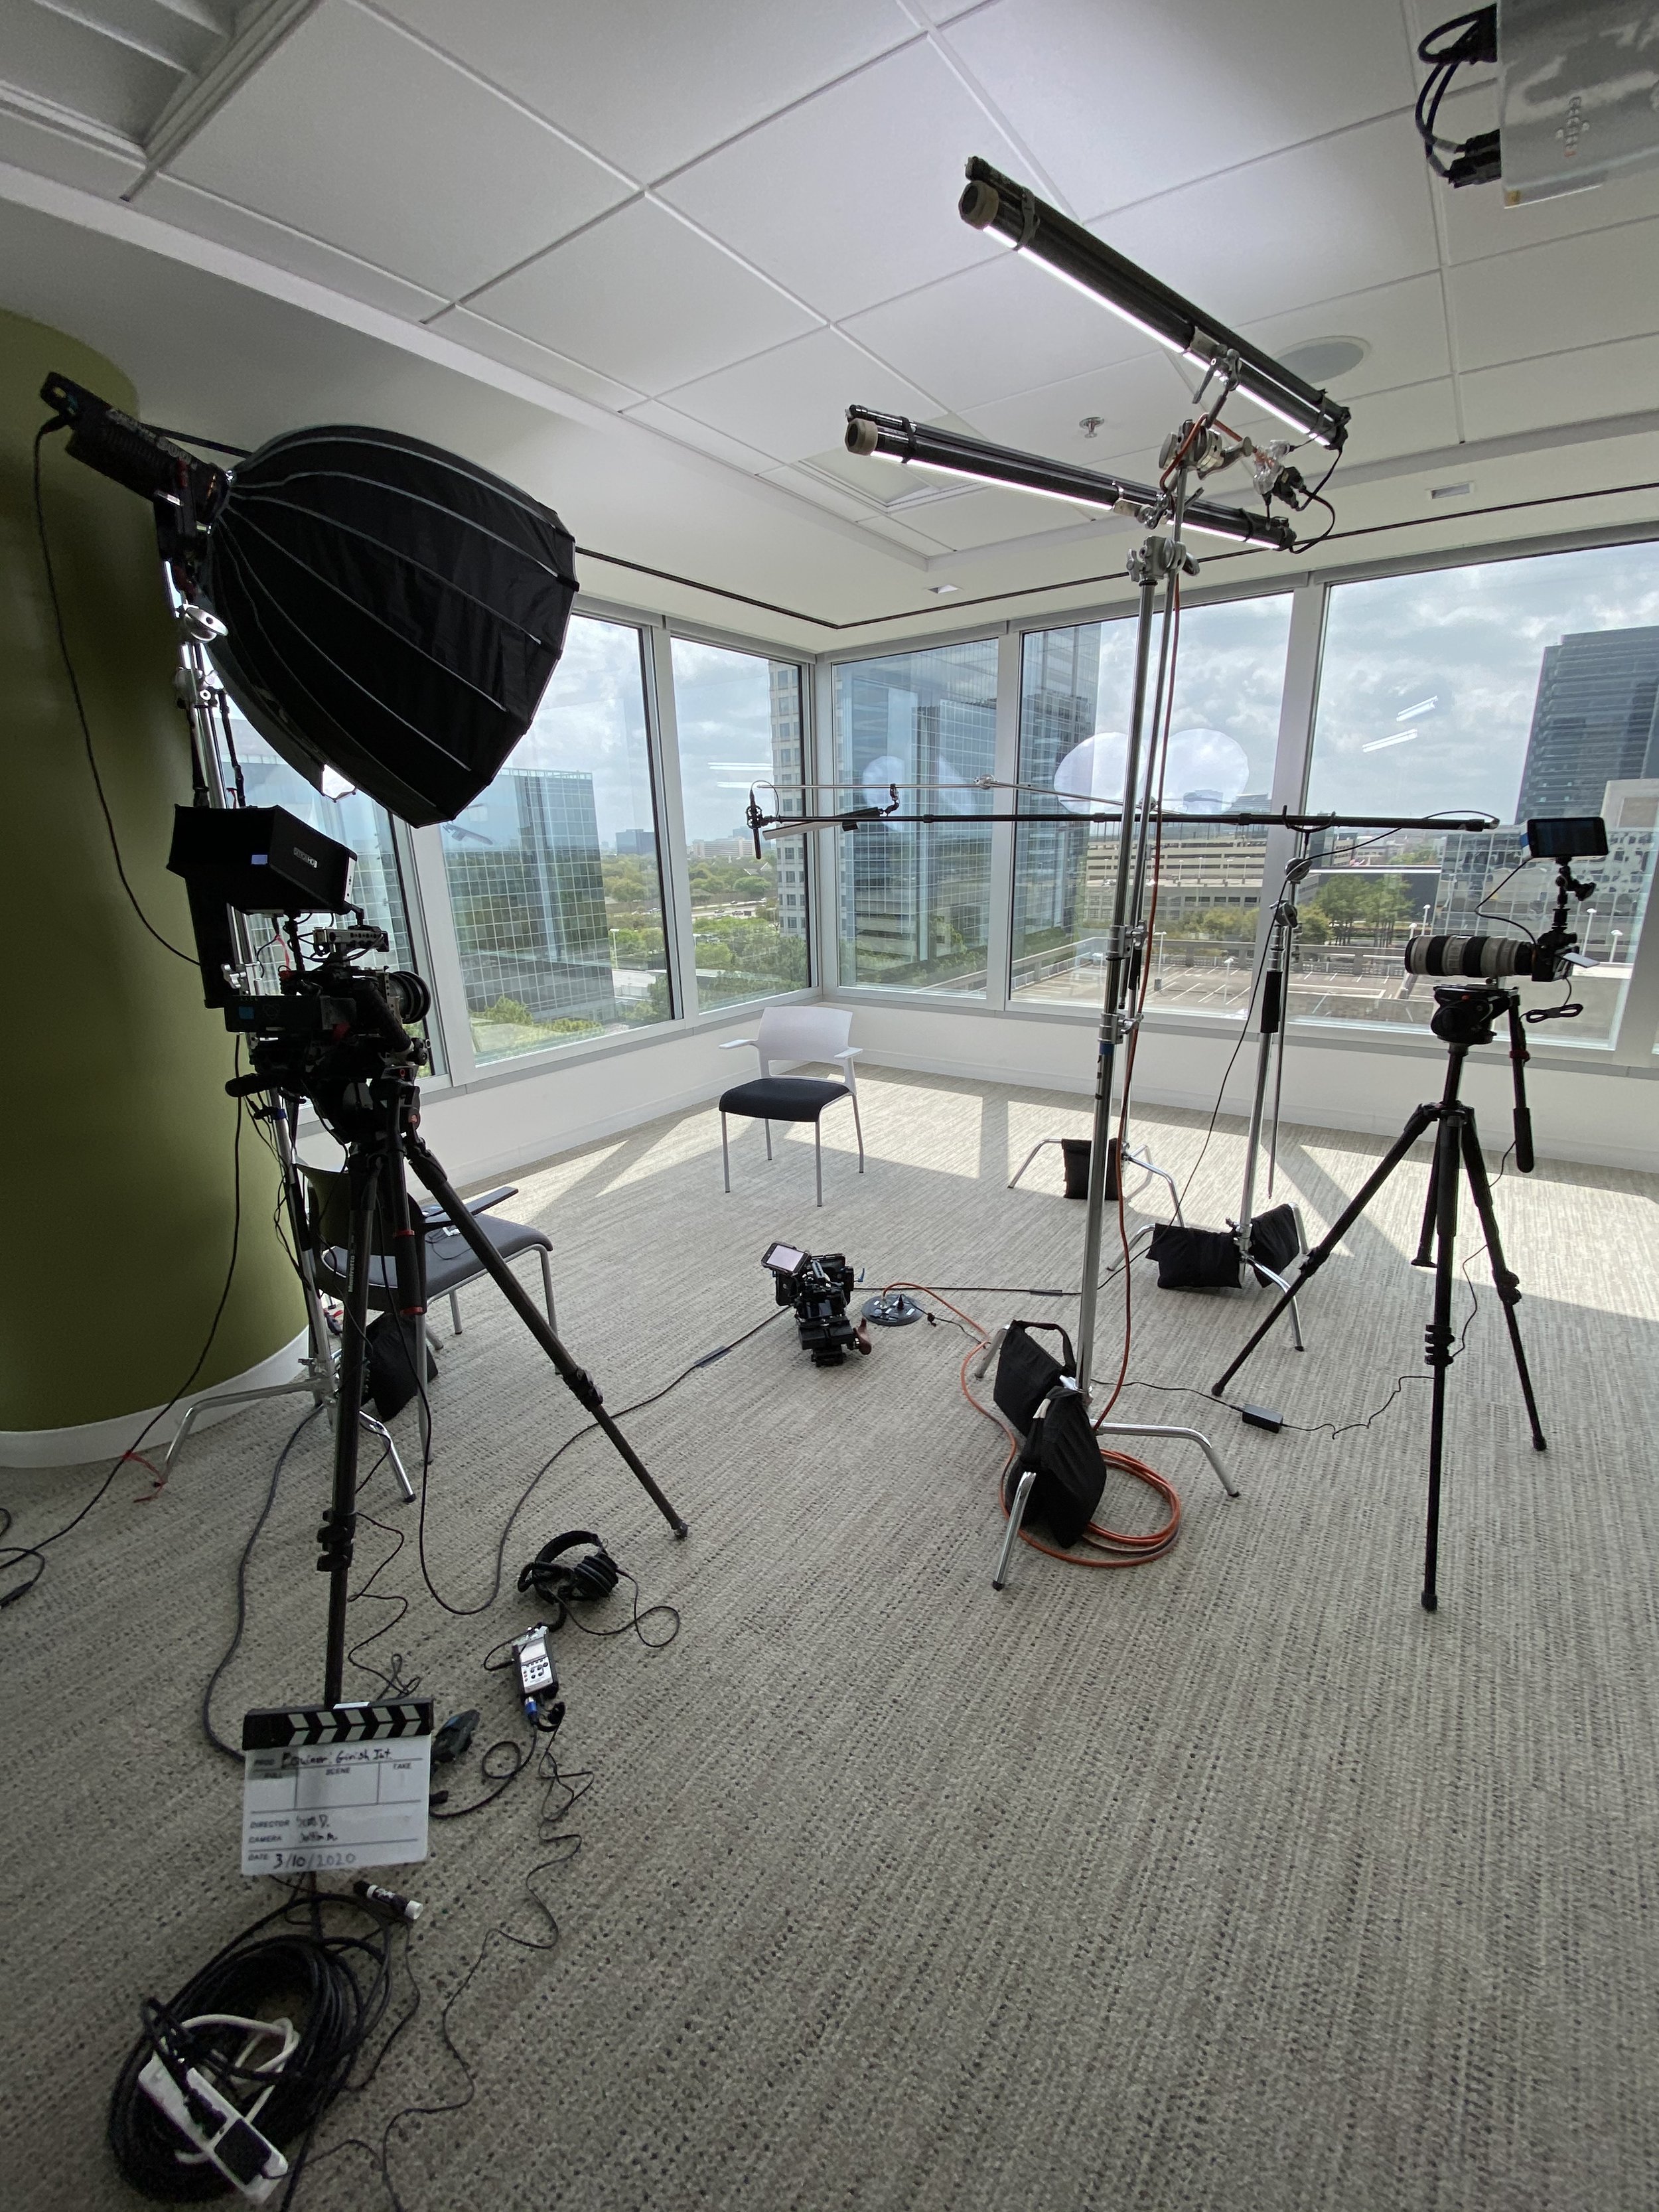
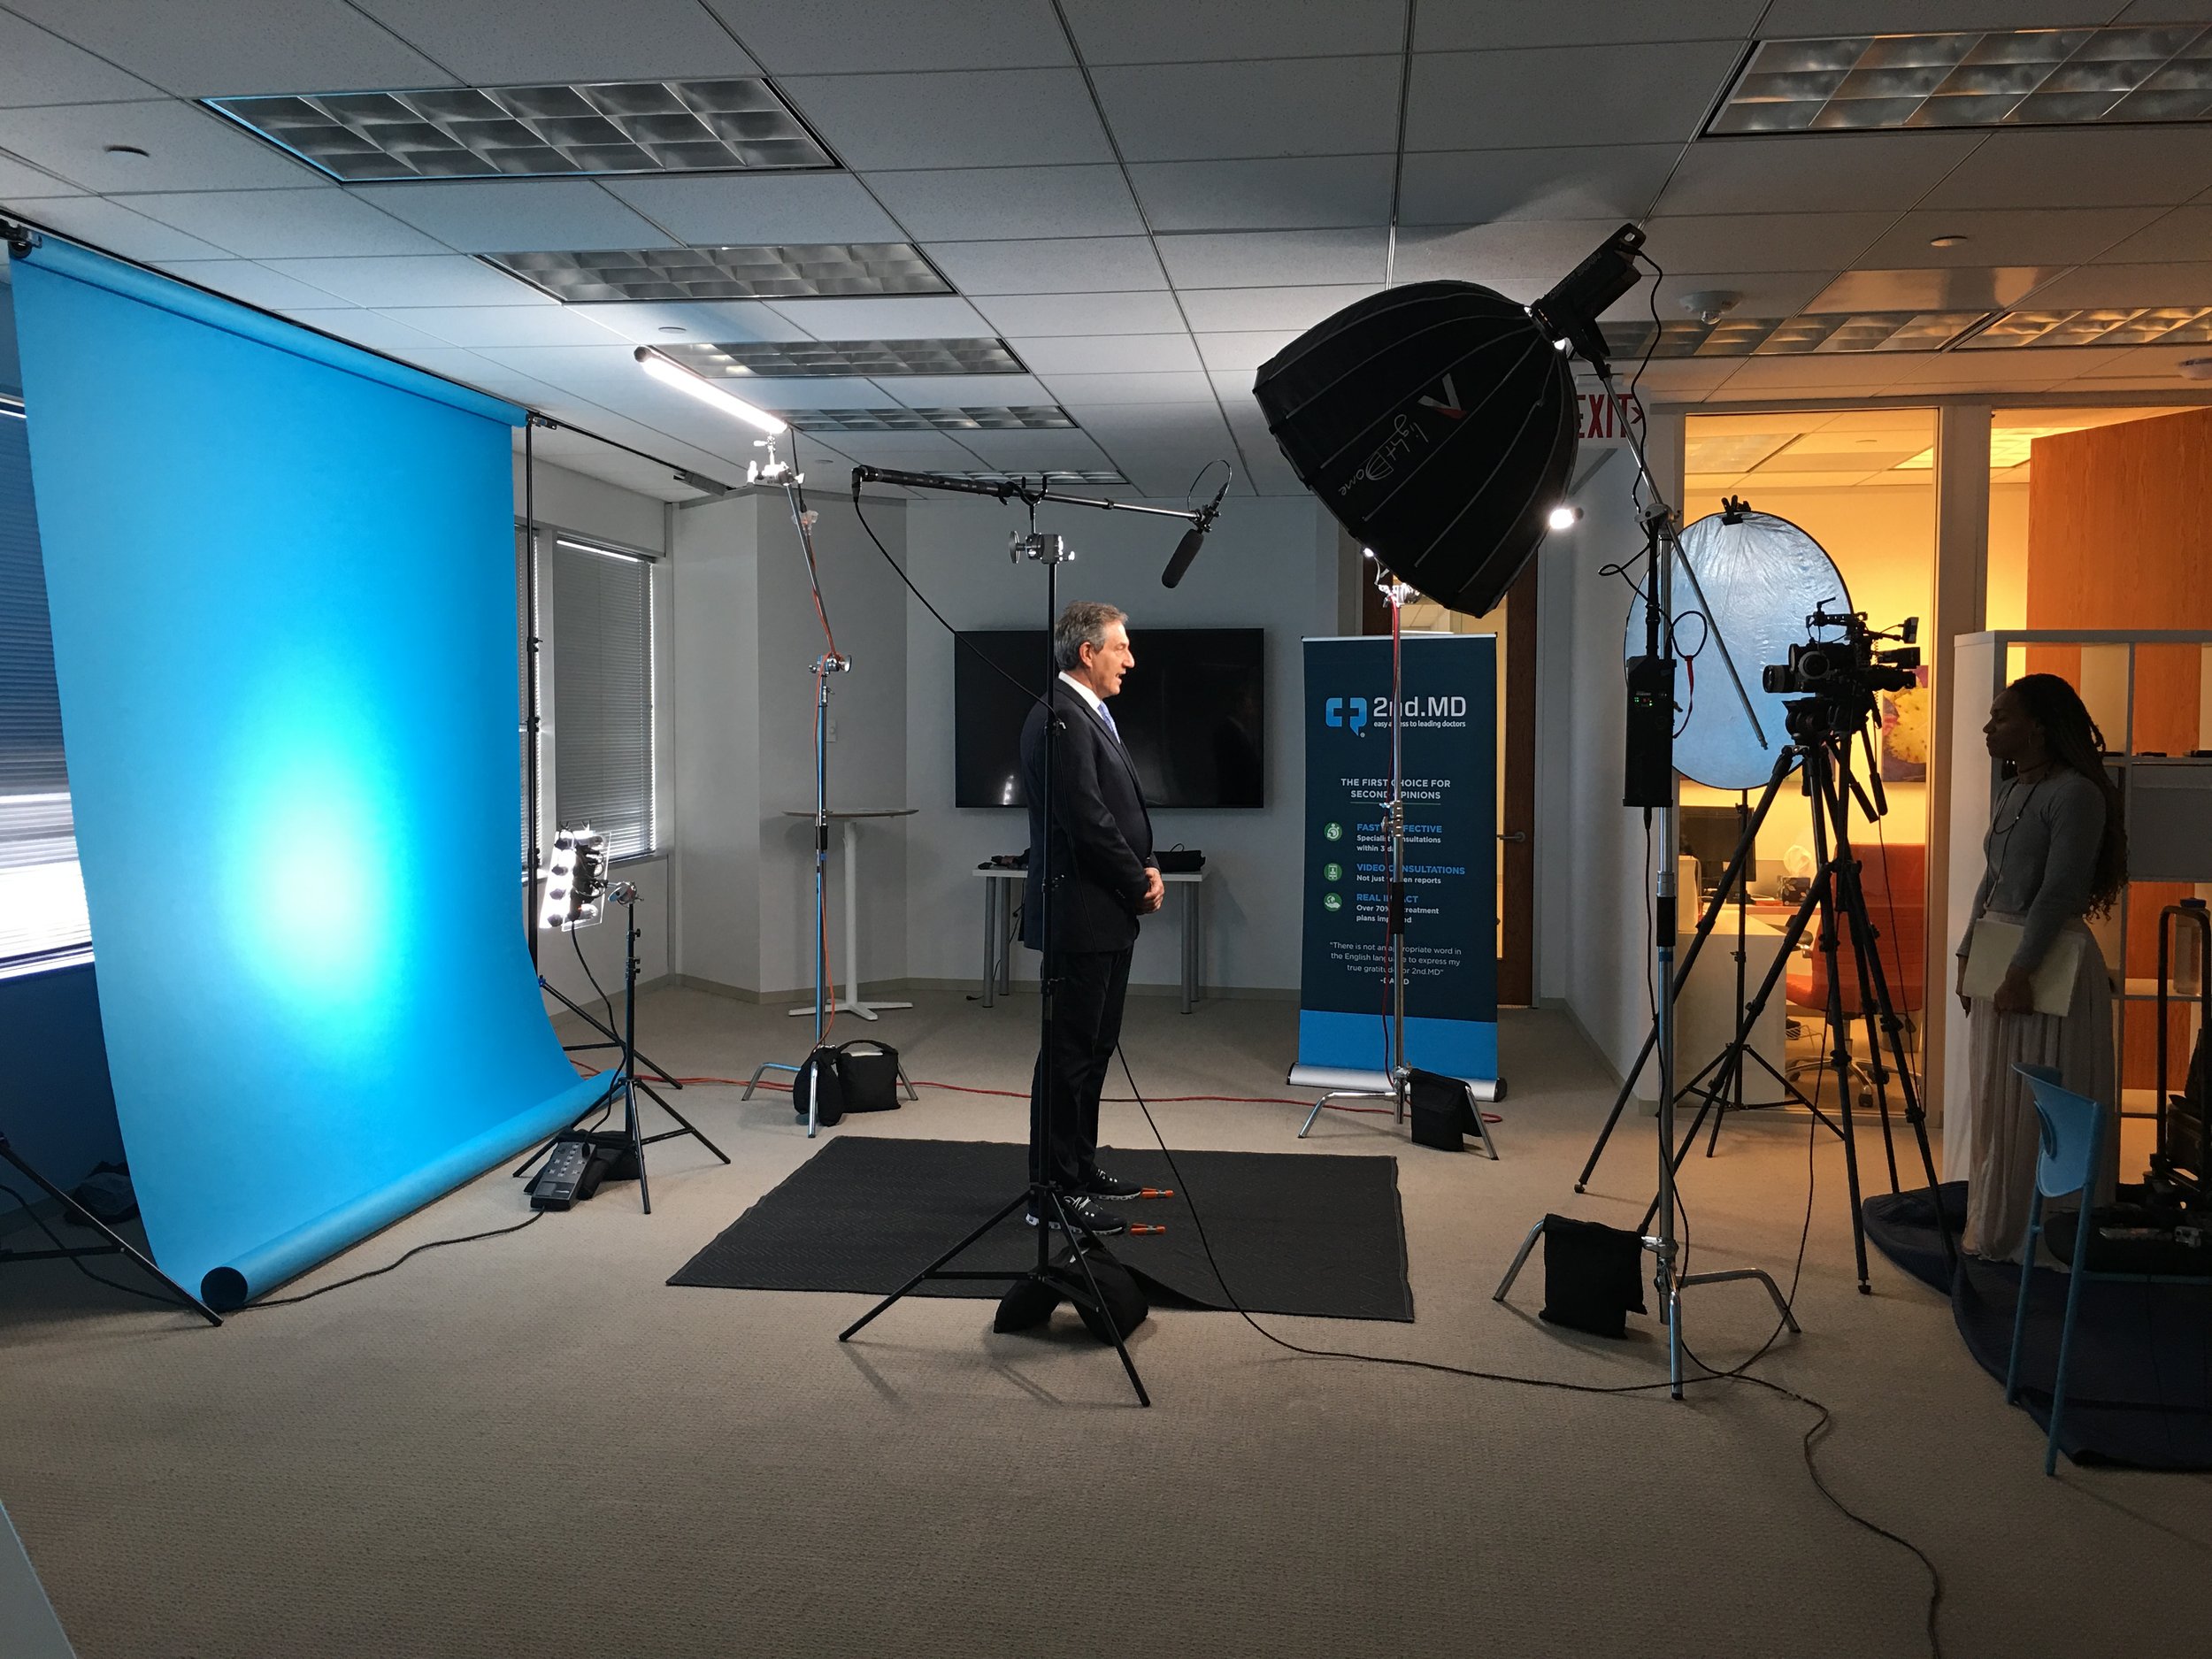
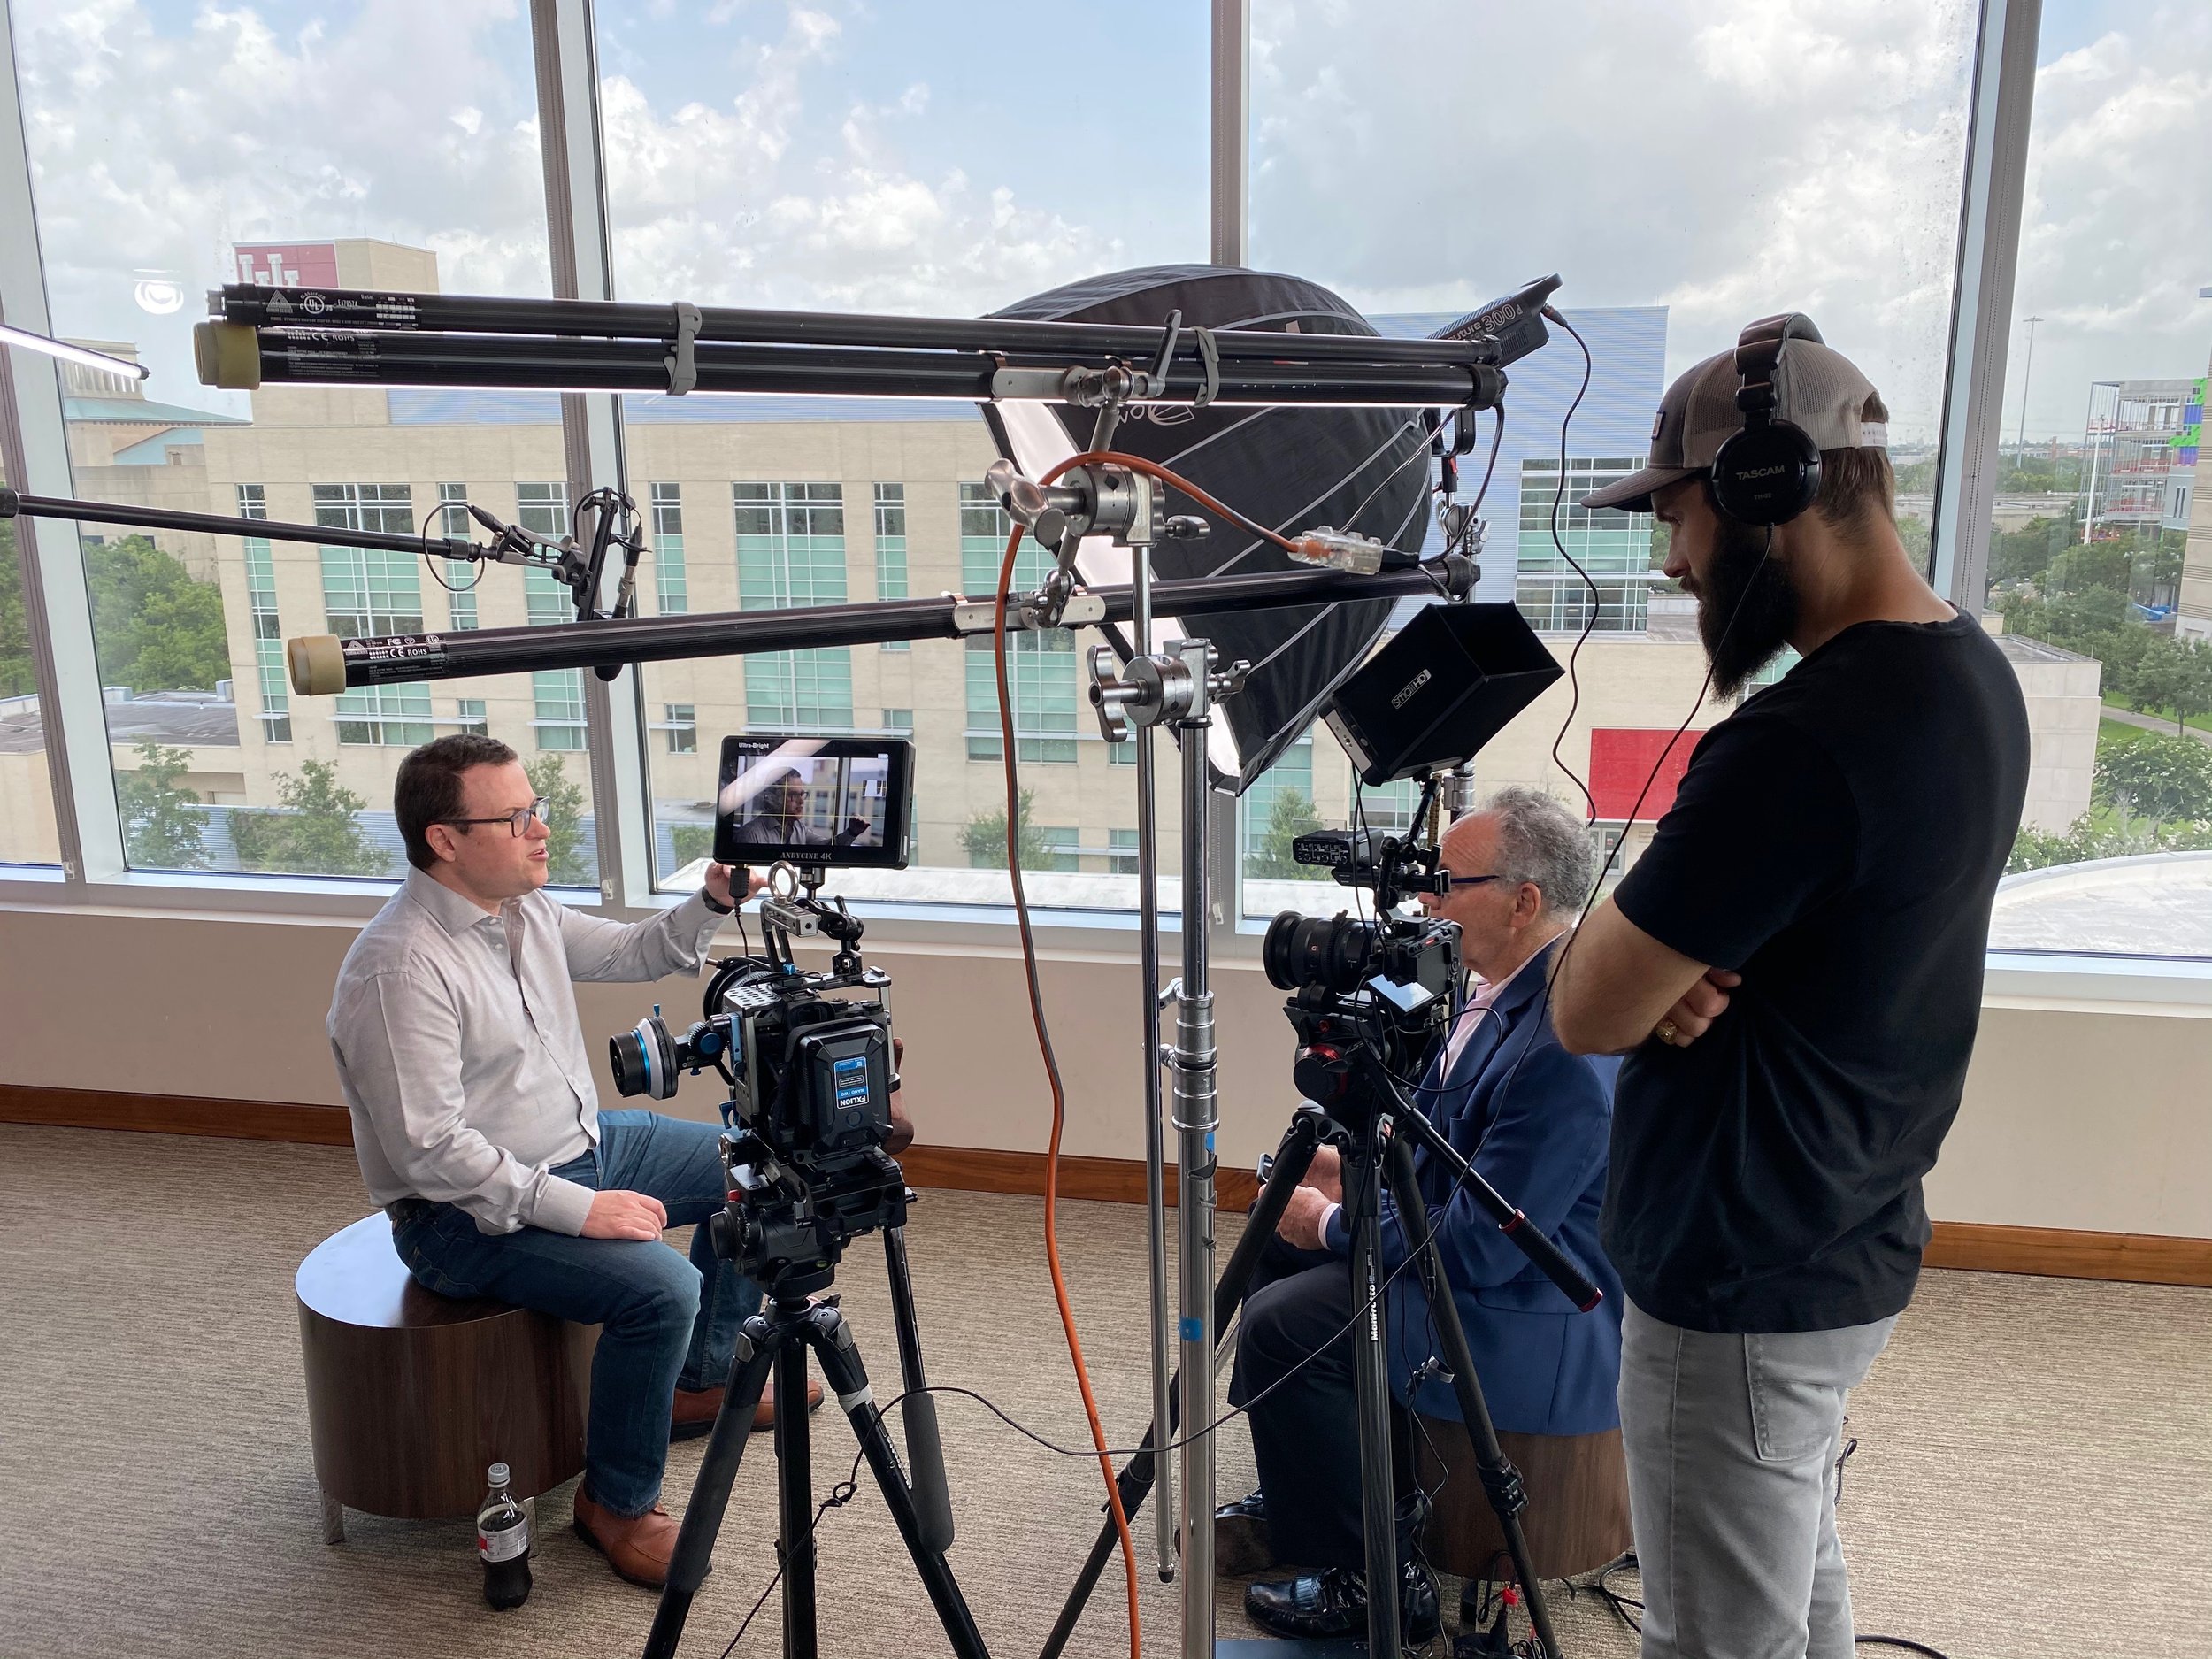
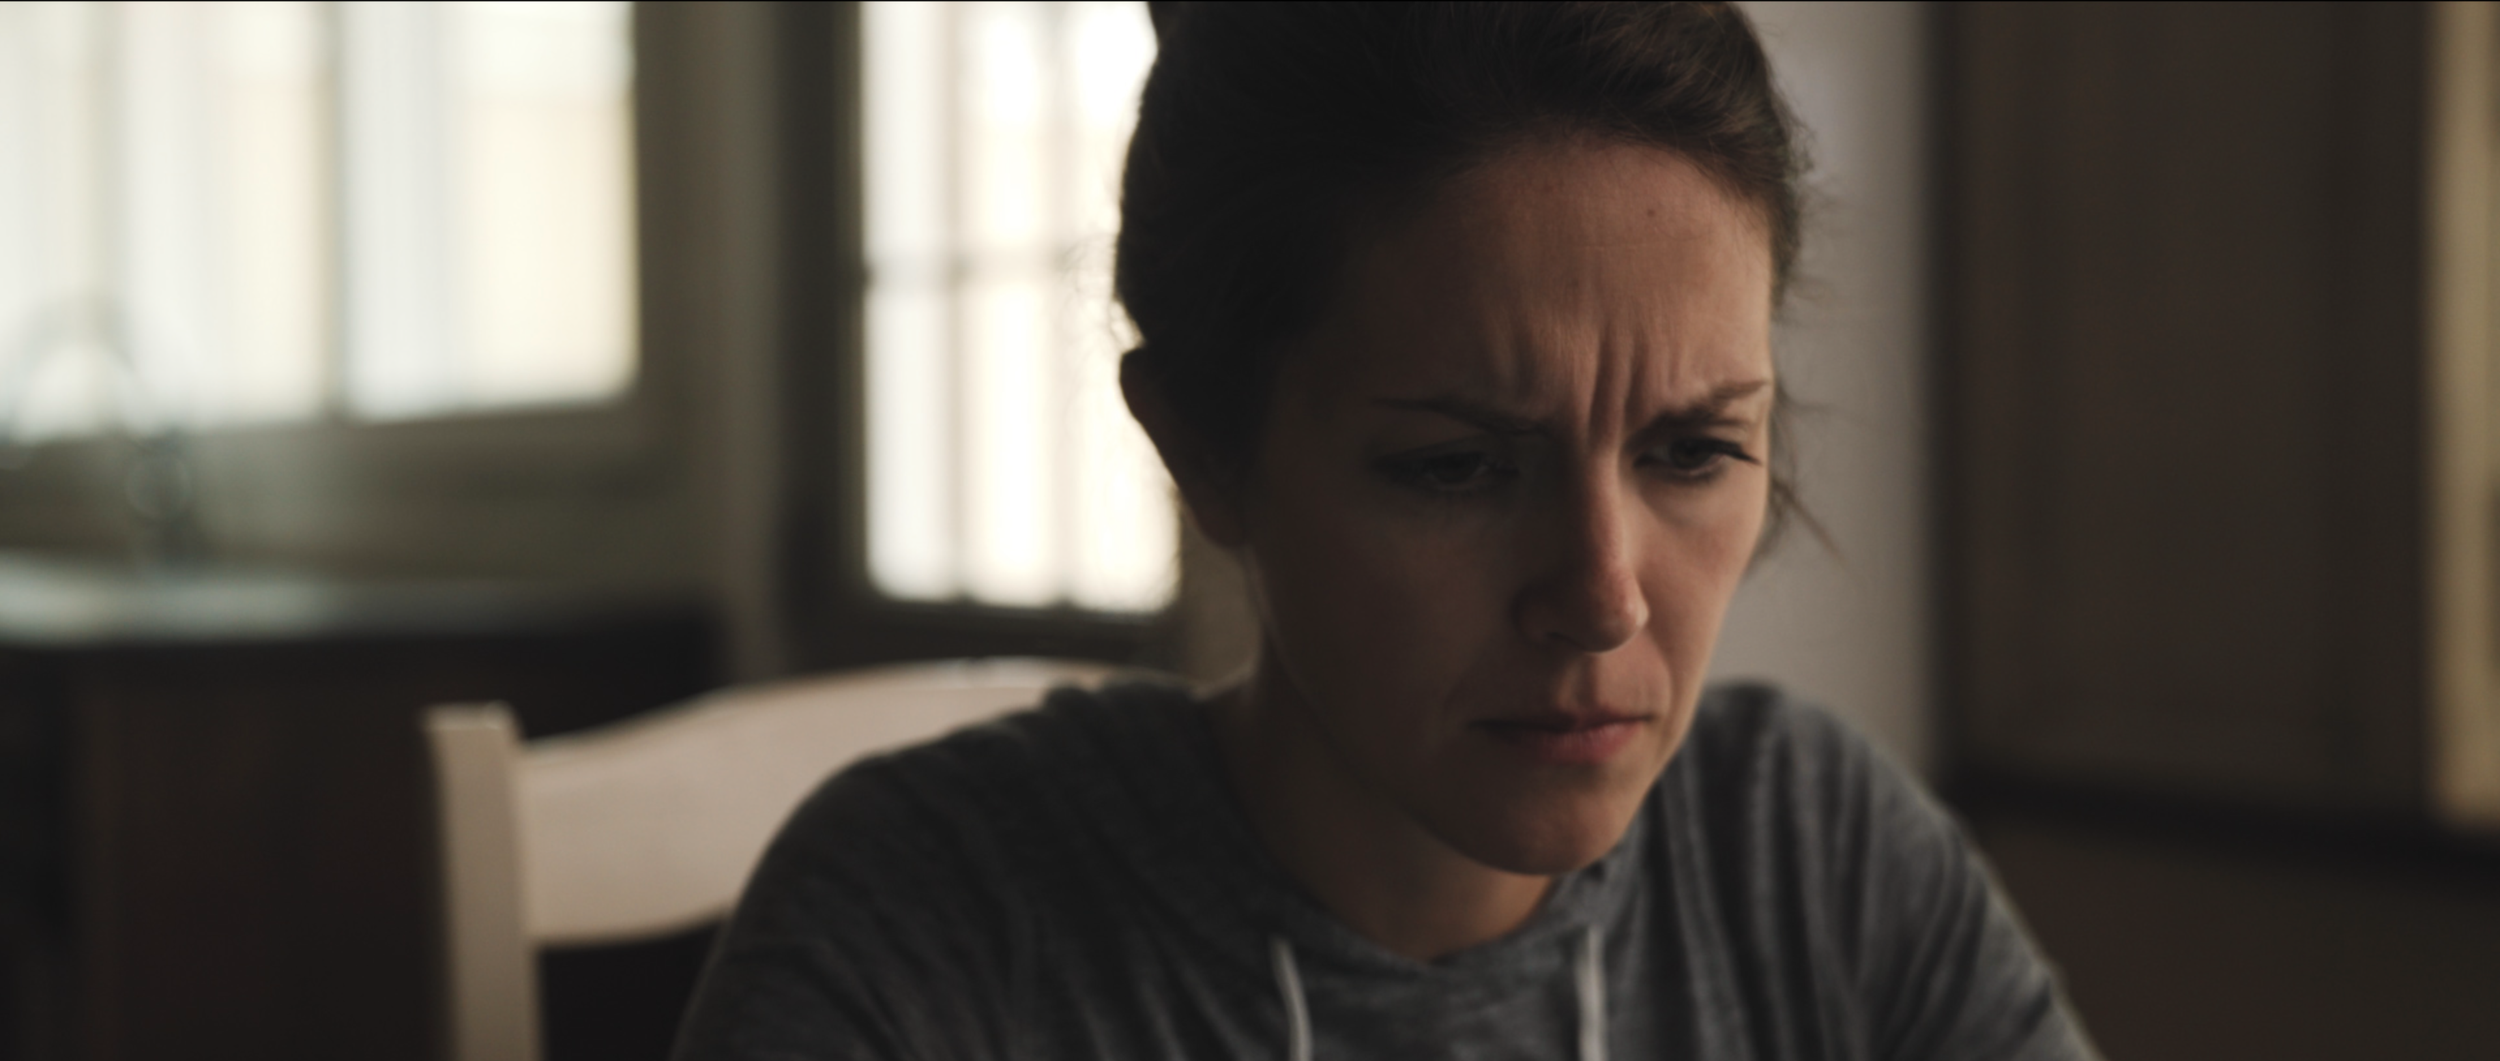
All of us on the VWP team would like to thank you again for agreeing to be a part of this video production. Our hope is that through your story someone's life will be impacted for the better. Here is an example of one of our videos. Later in this blog we will show what a setup for a production like this would look like.
This One Goal Video was a three day production at four different locations.
What to Expect on the Production Day
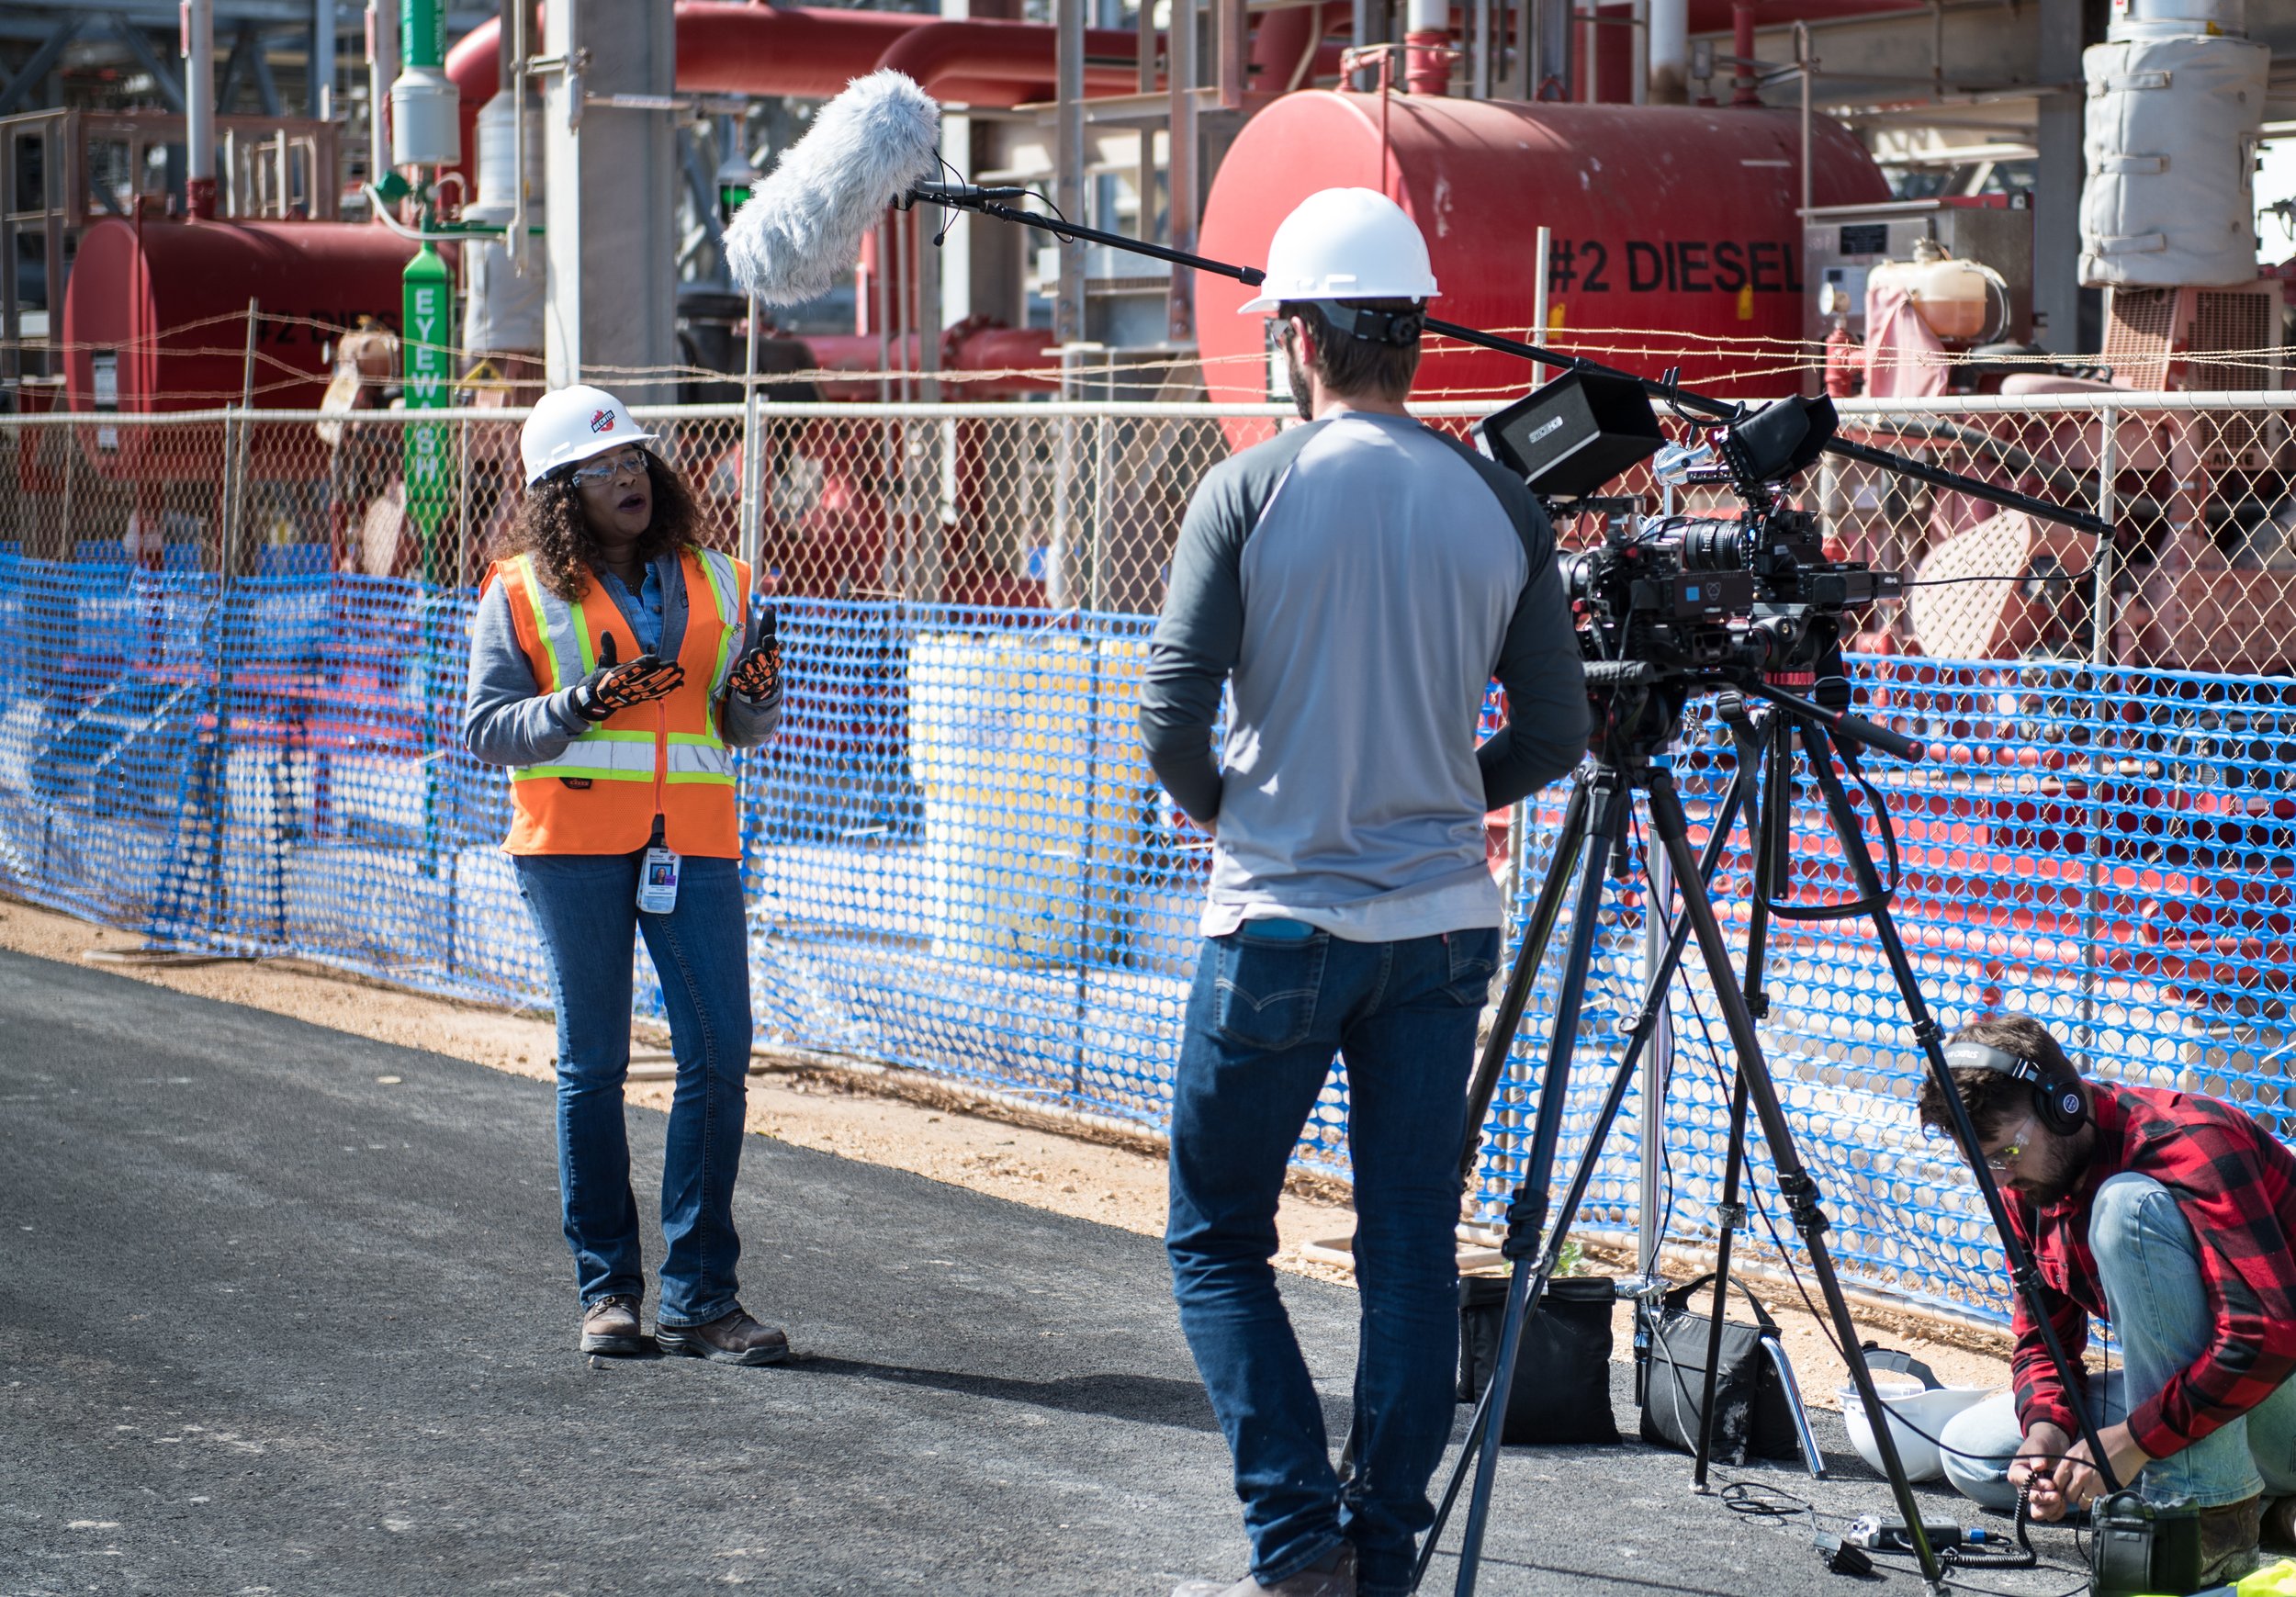
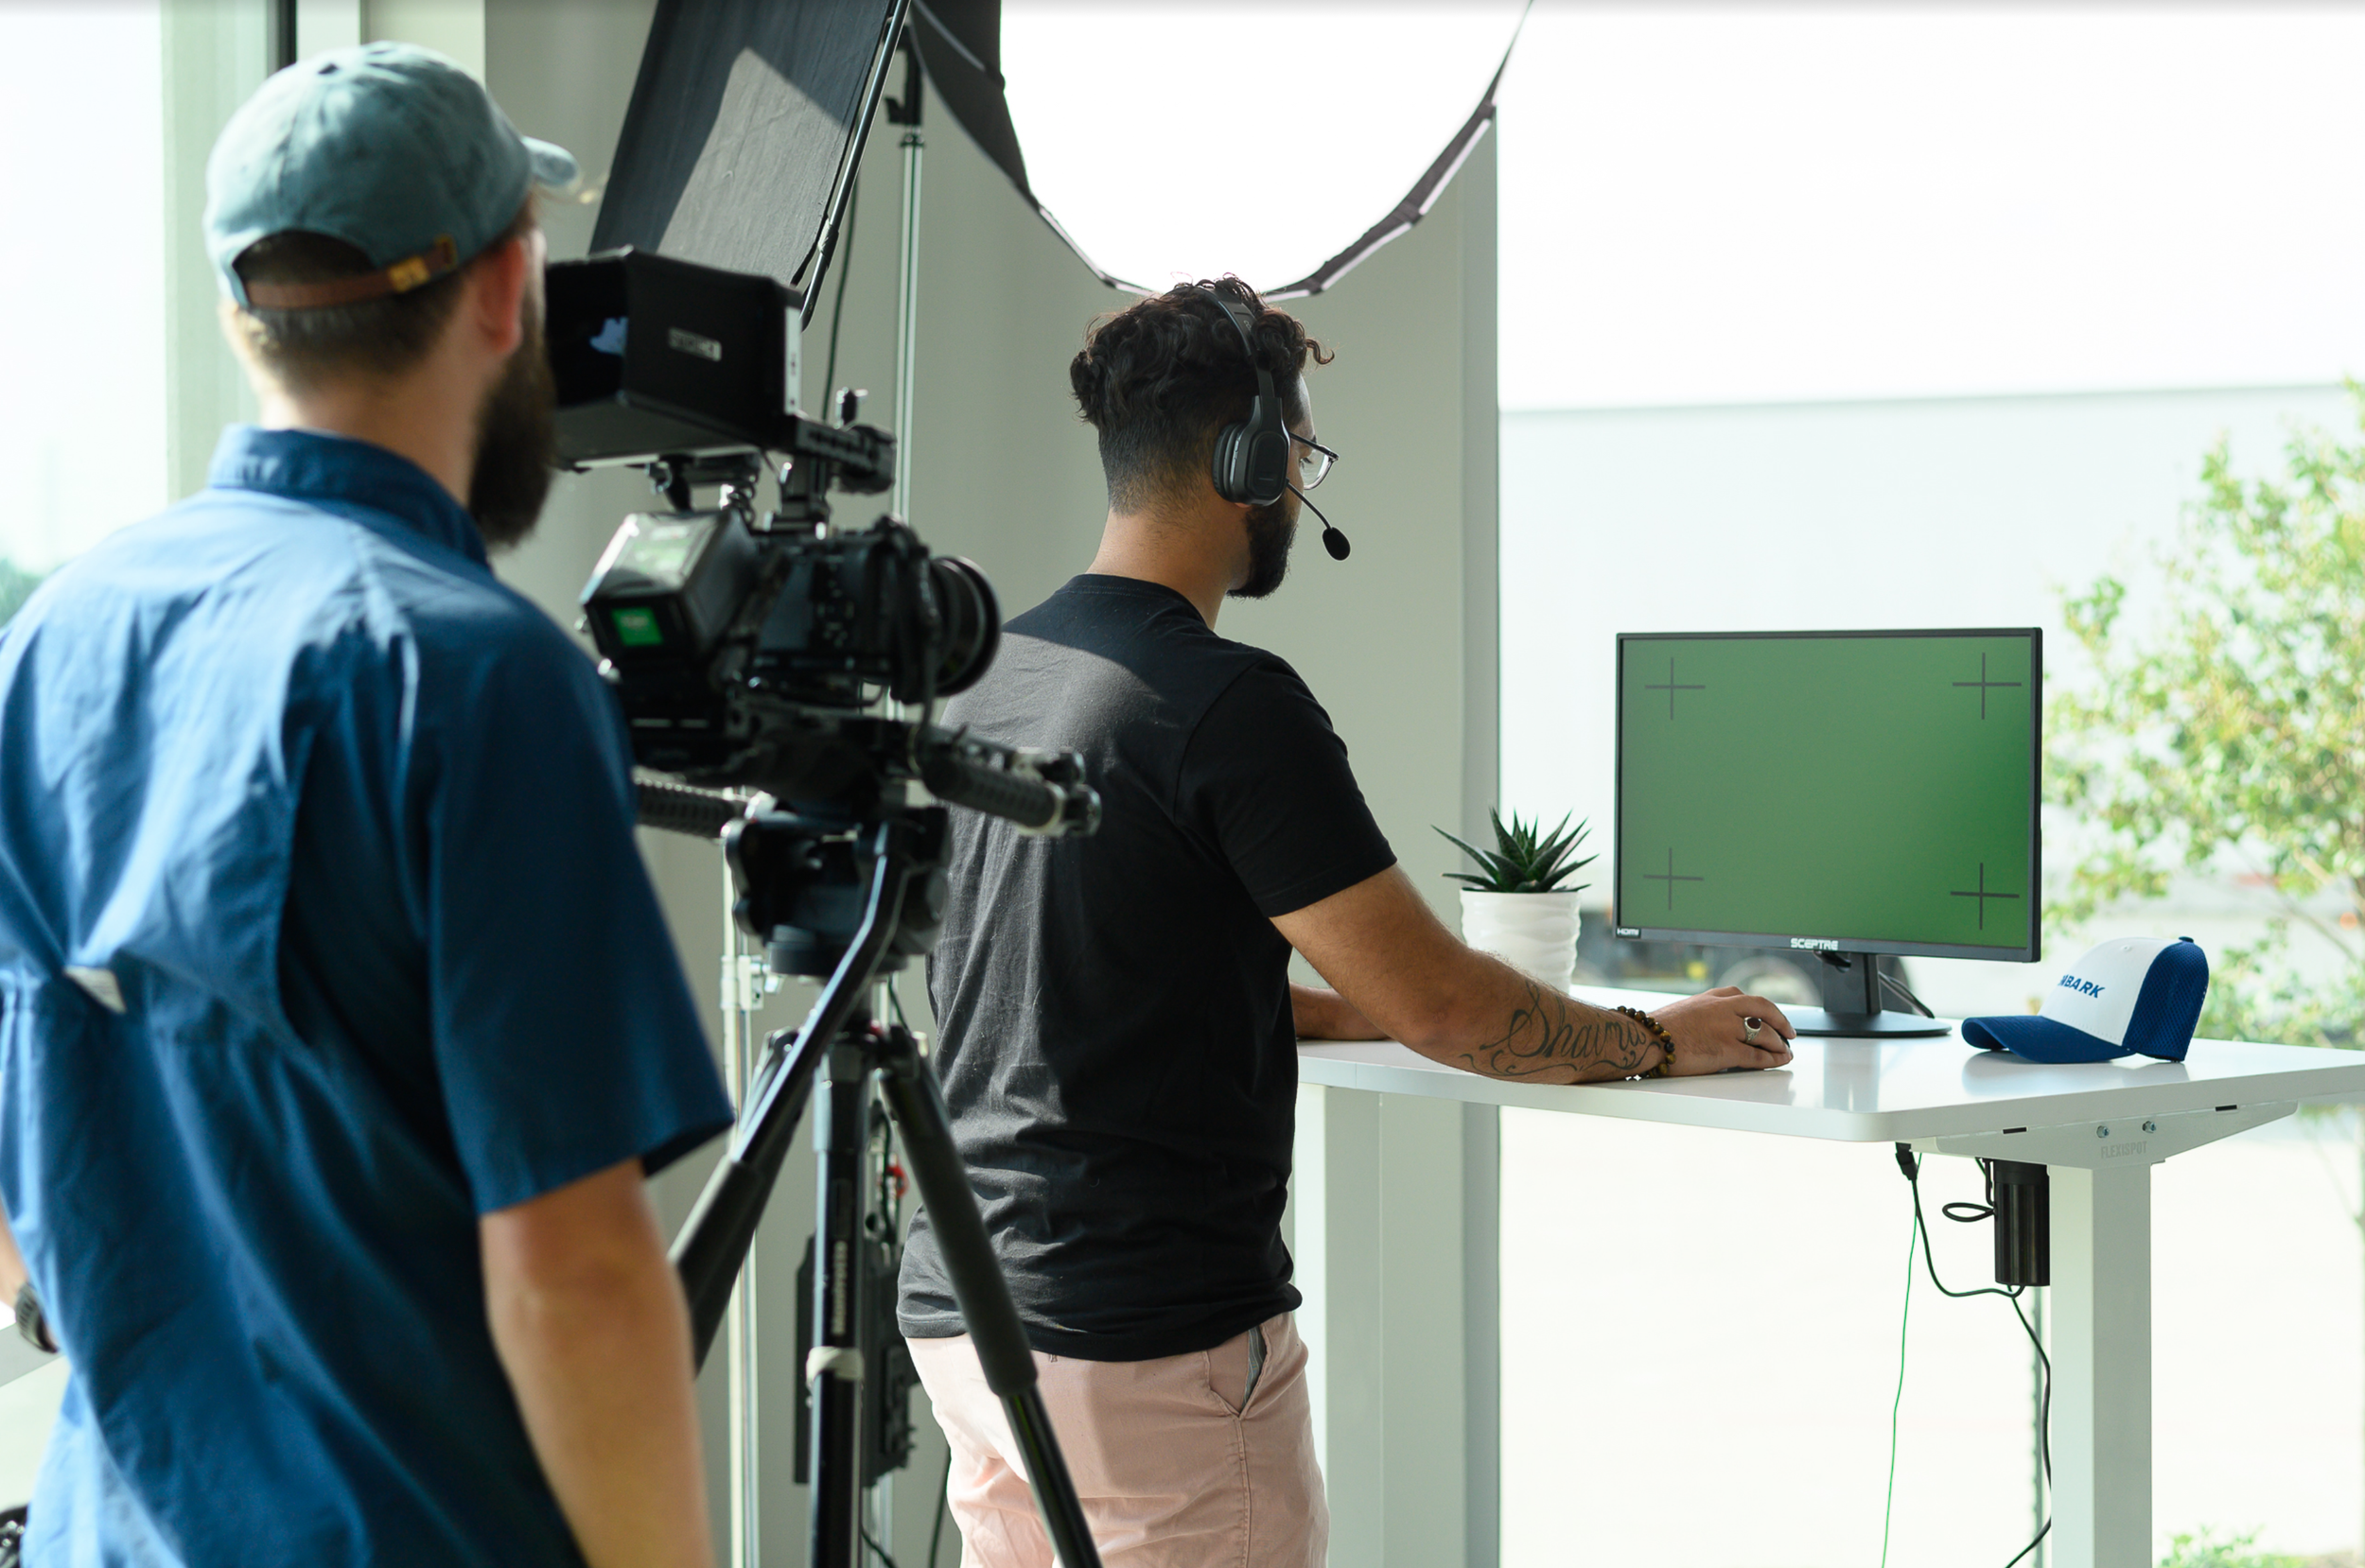
The crew only consist of one to three people and filming can take anywhere from 5 to 10 hours with lots of breaks for you between filming. If a location scout has not been done prior to us arriving the first thing we do is scout a location to film the interview which takes roughly 10-15 minutes.
We then set up for the interview which takes anywhere from 45 minutes to an hour and a half depending on the location. The interview usually runs for about an hour and then we take down the interview set up. Taking down the interview set up takes around 30 minutes.
Example Schedule for a 10 hour production day.
7:30 AM - 9:30 AM: Arrive and set up equipment. (capture sunrise drone shot and exterior b-roll)
9:30 AM - 10:00 AM: Film 1st interview.
10:00 AM - 10:30 AM: Film 2nd interview.
10:30 AM - 11:00 AM: Film 3rd interview.
11:00 AM - 11:30 PM: Film 4th interview.
11:30 PM - 12:00 PM: Consolidate gear and prepare to film B-roll.
12:00 PM - 1:00 PM: Lunch Break off site.
1:00 PM - 2:00 PM: Film b-roll for 1st & 2nd interviewees.
2:00 PM - 3:00 PM: Film b-roll for 3rd and 4th interviewees.
3:00 PM- 4:00 PM: Film general b-roll of staff and building.
4:00 PM- 5:00 PM: Tear down gear and load out.
5:30: Wrap
Sound is key
We ask that the business or house be as quiet as possible during the filming of the interview. This would mean that loud machinery, talking, pets or children would need to be not present or quiet during the filming. Other things to consider would be loud construction near by or lawn services mowing your lawn on the day of production. After the interview we will not be capturing anymore sound so noise will not be an issue.
B-Roll
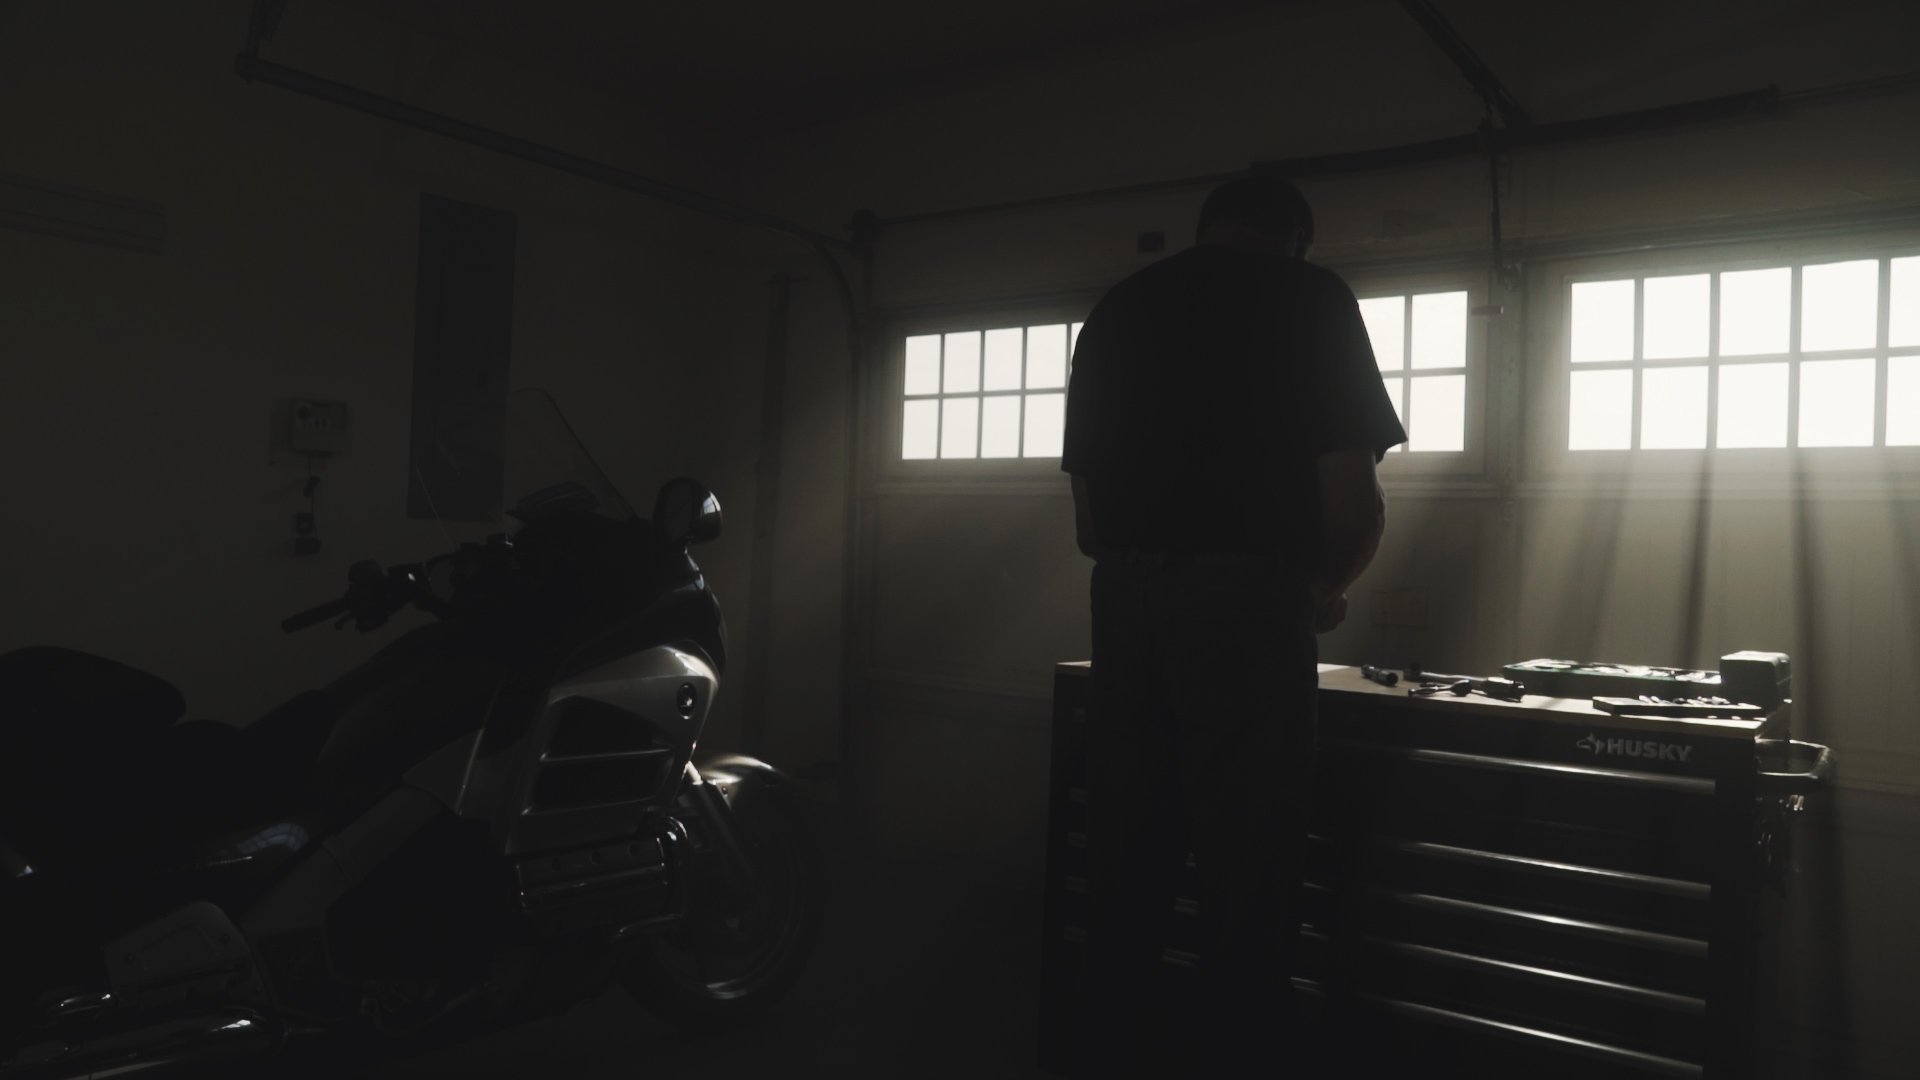
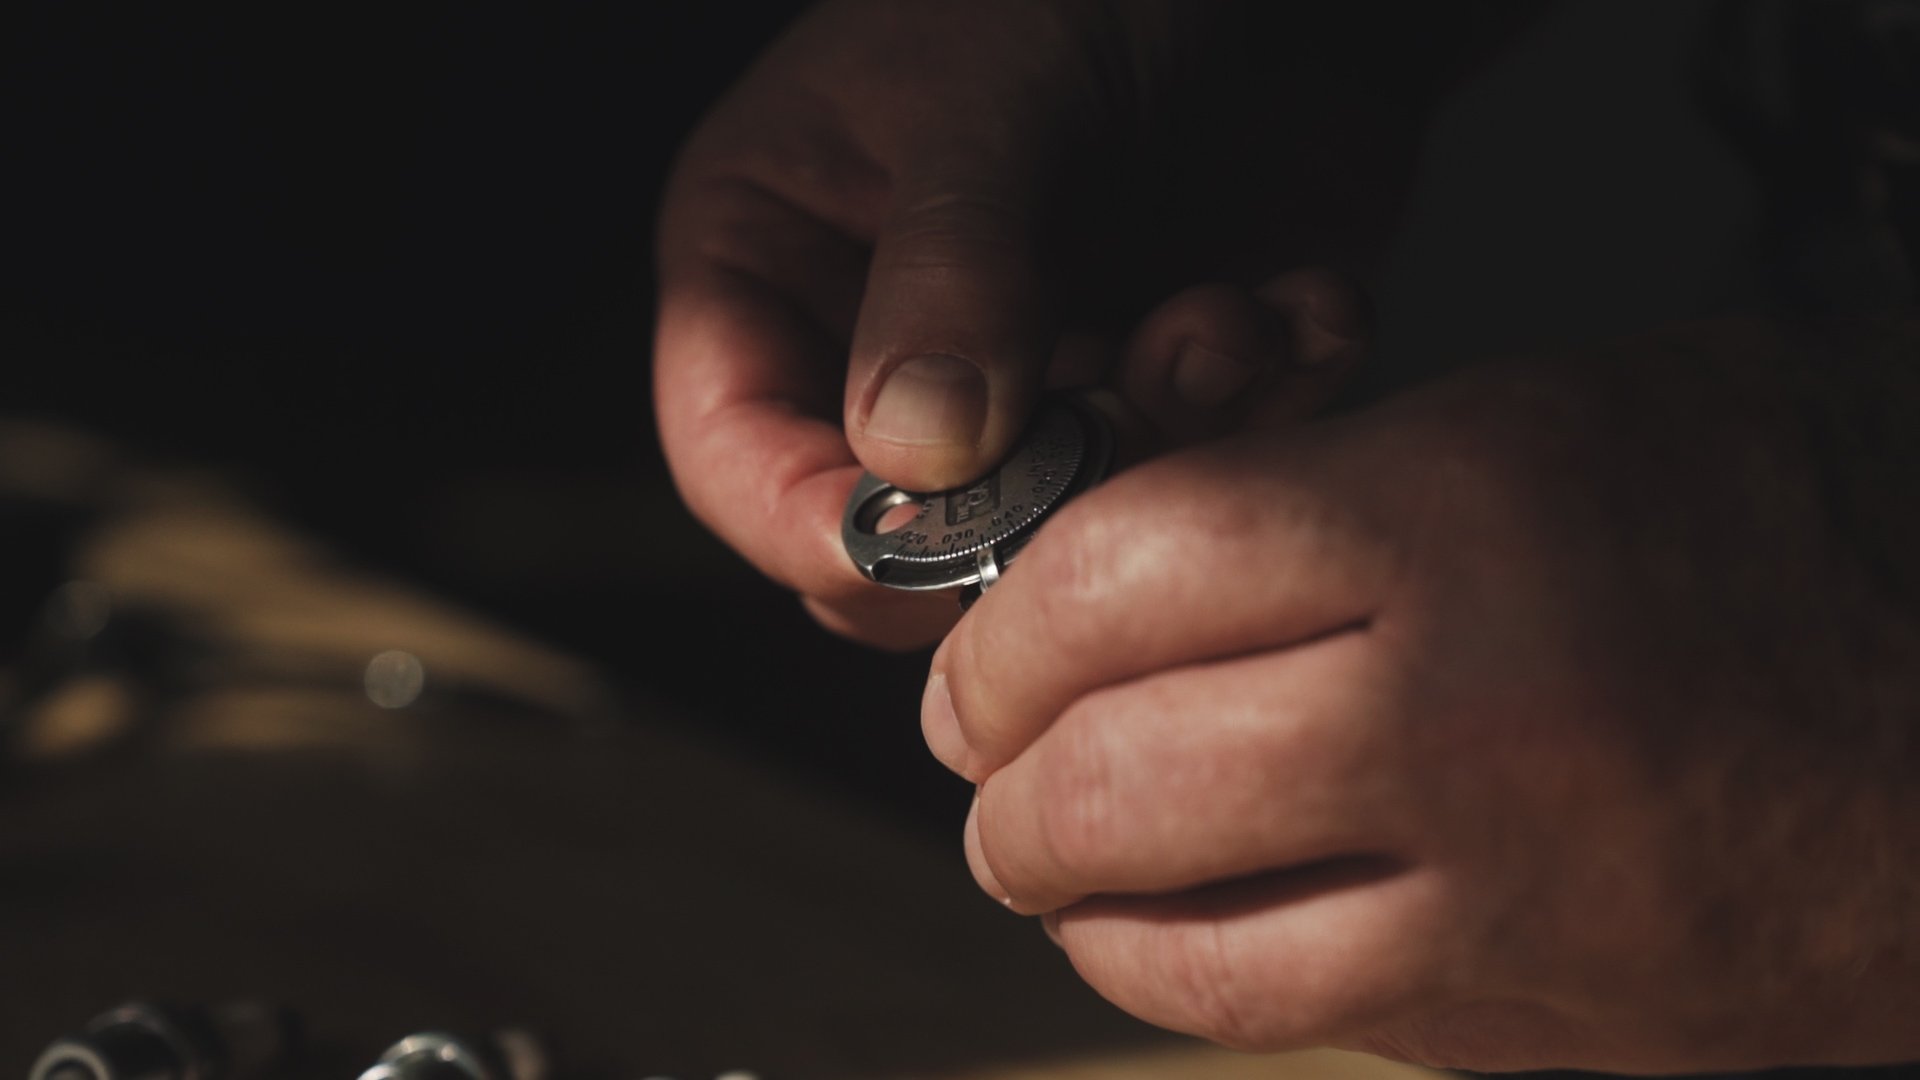
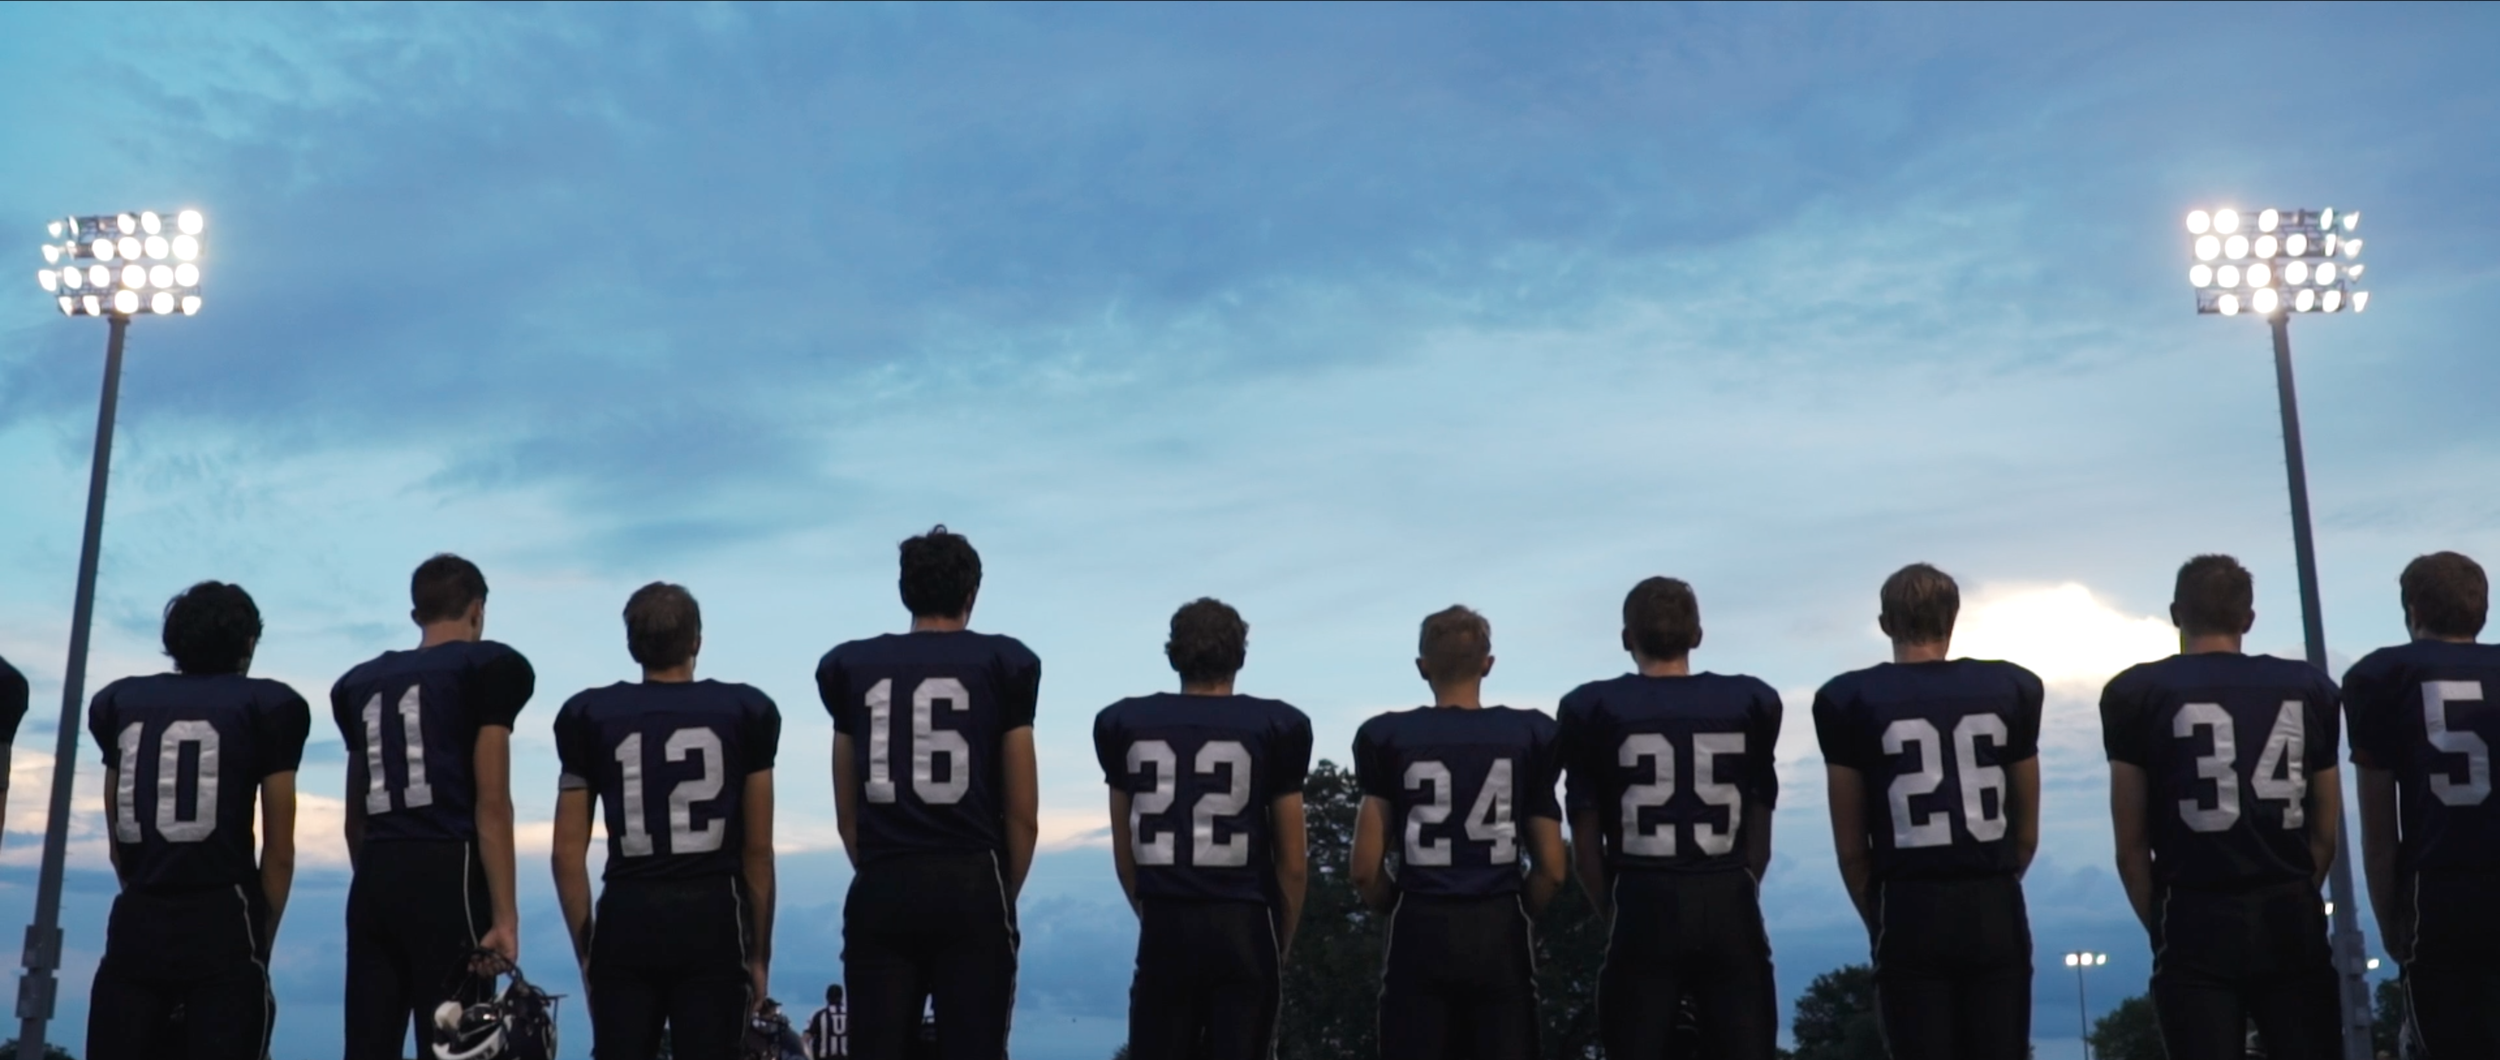
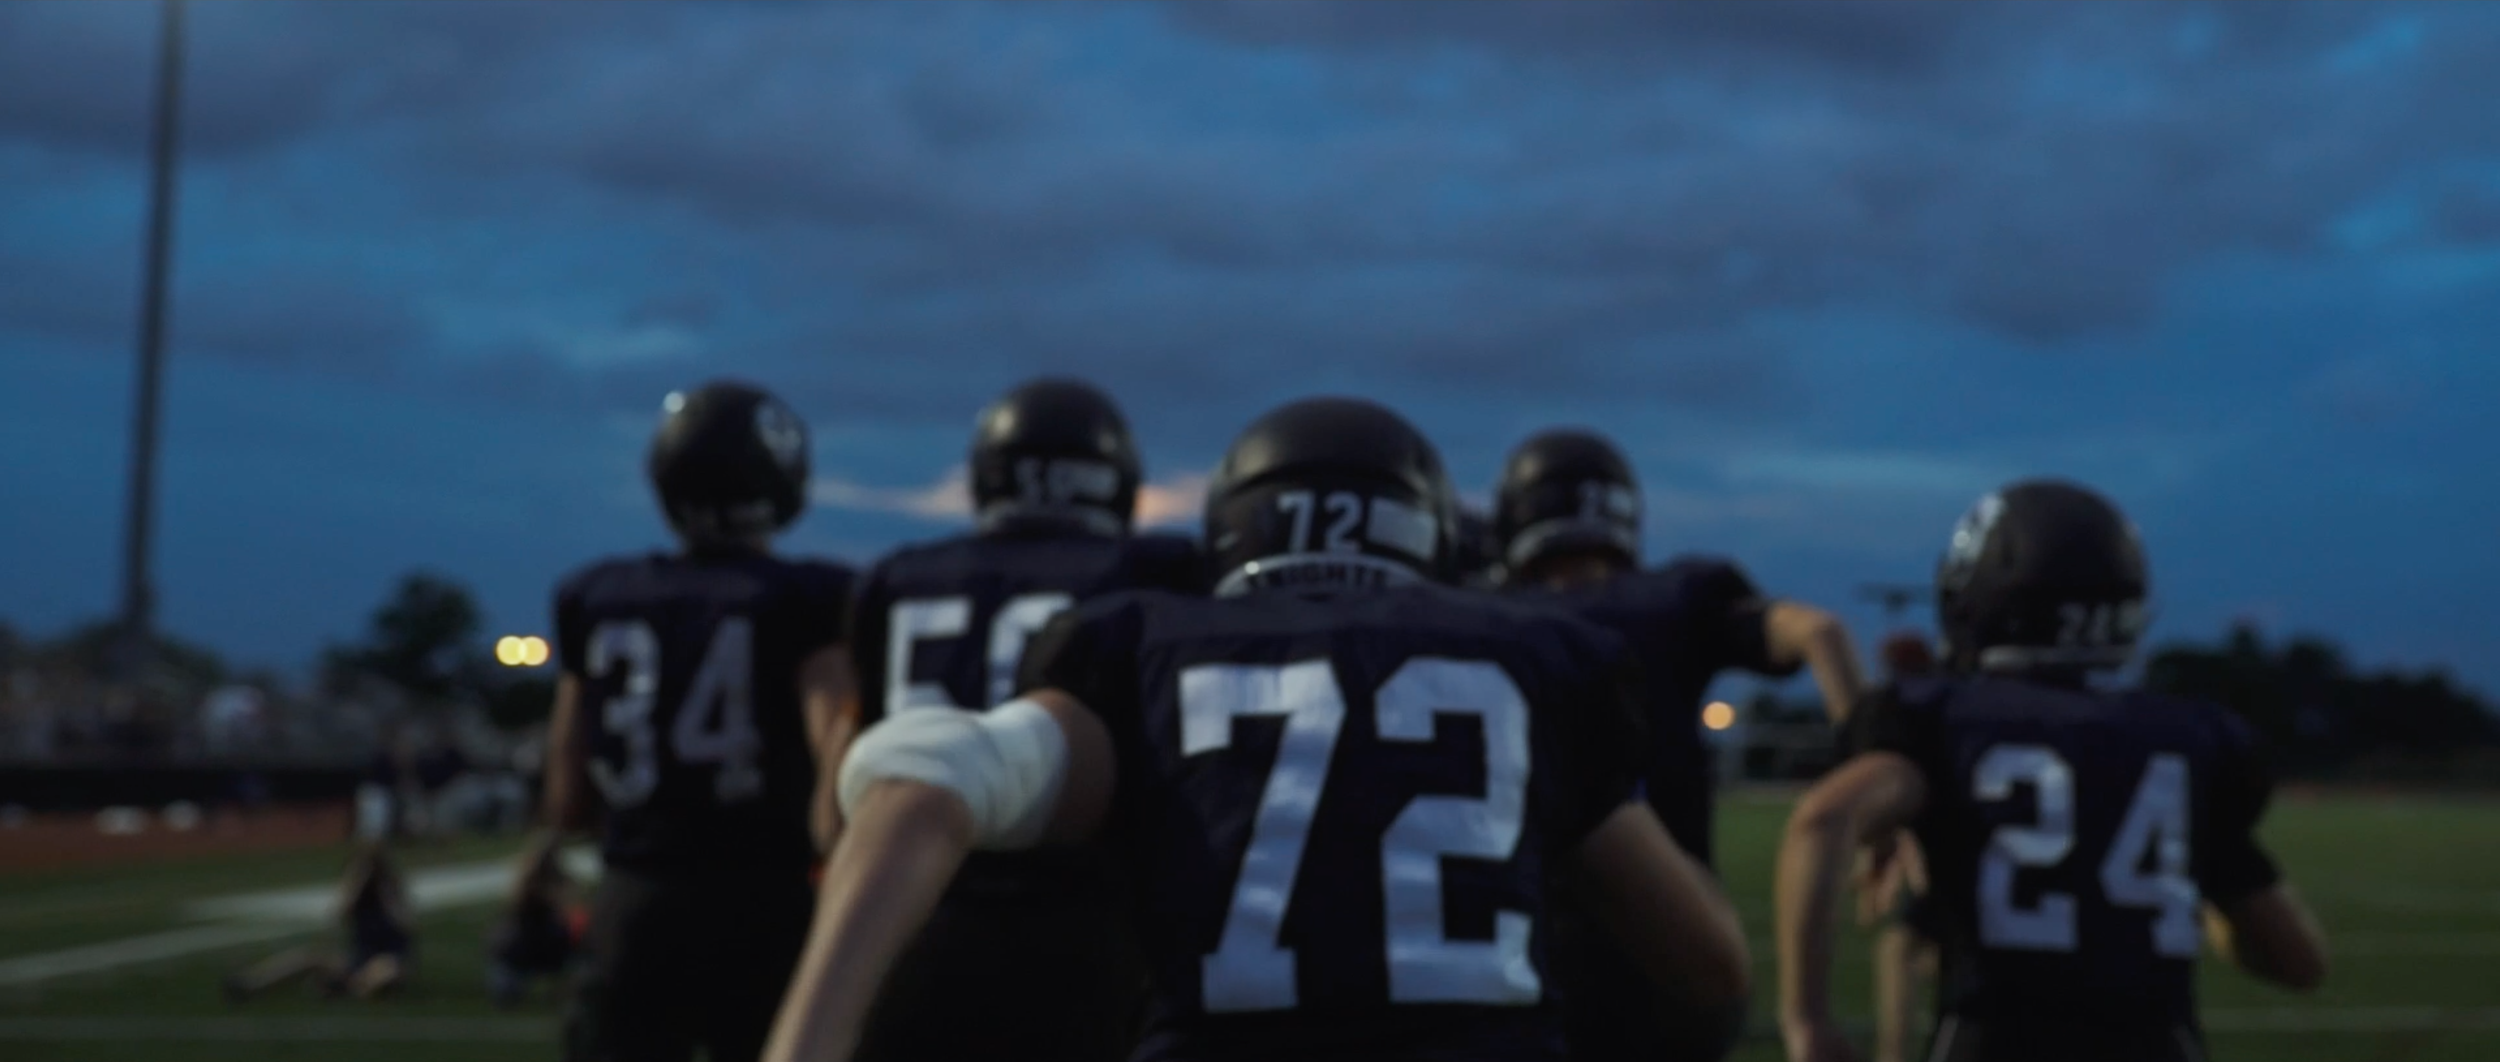
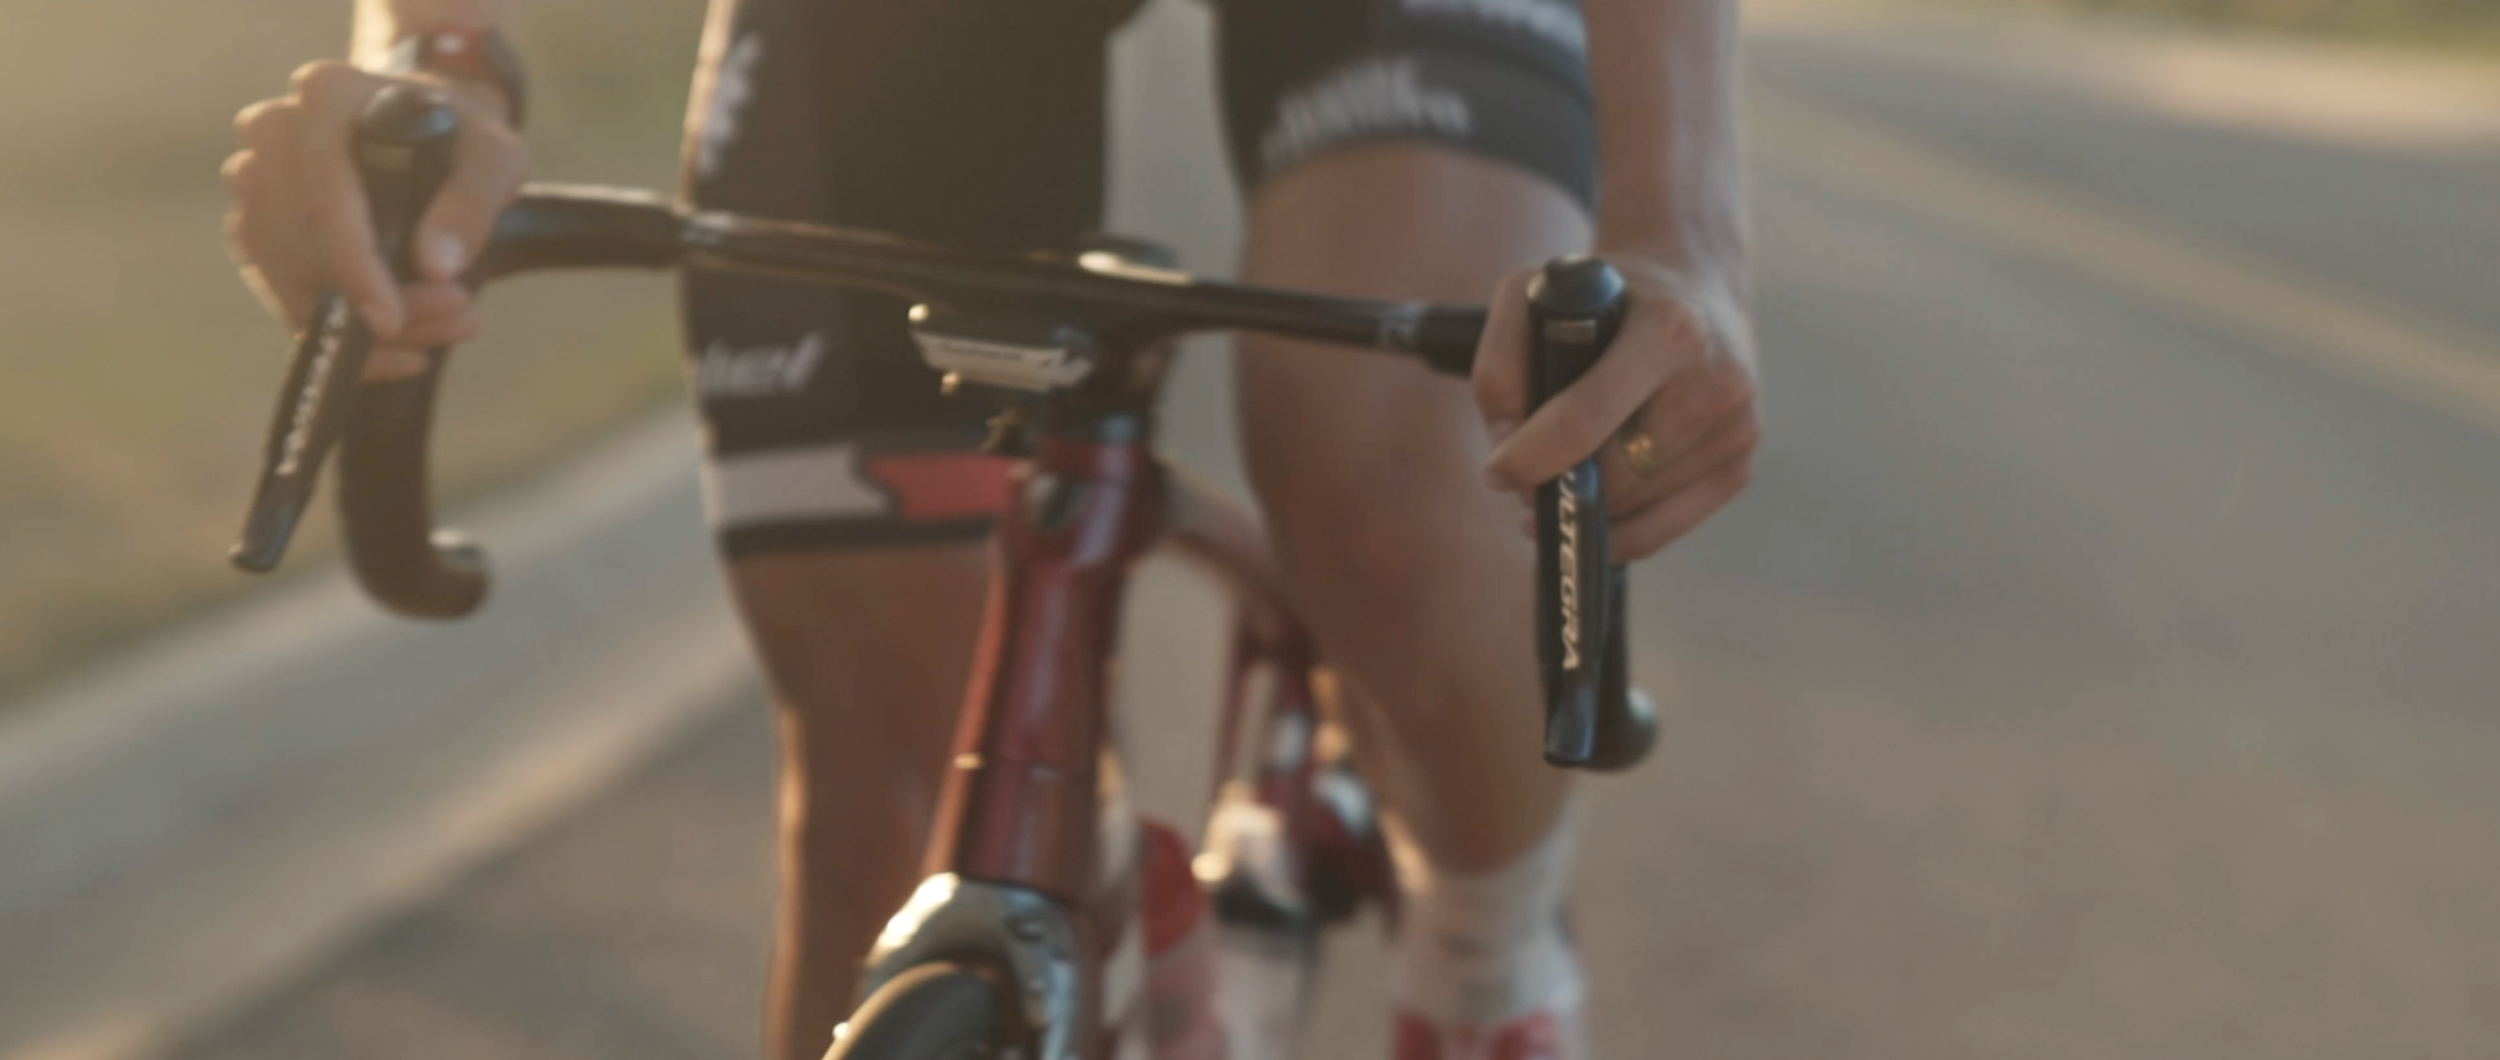
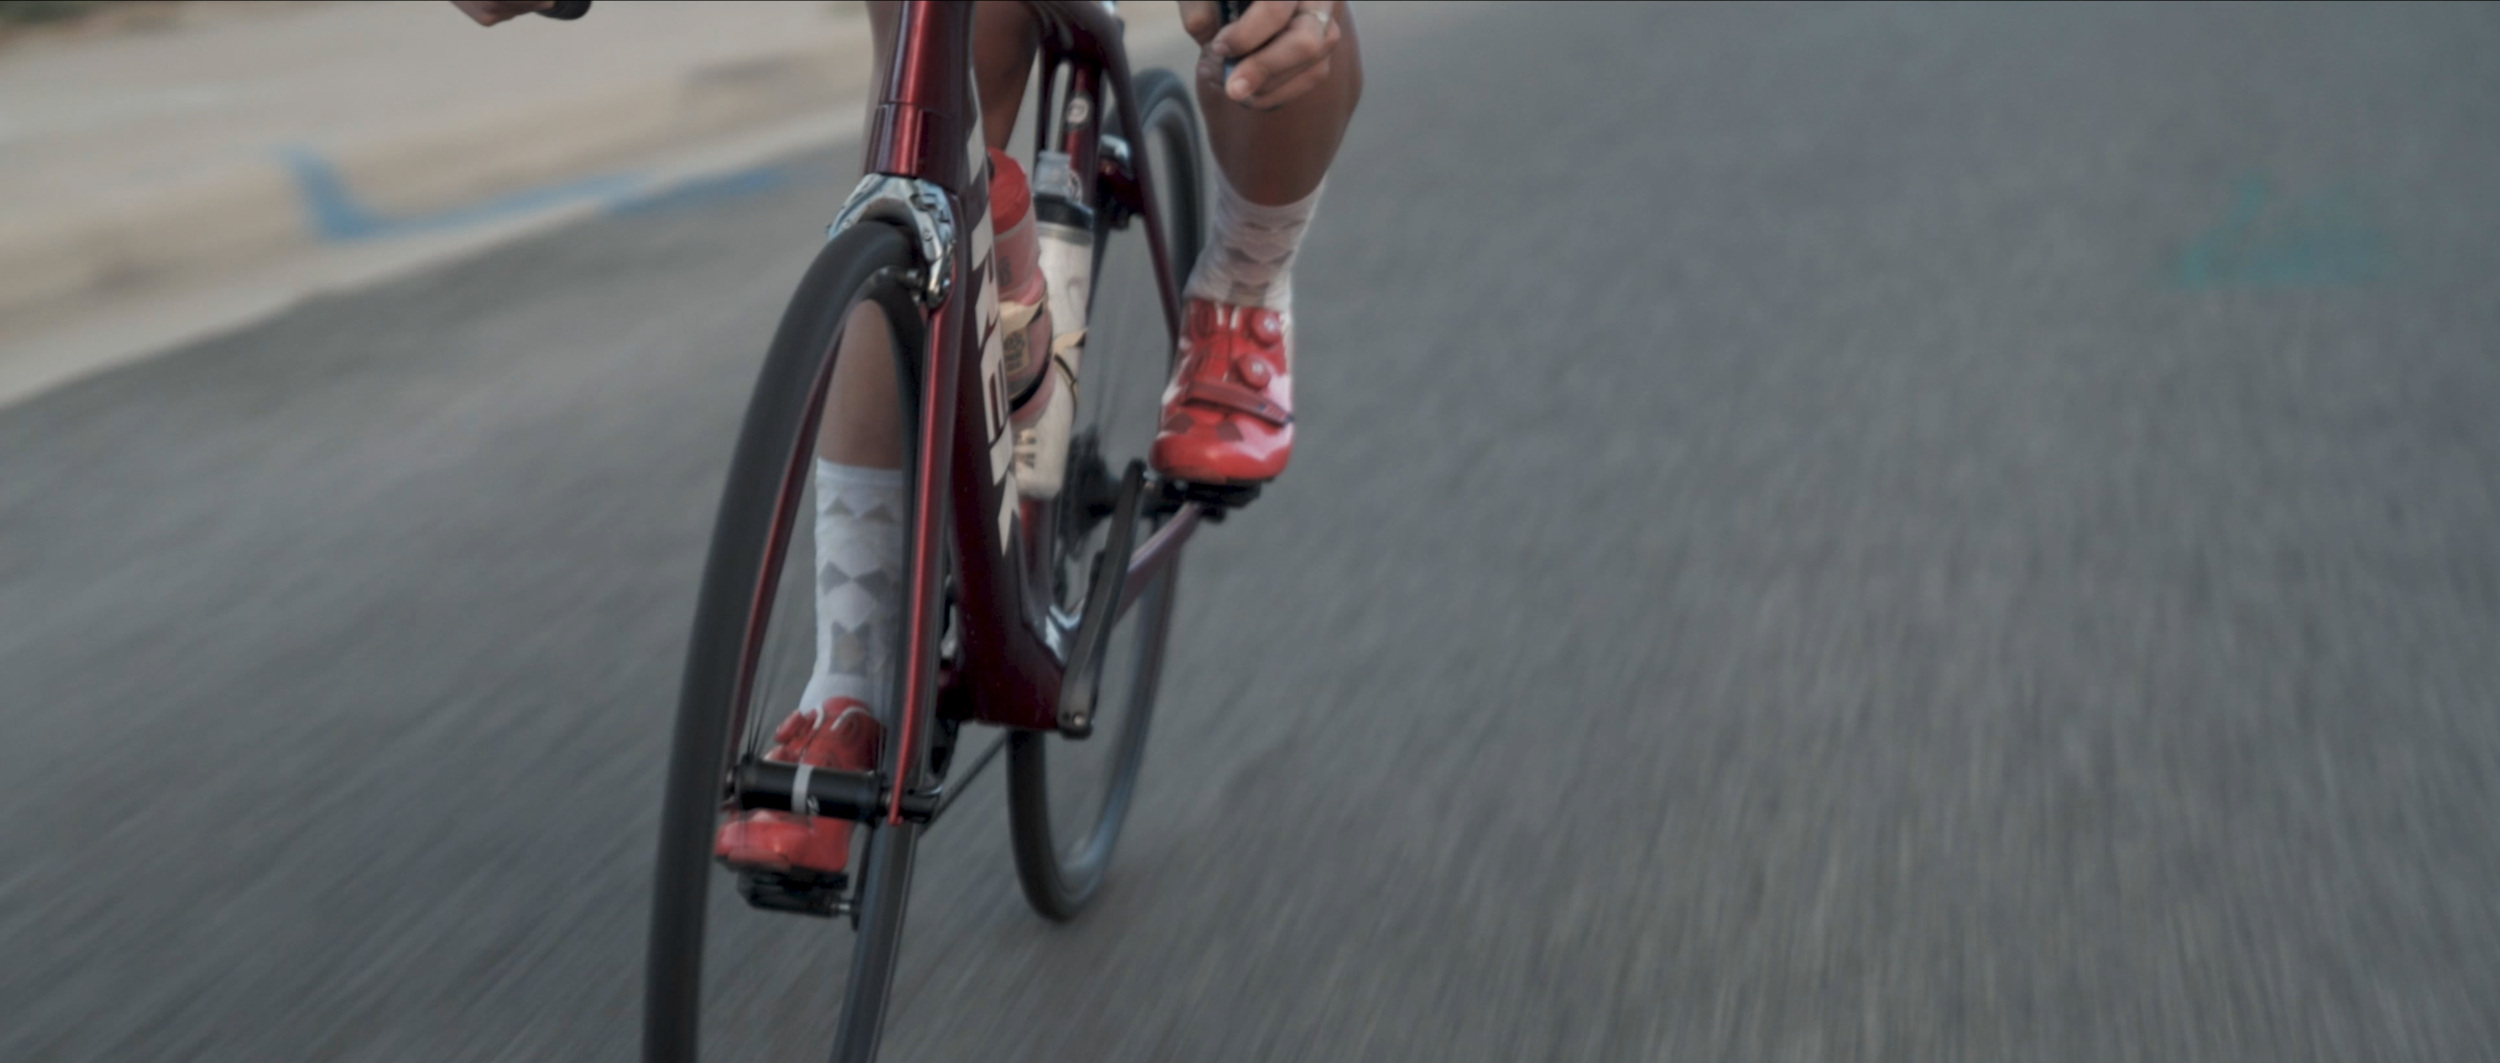
After the interview we then film b-roll for the rest of the day which is the non interview footage that is overlaid throughout the film. Most of the b-roll is typically filmed at the interview location but sometimes it requires driving to a different location. In the slideshow above you can see examples of b-roll.
What to Wear
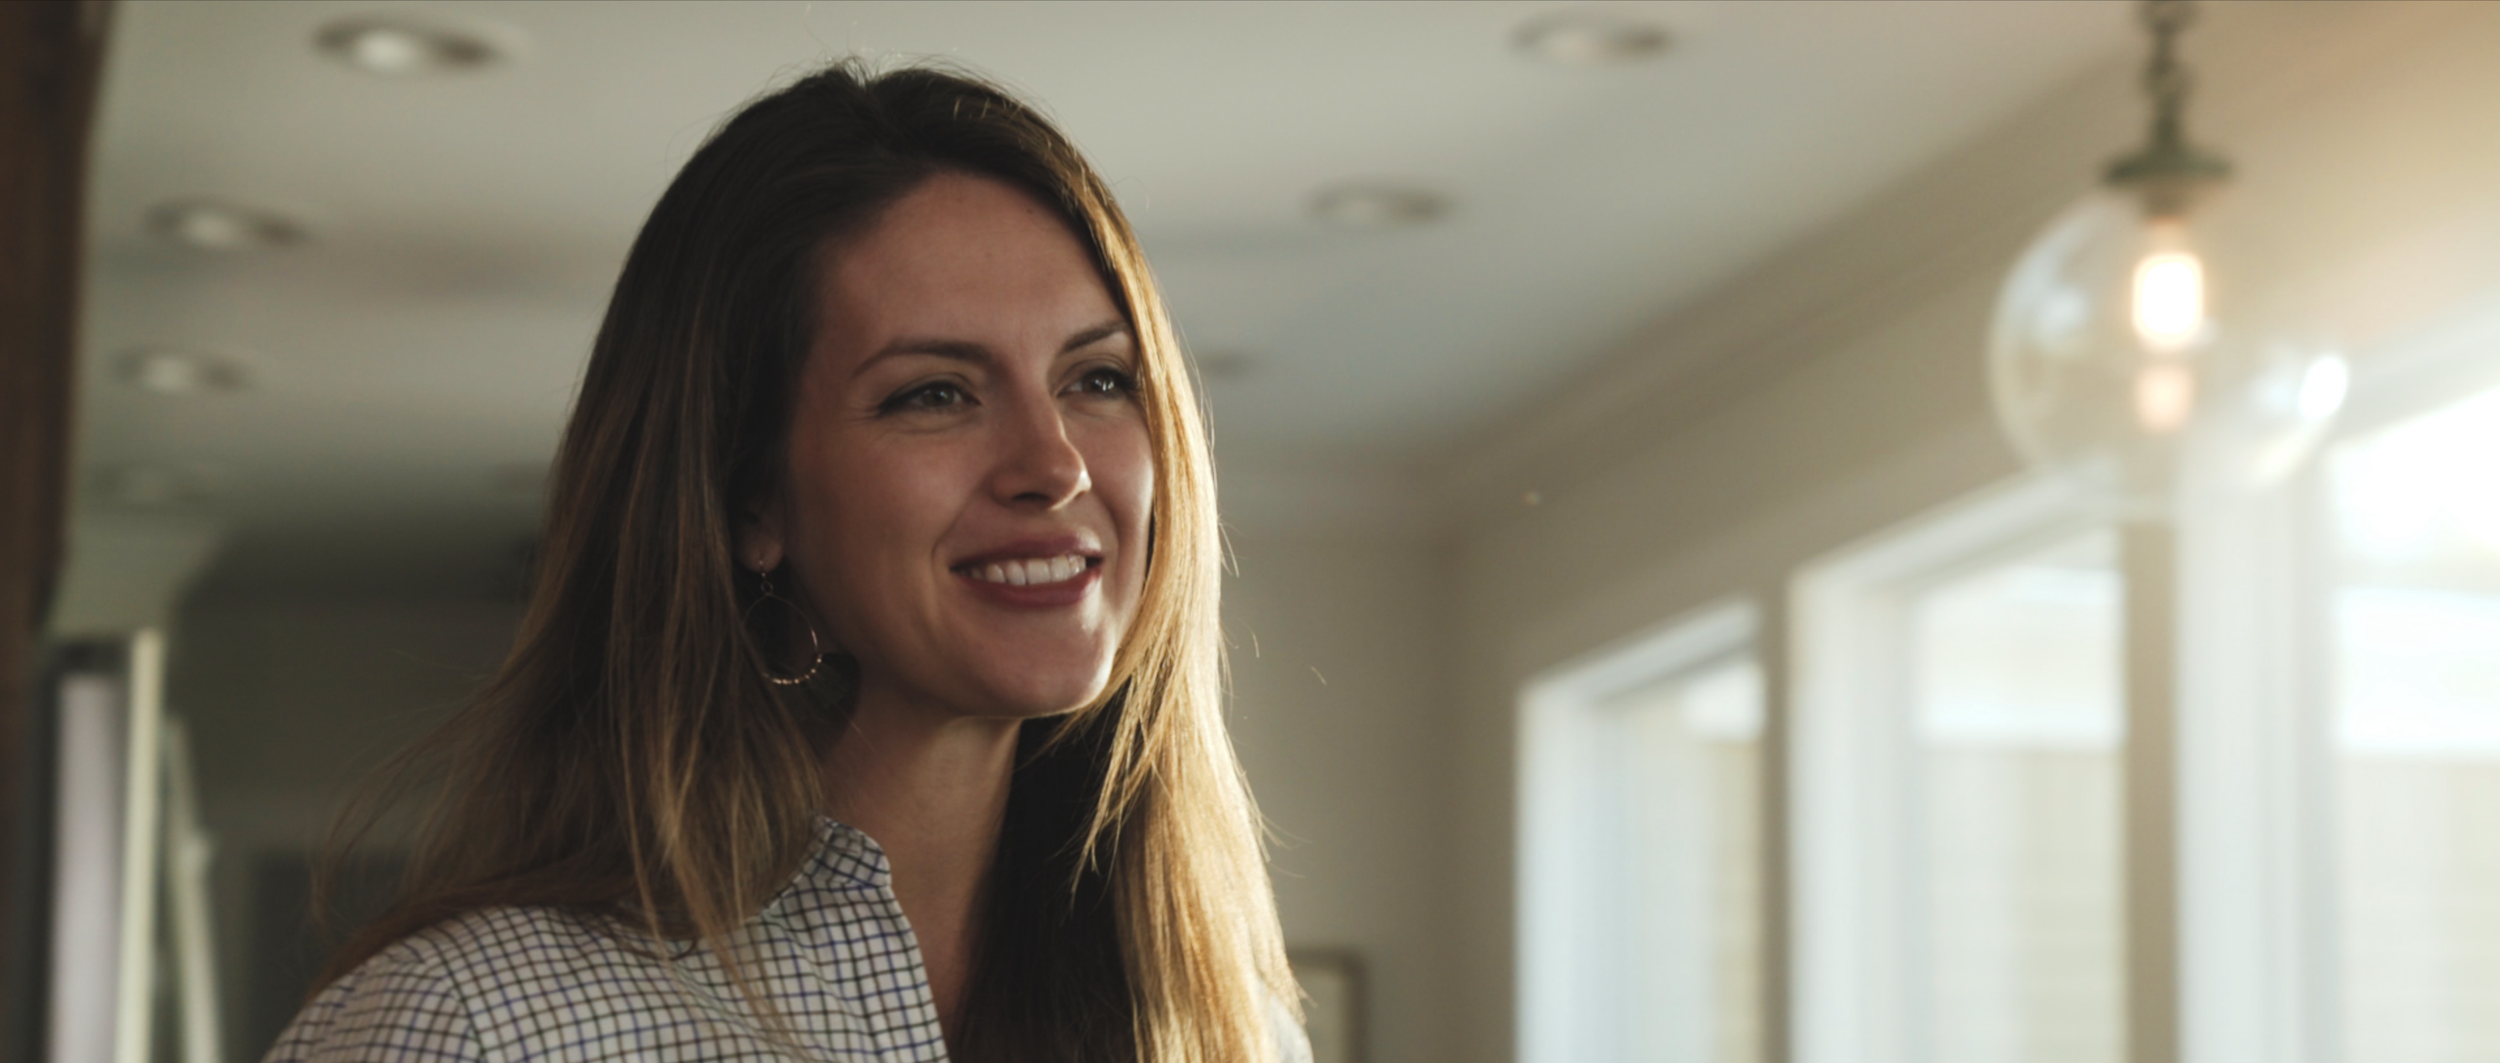
DO NOT WEAR clothing with small patterns like checkered or striped shirts (See the photo below). As a general rule, solid and rich colors look best on video and film. Try to avoid wearing bright white clothing which can dominate the screen. Try and choose colors that compliment your skin tone and wear colors that make you feel comfortable and confident. Unless you are trying to promote another brand, avoid wearing clothing that has a logo written all over it. Your brand matters so consider wearing something that brings out your personality.
Moire Effect with digital cameras
Preparing for Your Interview
Review your talking points thoroughly so there are no surprises on the production day. However, you should not try to memorize lines. We want the interviews to come across as conversational and as natural as possible. You are the expert and know your content which is why we are interviewing you, so don’t stress about it!
Relax and be yourself! Everything you say will be edited and refined so there is no pressure to be perfect. You can mess up as much as you need to, pause during a line, go back and repeat the lines. We have two cameras and b-roll that allow us to cover up any mistakes.
Remember that we will not see or hear the interviewer in the final video. Please repeat any questions we ask in your answer to give context for the audience. So if we ask "What is your name?" you would respond with "My name is..."
Our Post Production Process
I have a standard three revision process that is followed for every project. This includes a Narrative Draft, Revision 1, and Revision 2 and then Final Delivery. I have never had to charge extra for going beyond this three revision process so believe me when I say it works!
The first draft will be a Narrative Draft which will help us all agree on the layout of the story of the film or the messaging before we dive into the more creative items like adding b-roll and music. I usually place b-roll and add music to the Narrative Draft but it typically isn’t synced with the video since we haven’t agreed on the layout for the narrative yet.
Real quick, you might be asking what is B-roll. B-roll is secondary footage, often used as cutaway footage, to provide context and visual interest to help tell your story. Below are a few examples of b-roll from a testimonial project for 2nd MD.
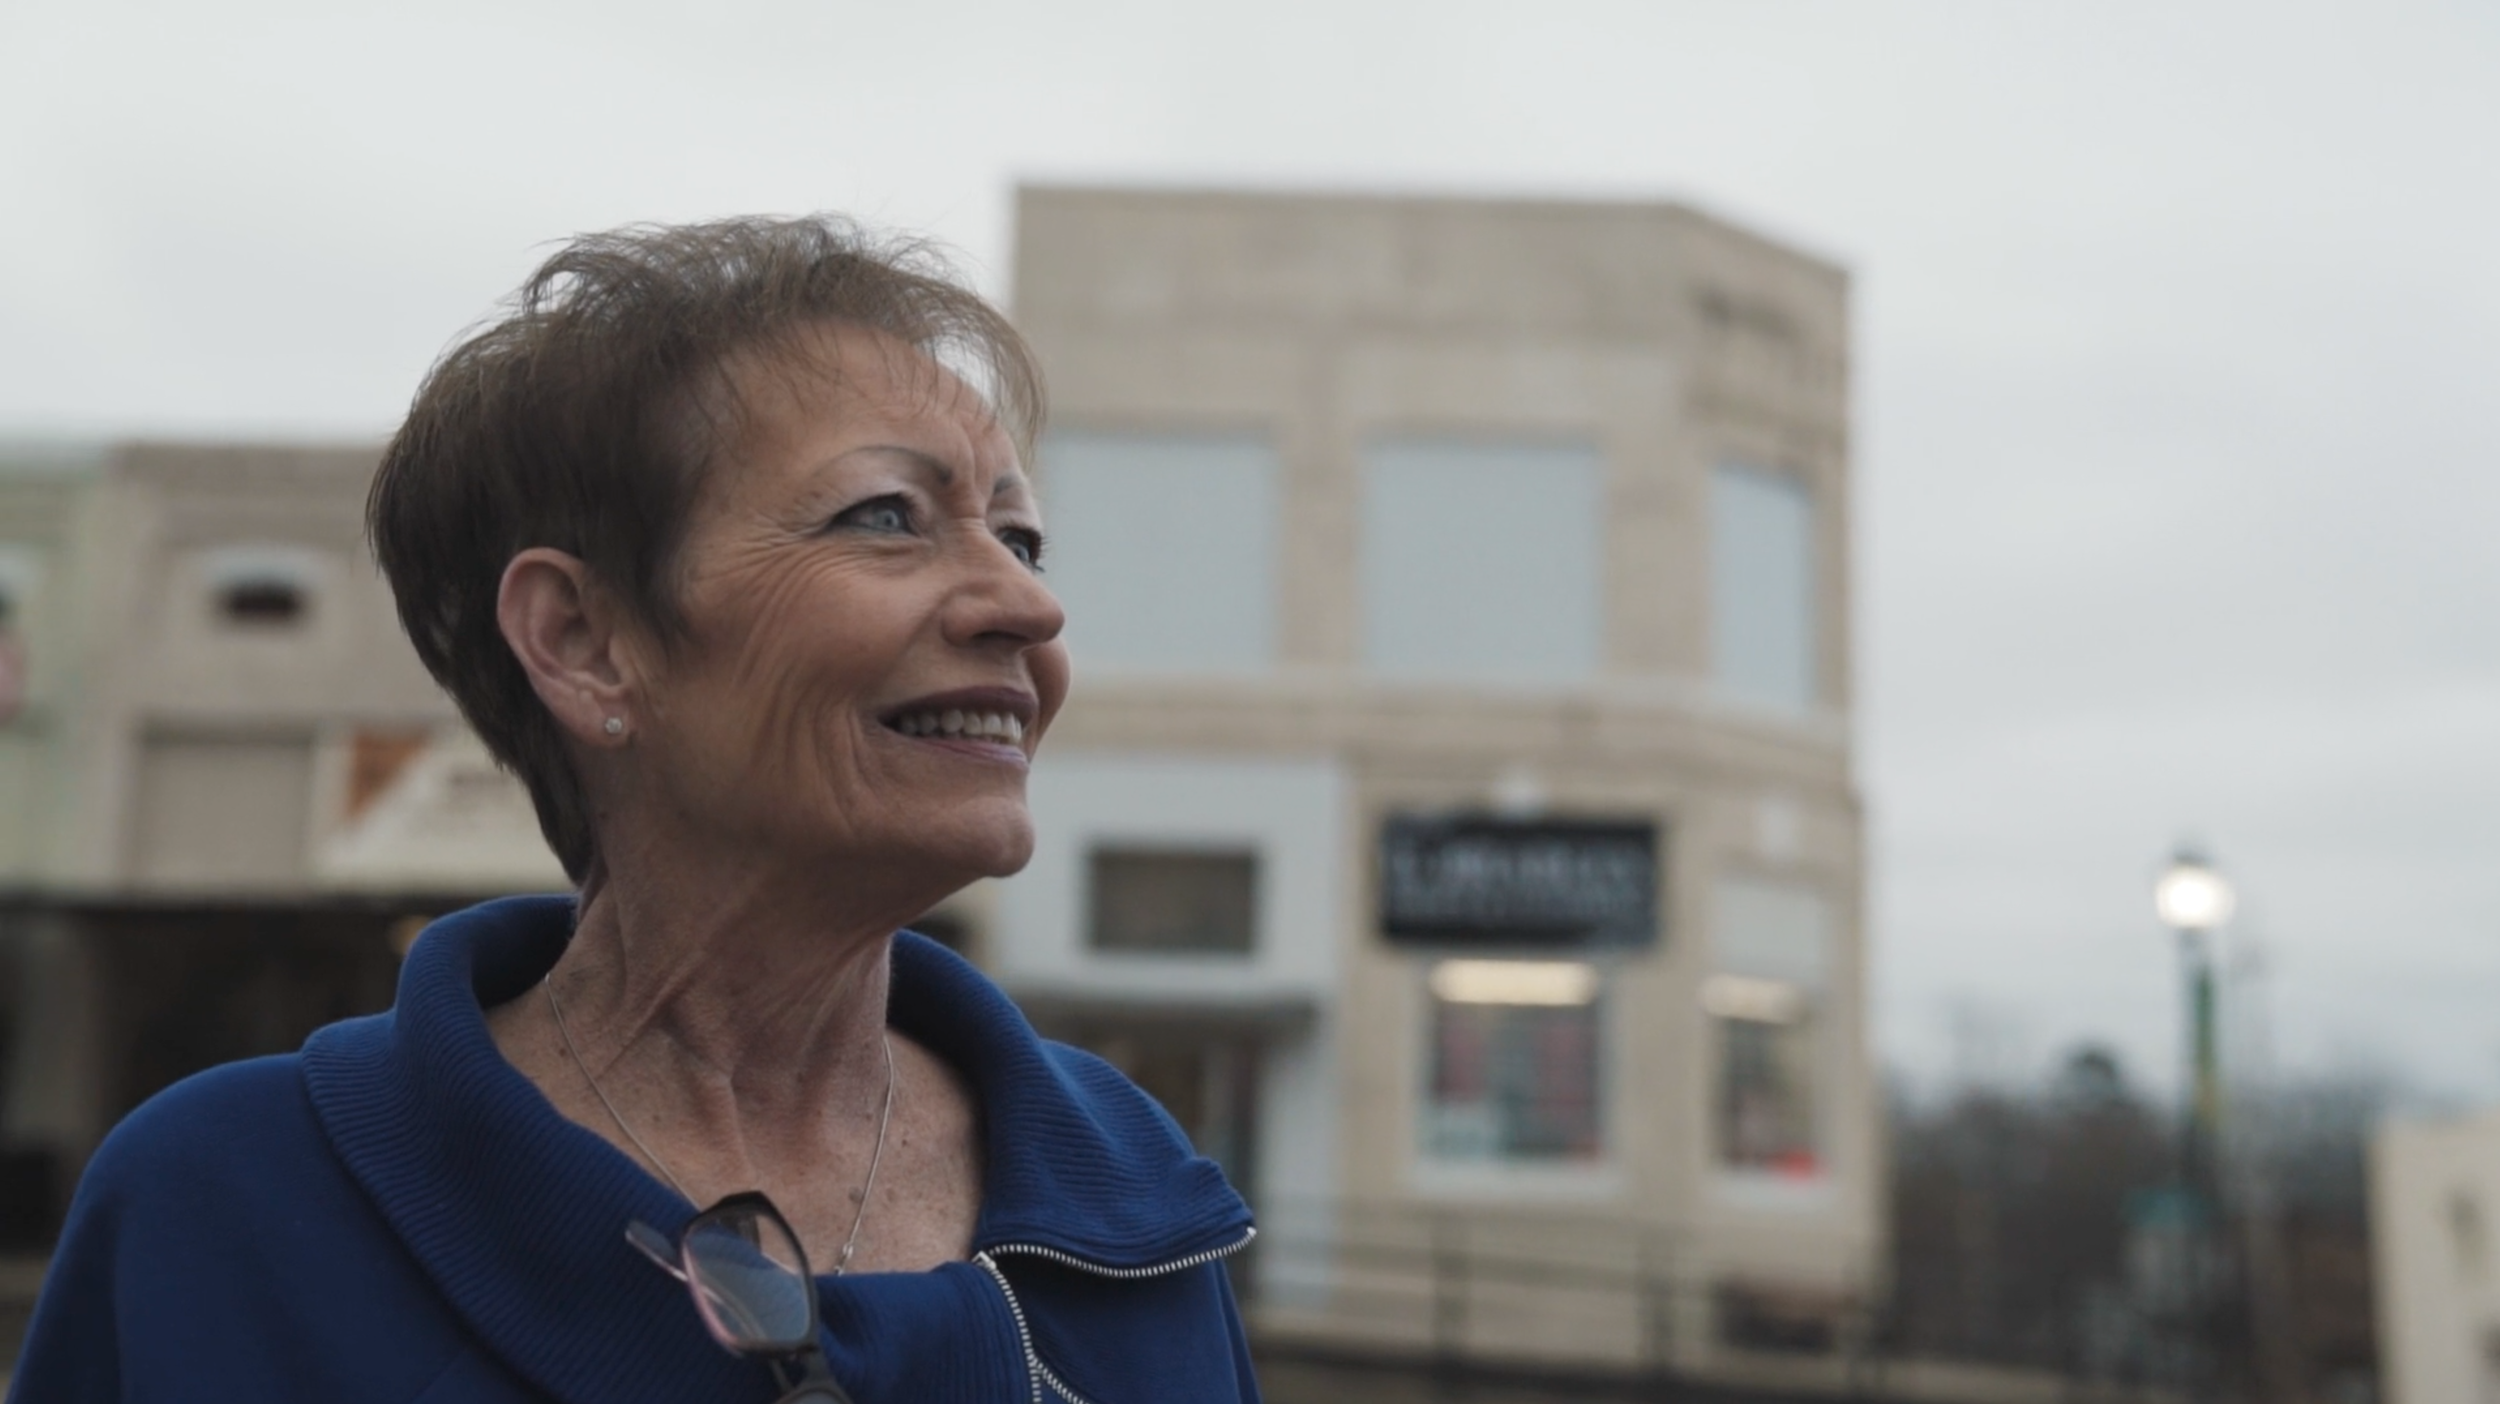
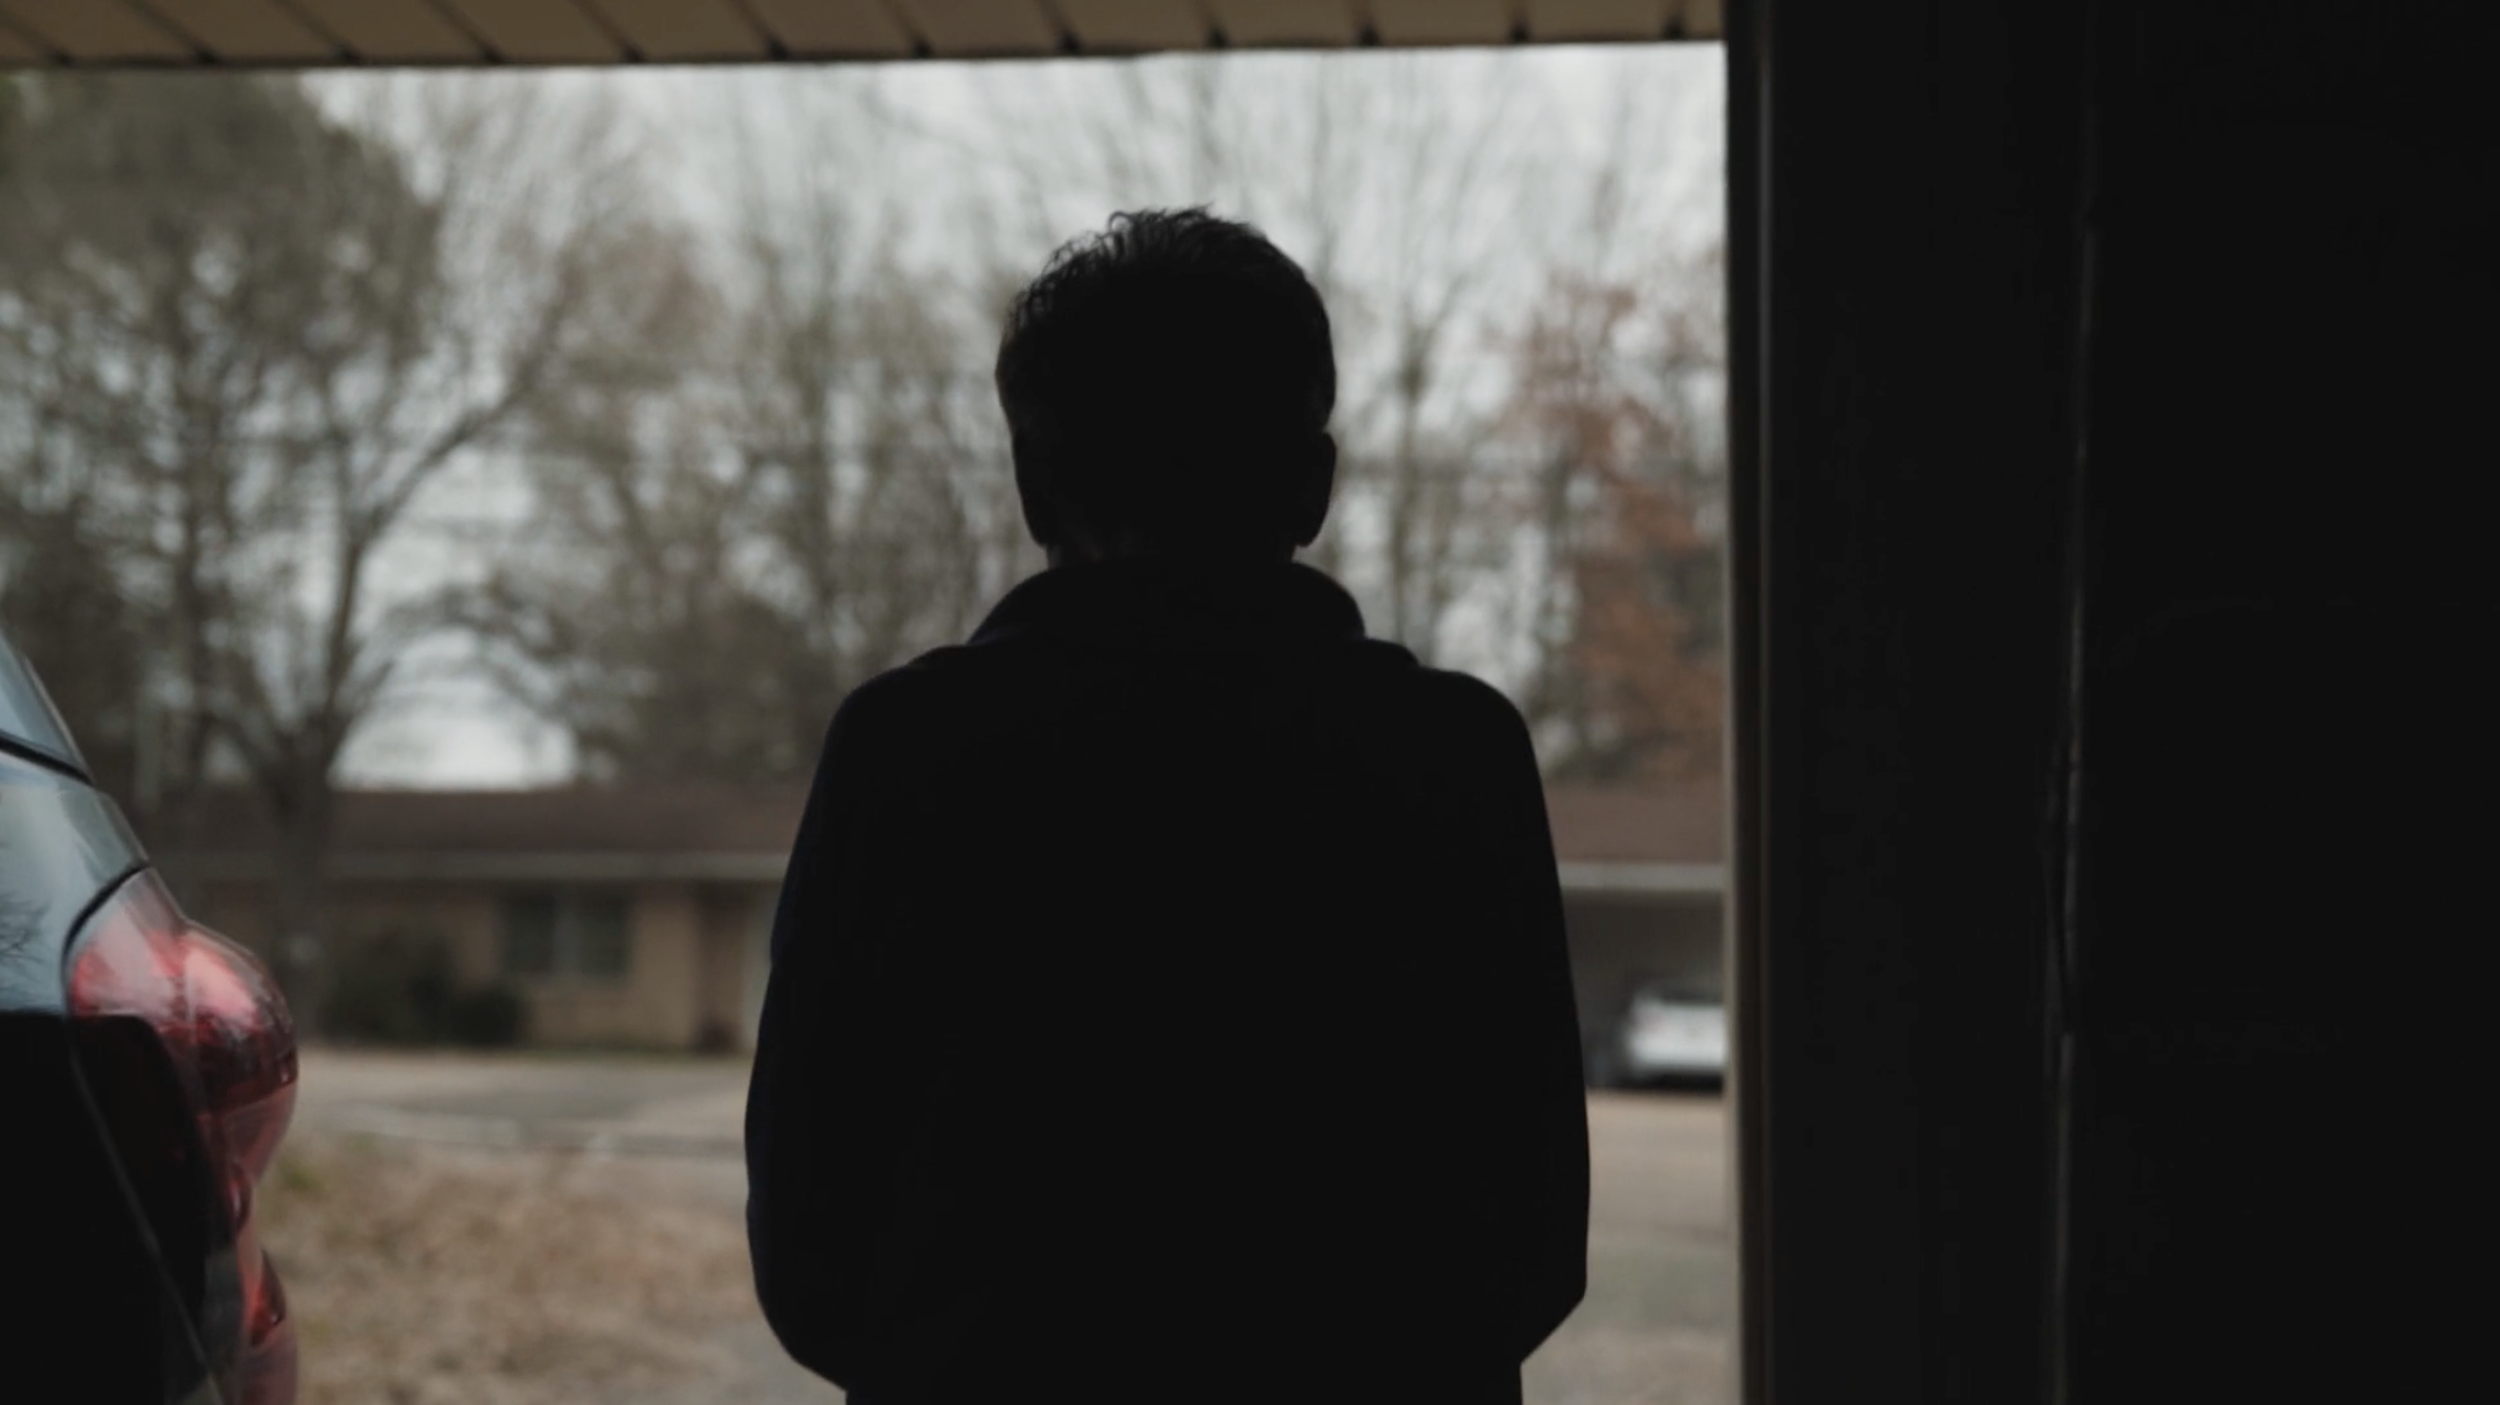
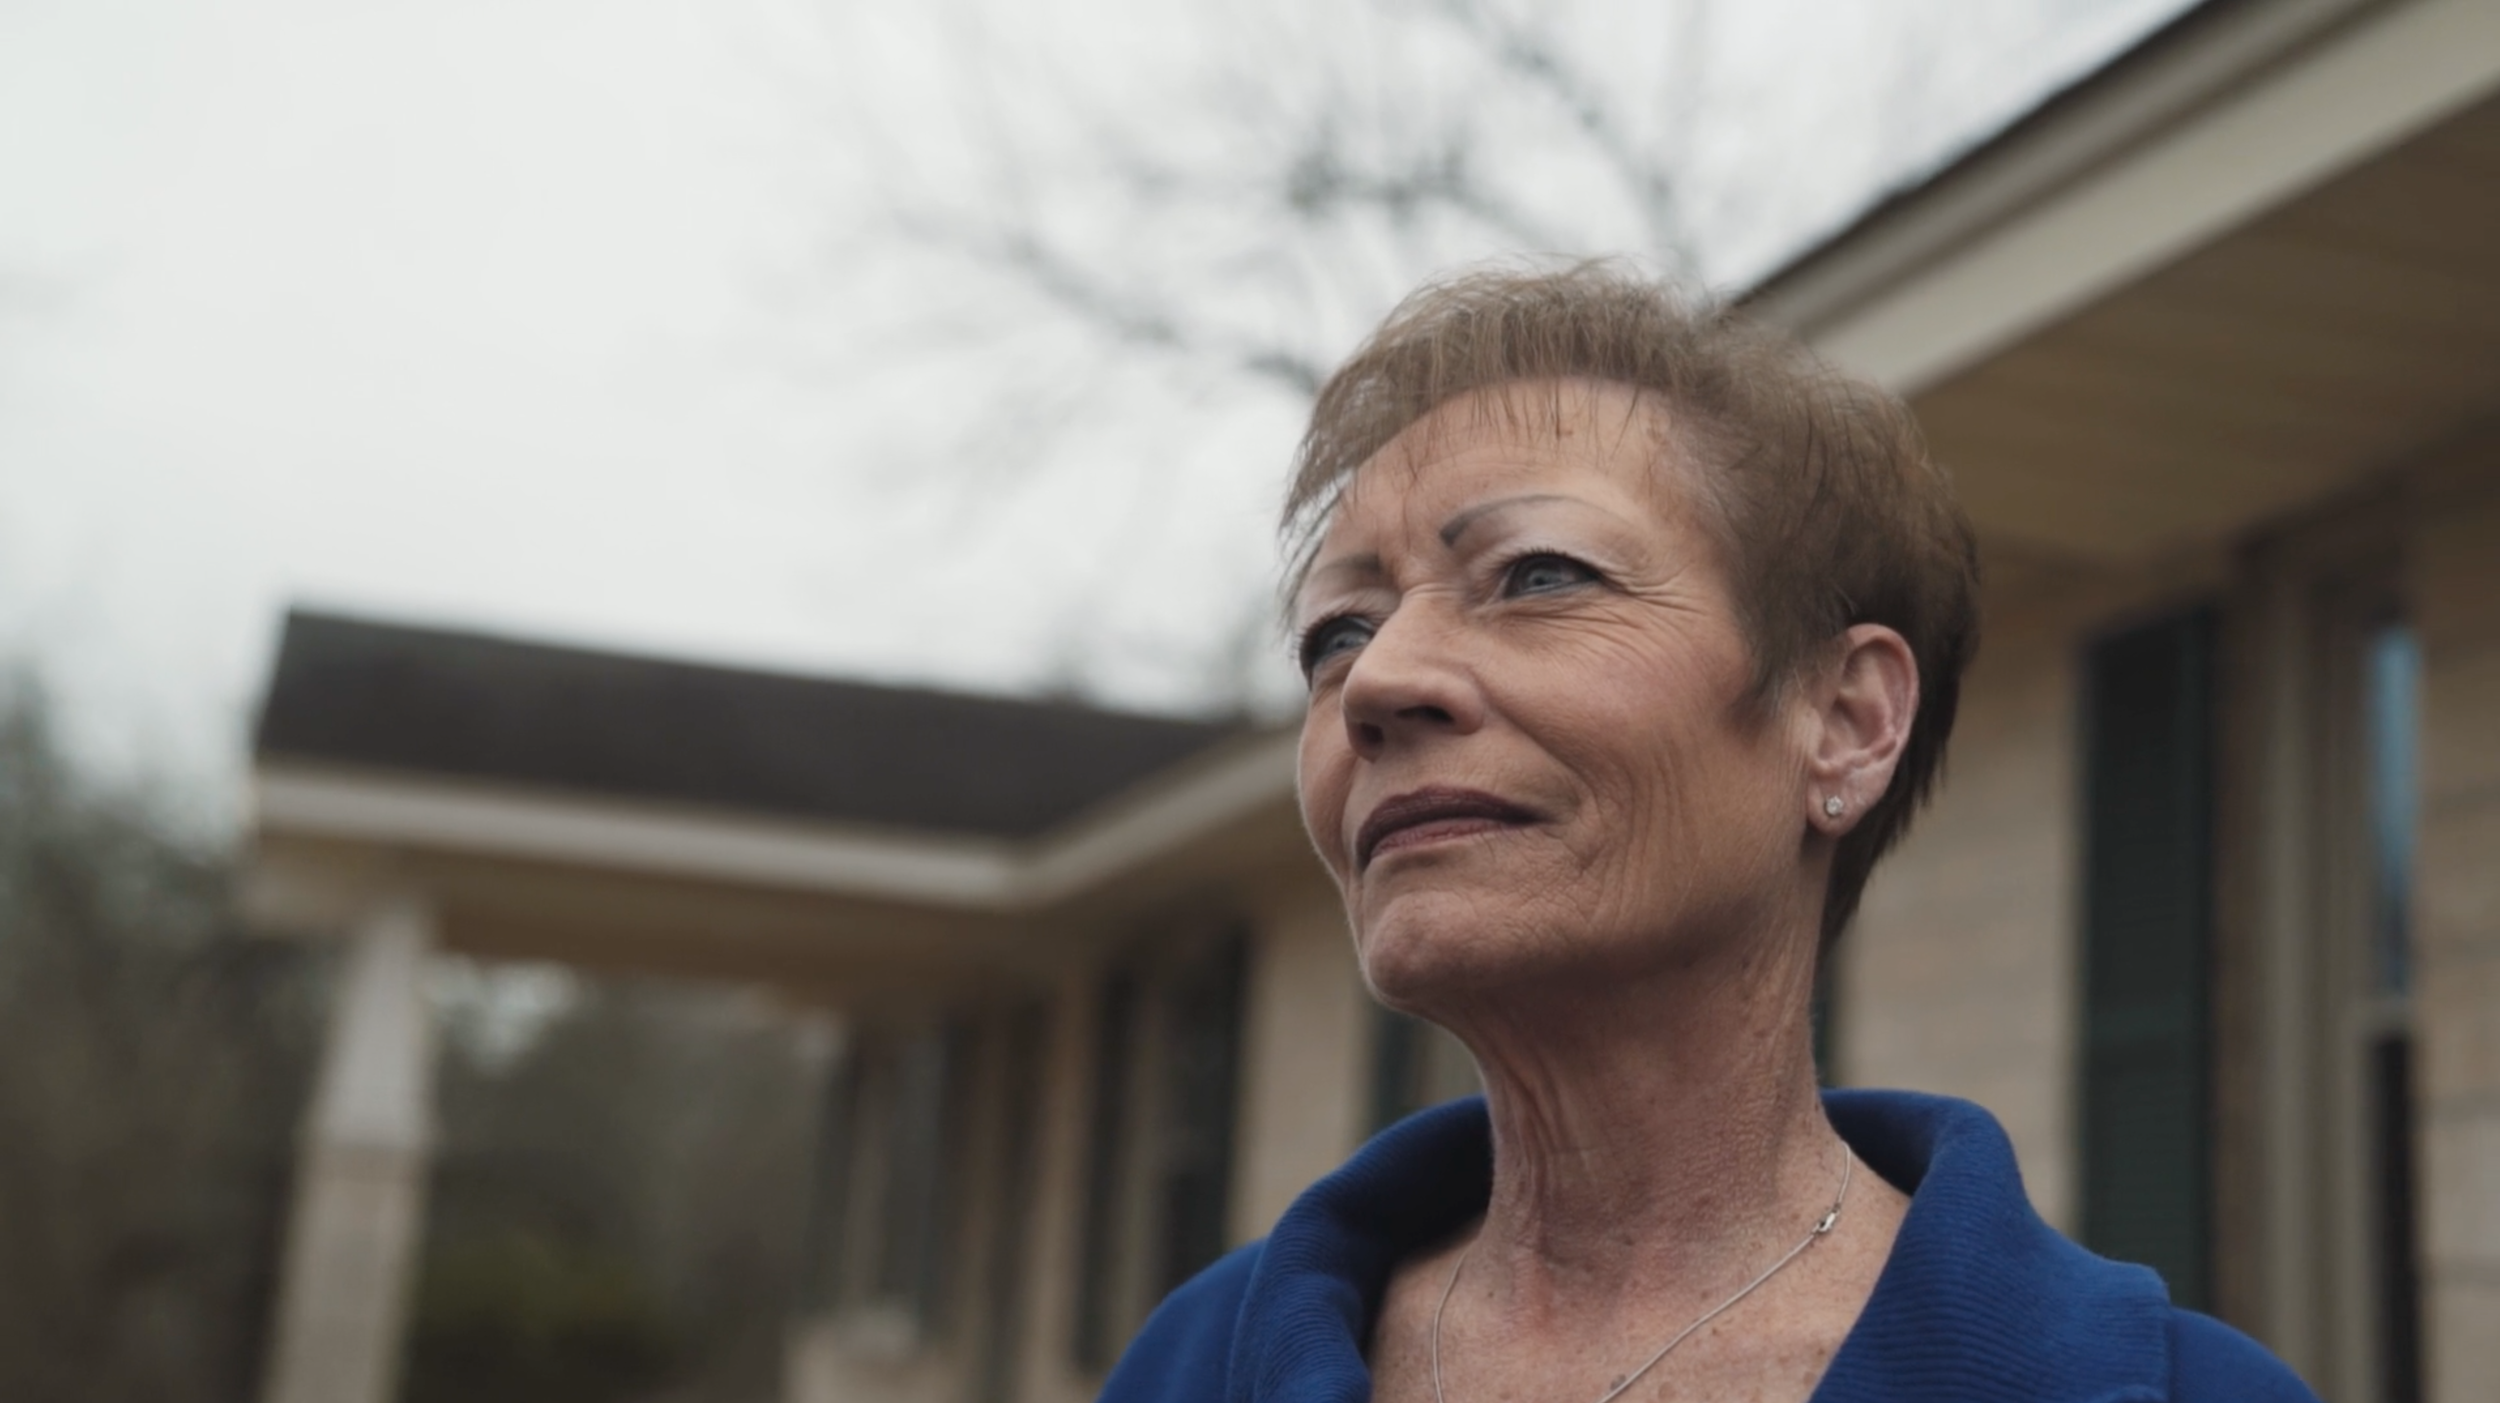
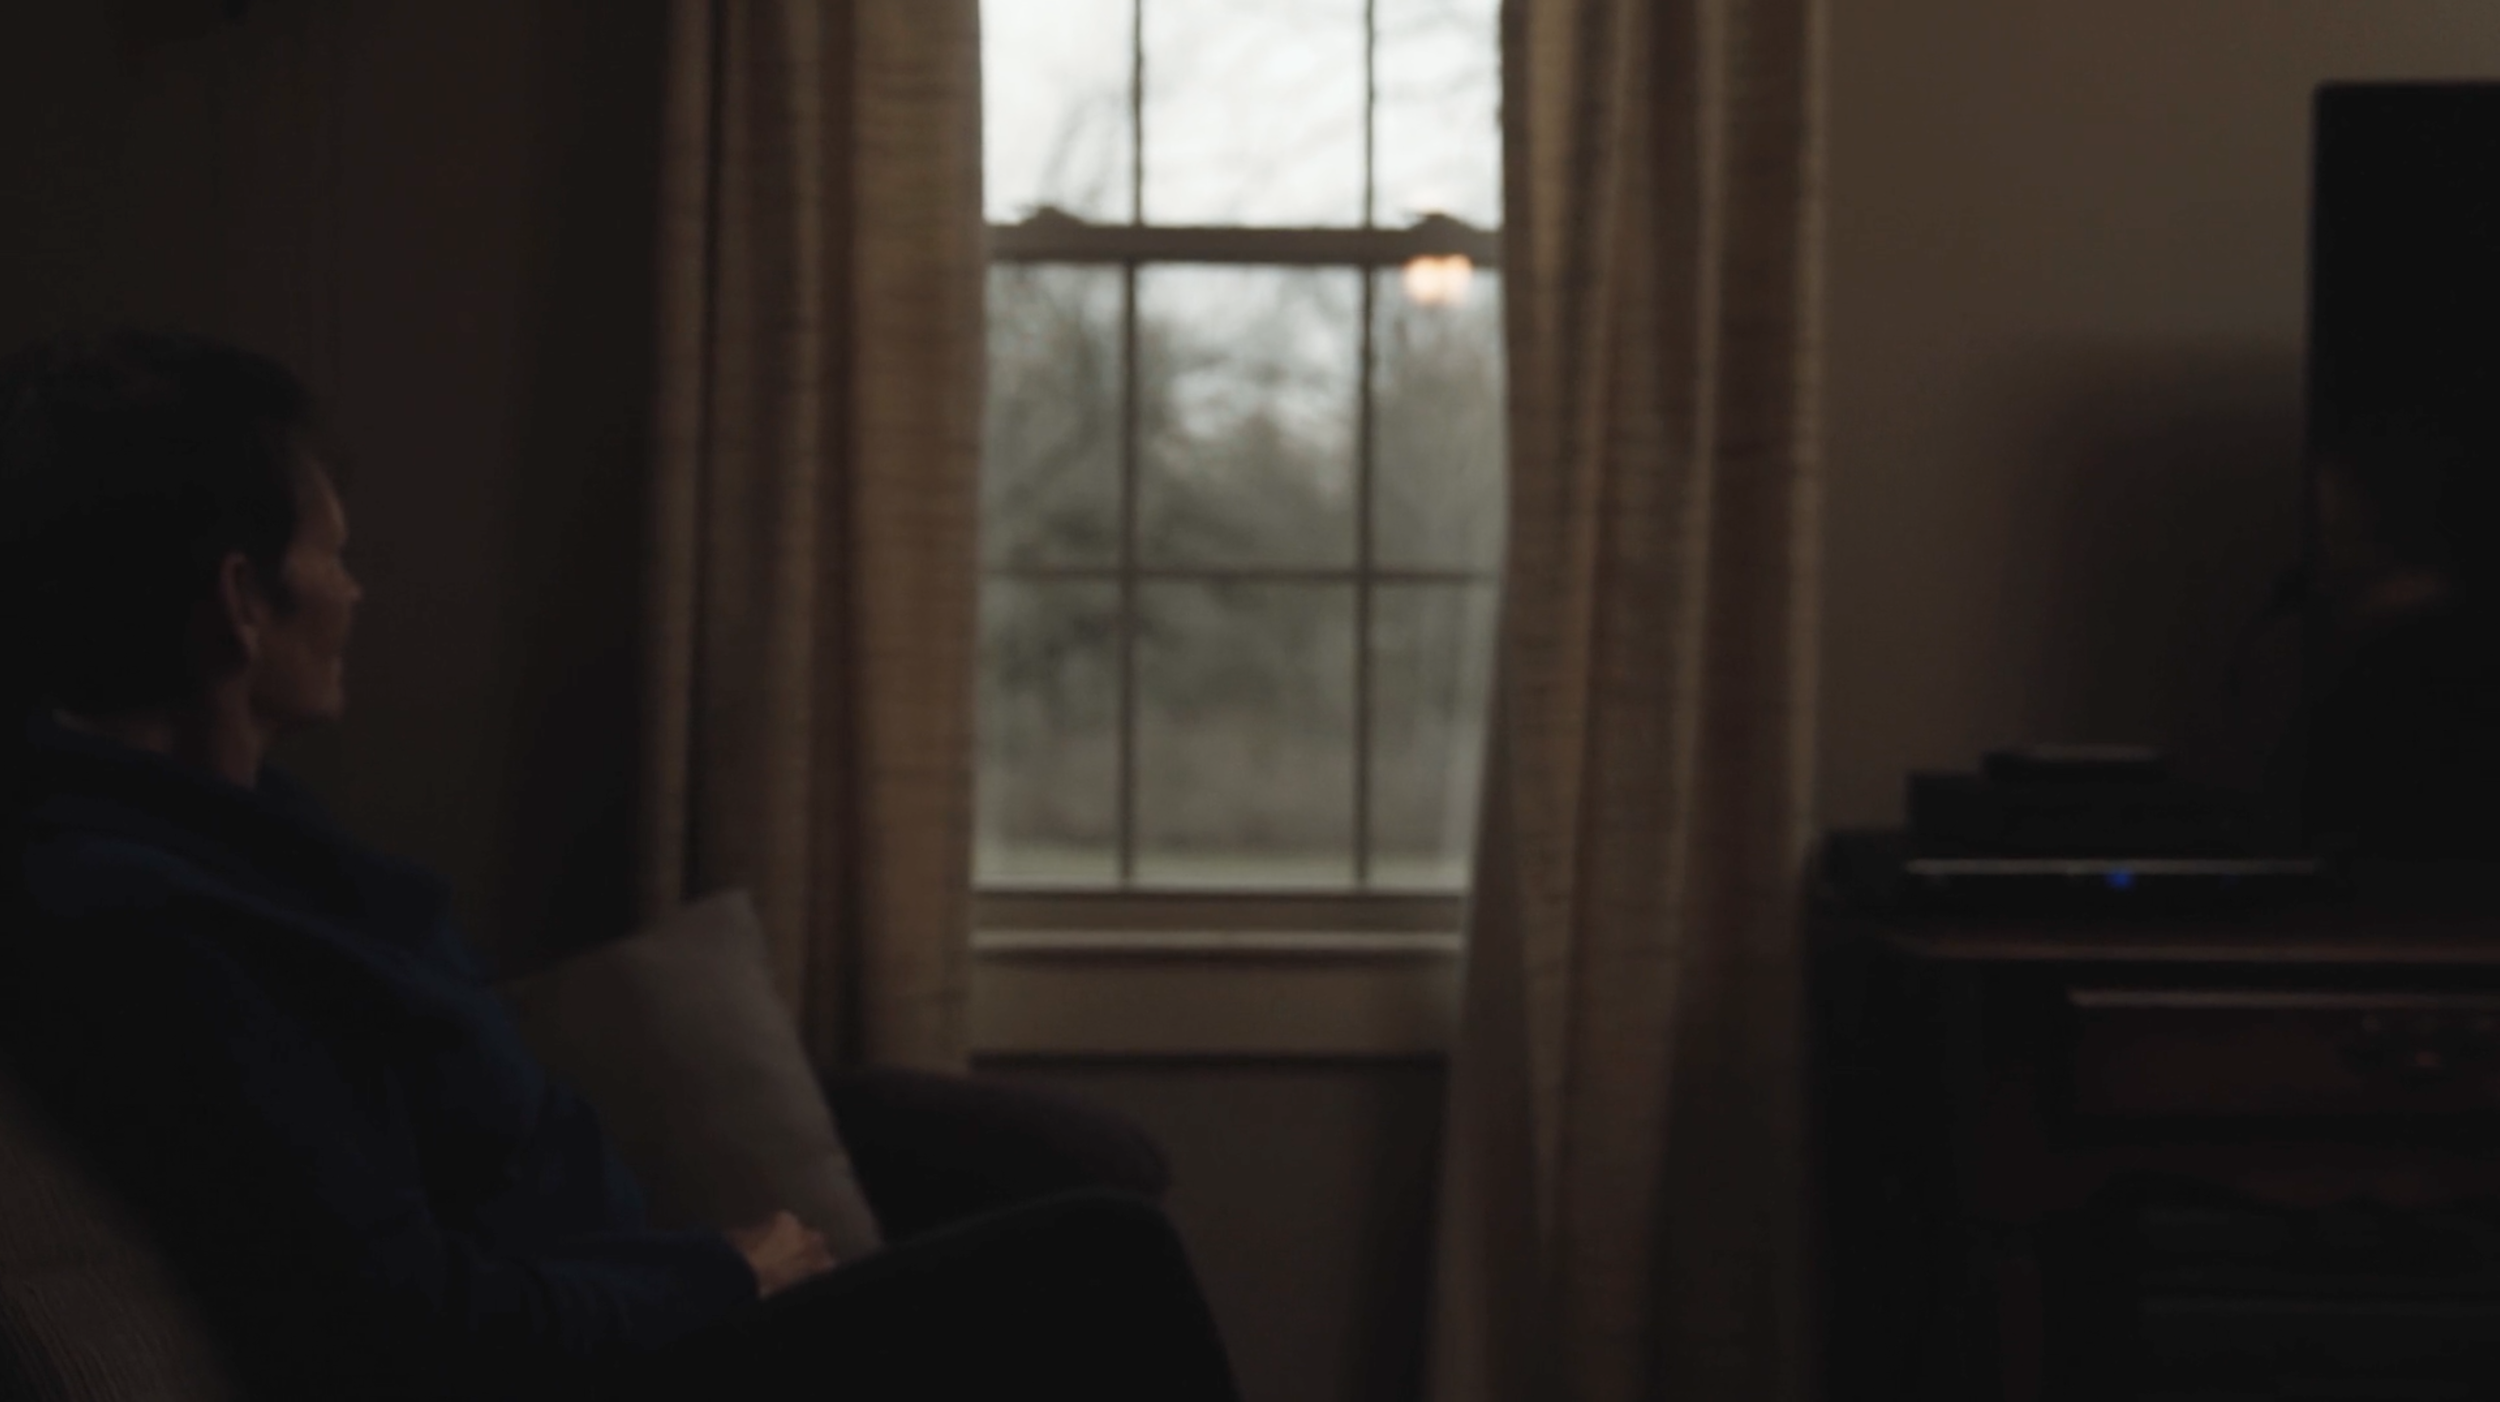
Then we move to Revision 1 which addresses any other narrative issues and this is where I start placing b-roll and music more accurately.
Revision 2 typically does not include any changes to the narrative and this is where we start to finalize the video with color grading, audio leveling and finalizing any motion graphics (logo animations, lower thirds). If there are any other very minor changes after this then point I typically can do them for no additional charge. The only time I charge extra for an additional revision is if a narrative change is made after Revision 2.
One thing to note is that if we have done our proper preproduction then we should be able to nail the narrative of the video very quickly and not need Revision 2 to keep editing the narrative.
Final Delivery is when your video is delivered to you via Vimeo or Google Drive. I typically allow for very minor edits at this time if there is something in the video I missed but editing is typically completed at this point. I do allow for revisions beyond final delivery at an hourly rate.
We generally only allow 48 business hours and at most one week to receive feedback per revision before we consider it approved and signed off by the client. We then move on to the next edit. This is to keep the final delivery date on schedule as well as keep a project from spanning months, which in the end will have negative outcomes for both parties. We are flexible and if more time is required we must receive written notice of this. We consider a project closed out and approved by the client if 3 months span without communication.
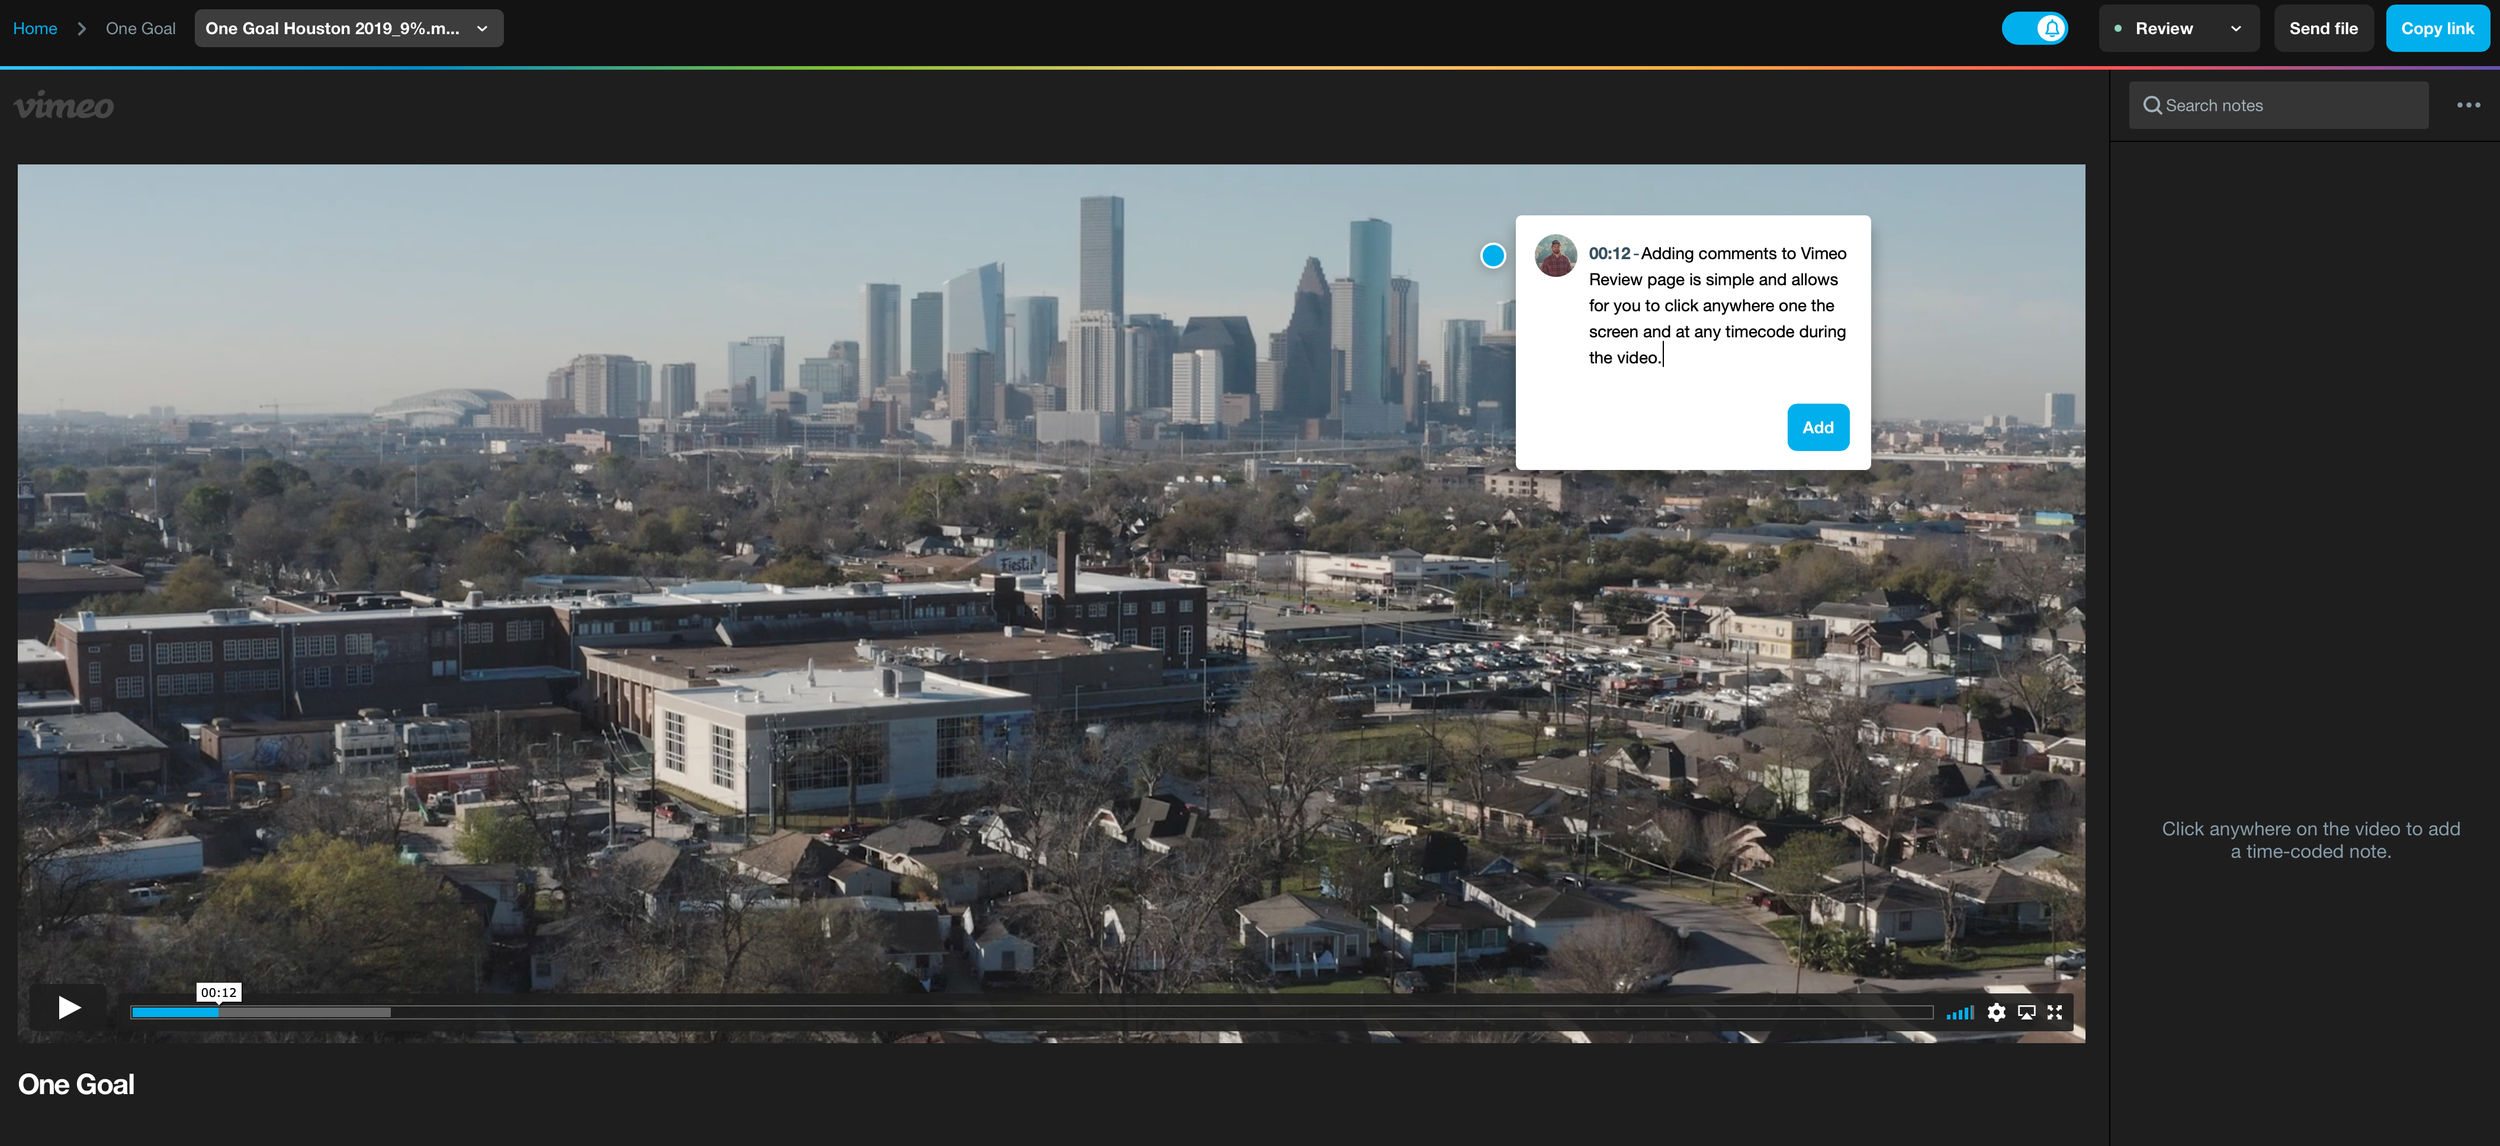
We use Vimeo to host all of the videos and use their review page. Please add all of the comments to the Vimeo Review page that I will send you a link to. This allows for everyone involved in the revision process from your team to see the comments and for you to place comments directly on the video at the timecode where the change needs to be made. (see examples above and below)
After final approval of the videos we deliver them through Vimeo and Google Drive where they can be dowloaded.
RAW footage is never delivered unless specially scoped in a project. Please ask us more about this if you are wanting the RAW files at the end of the project.
Pre-Production: What is it and Why is it important
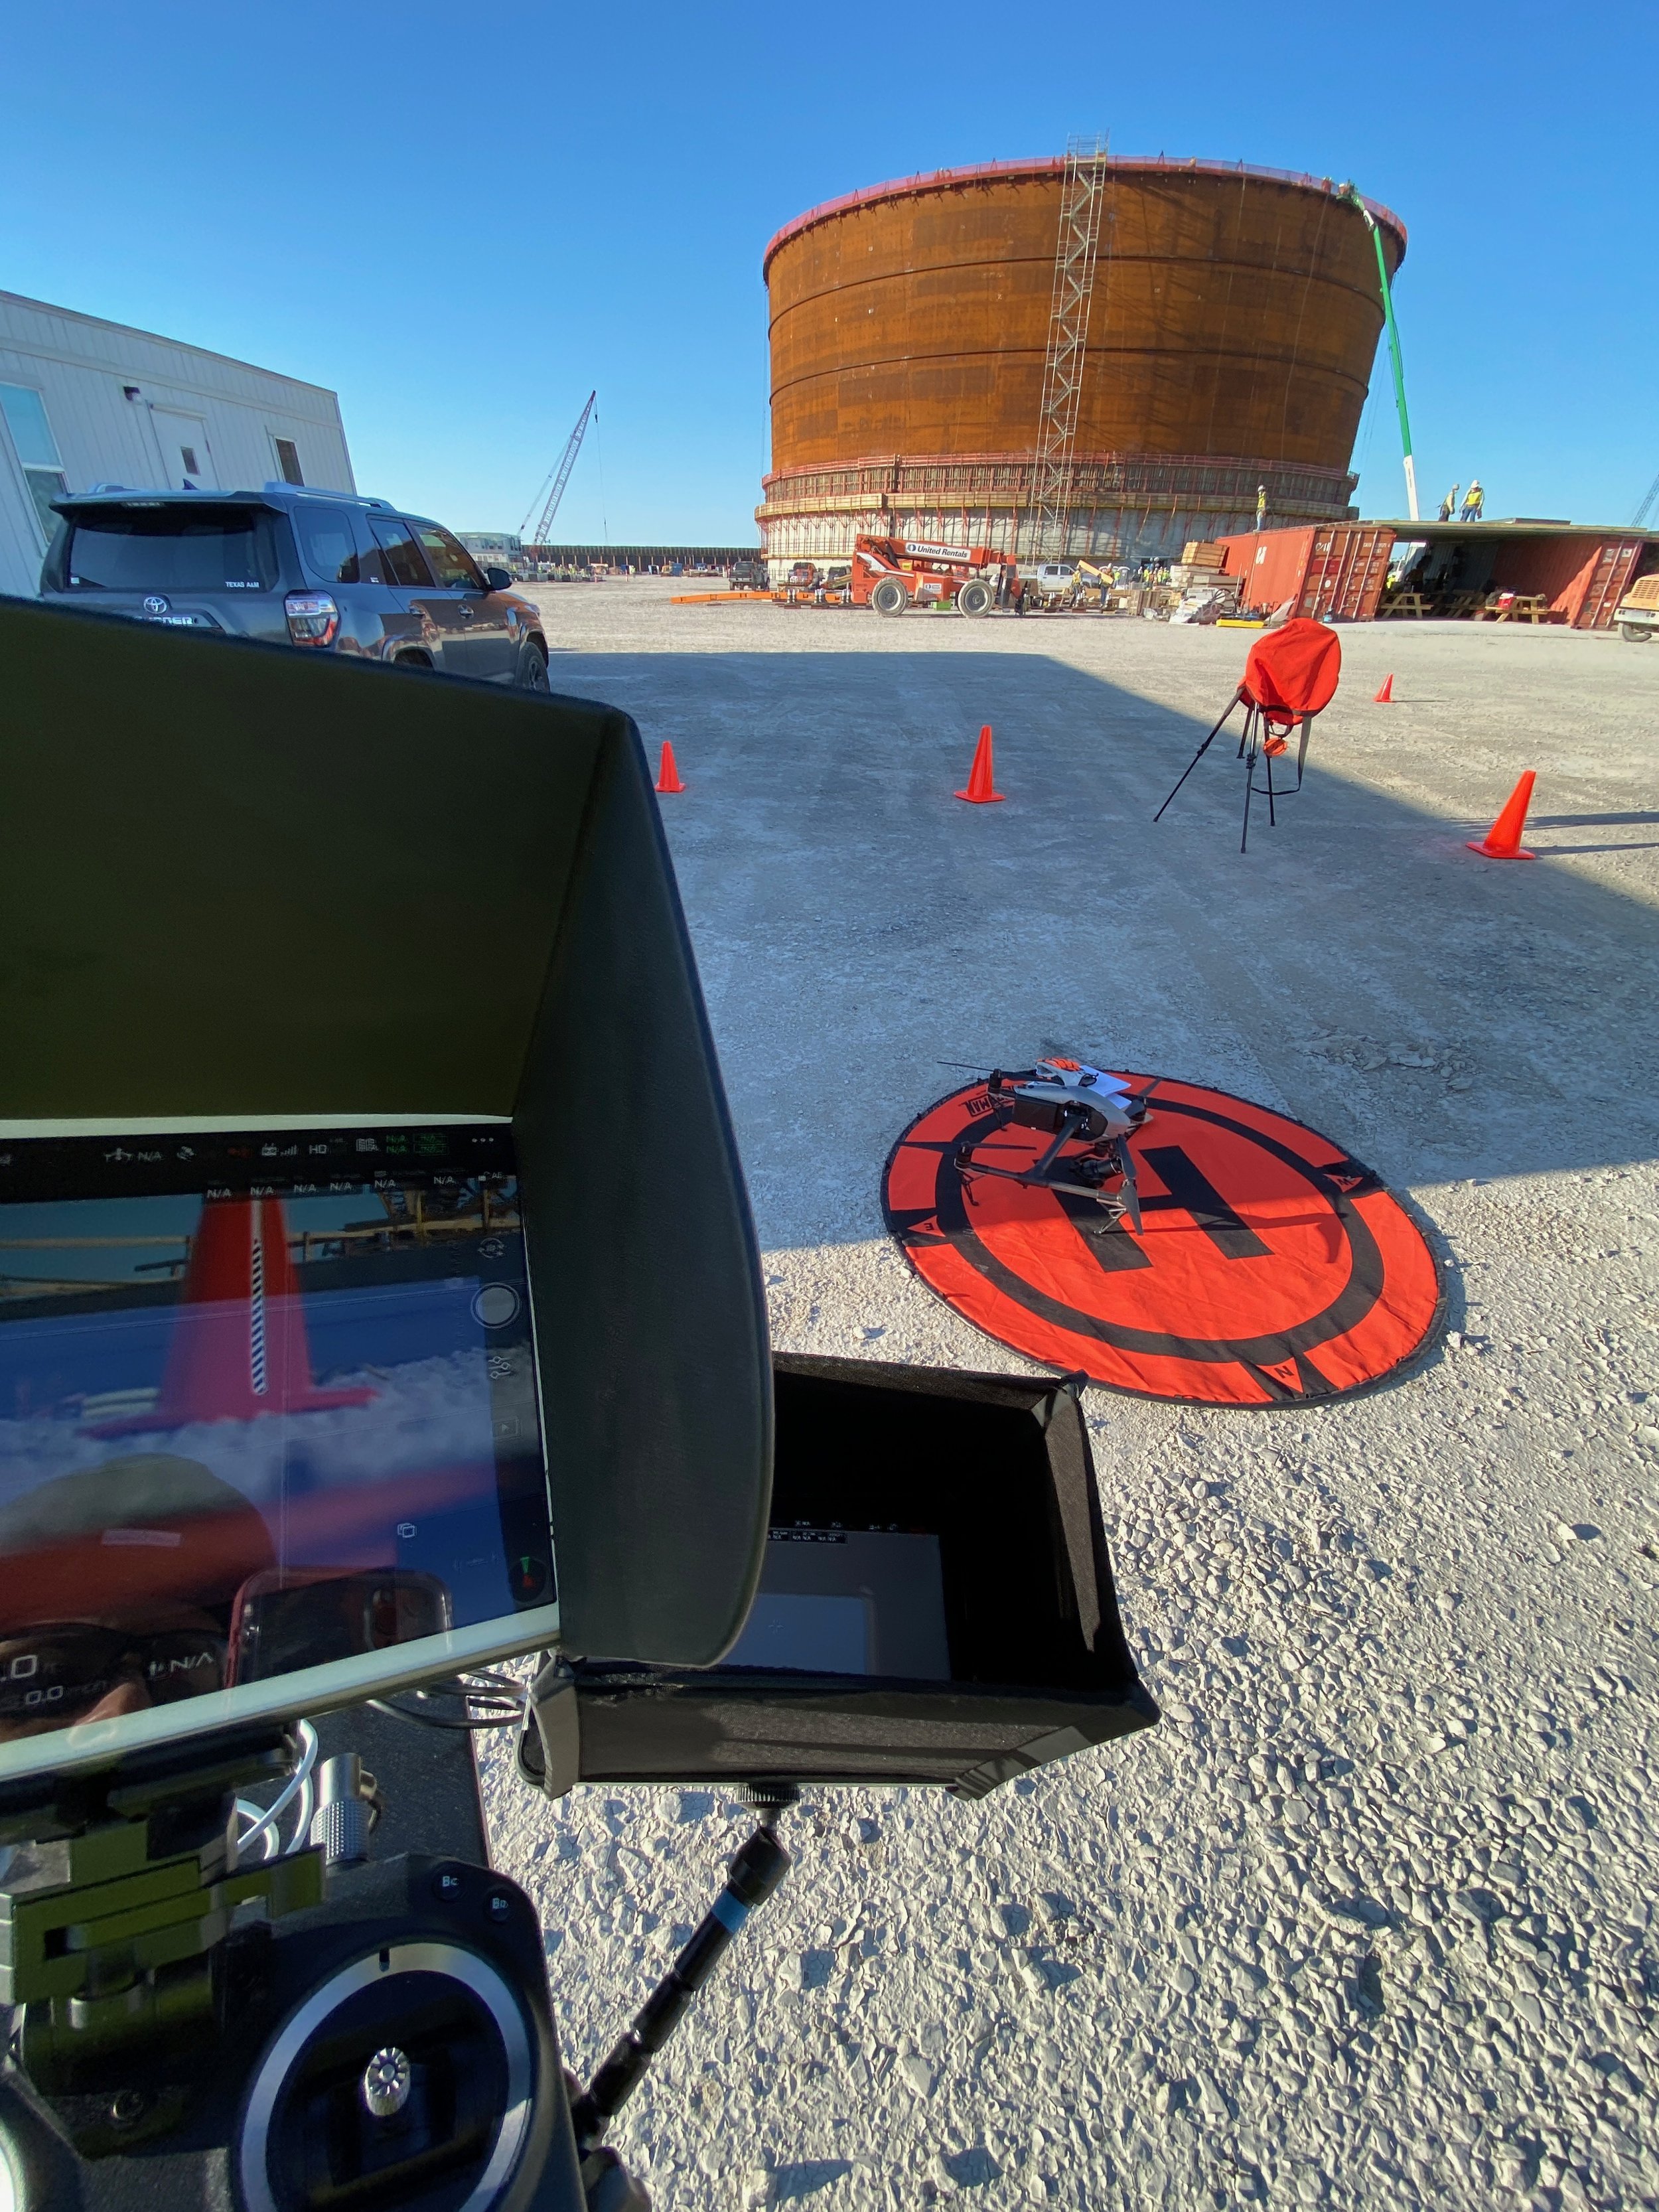
Meet Our Drones: The Inspire 2 and Mavic Pro 2
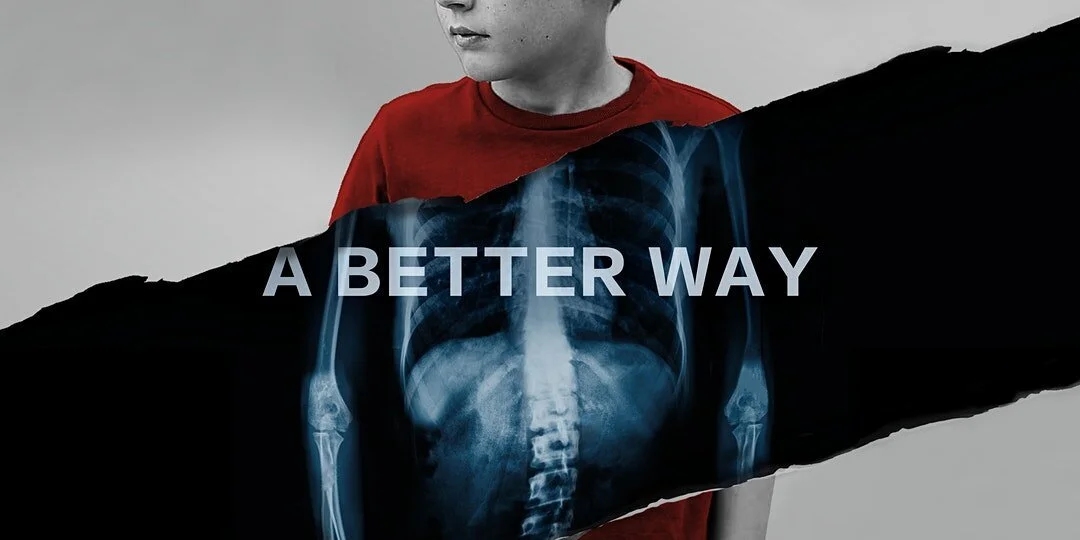
A Better Way Documentary
Top 10 Corporate Video Production Companies in Houston
Vast Whisper Productions is now considered one of the Top 10 Corporate Video Production Companies in Houston by Giggster.
Houston Oil and Gas Drone Video and Photo
The DJI Inspire 2
A few months ago we purchased the DJI Inspire 2 Drone with the DNG RAW and Proress License for our video production company. It has blown away our expectations with image quality. We have been filming for BakerRipley in Houston and shooting in 6K RAW. The image is outstanding.
Quasar Science LED Tube Lights
My favorite LUTS for the Sony A7sii Cine4 Picture Profile
This Cine4 picture profile has pretty much the same dynamic range as SLOG 3 without the exposure headaches and noise a lot of people run into. I can't remember how I found these LUTS but after some searching I came across James Miller's DELUTS. I love these LUTS and he gives you a bunch for the CINE4 profile that I really like. I have attached his preview video of the LUTS below.
Animating Characters in After Effects
GIGL TV was a fun project I had the privilege of working on this past year. During the project we needed to create a 3D animation but we were limited on time. We had to be able to create the animation in about 3 days and we weren't sure on what style to use. After some research I came across multiple animation styles but the only one that was going to work was the flat vector based 3D look.
A great way to create vector based animations is by using the puppet tool in Adobe After Effects. I did this for the first time on this project where we told the story of King David in the Bible. It was a simple way to make this story come alive in a way that really grabbed the kids attentions.
Illustrator allows you to create a really simple yet cool flat 3D look in After Effects. You create a parallax motion by staggering your illustrator files in 3D space which gives realism to the world and adds the feeling of depth. I followed this tutorial to make the animation.
